Esta versión puede contener ediciones incorrectas. Cambie a la última instantánea verificada.
Qué necesitas
-
Este paso está sin traducir. Ayuda a traducirlo
-
Flip the console over on its back.
-
Take note of your model number, in case replacement parts are needed.
-
-
Este paso está sin traducir. Ayuda a traducirlo
-
Remove the expansion bay by applying pressure to the small clip on the expansion bay while prying it away from the console.
-
-
Este paso está sin traducir. Ayuda a traducirlo
-
Locate and remove all four black 12mm Phillips #02 screws from the underside of the console.
-
-
-
Este paso está sin traducir. Ayuda a traducirlo
-
Turn the console right side up.
-
Remove the top cover by gently lifting the upper portion of the console.
-
-
Este paso está sin traducir. Ayuda a traducirlo
-
Remove the white fan header by gently pulling it away from from the controller port.
-
-
Este paso está sin traducir. Ayuda a traducirlo
-
Remove the two 8.5mm Philips #00 screws from the fan bracket.
-
-
Este paso está sin traducir. Ayuda a traducirlo
-
Remove the two 17.5mm Philips #00 screws from the fan bracket.
-
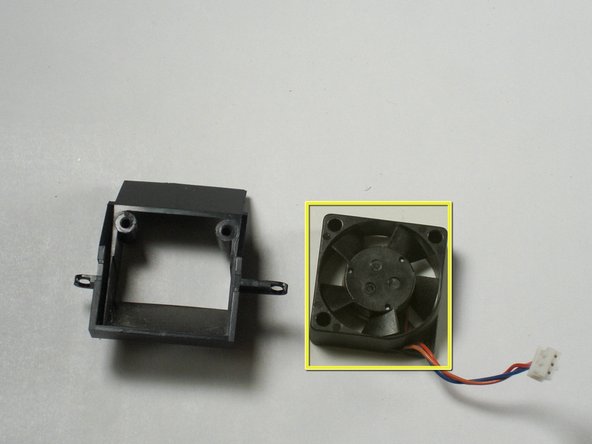
Remove the fan from the bracket.
-
-
Este paso está sin traducir. Ayuda a traducirlo
-
Connect the new fan to the fan bracket using two 17.5mm Philips #00 screws.
-
Replace the fan bracket in the Dreamcast using two 8.5mm Philips #00 screws.
-
Cancelar: No complete esta guía.
4 personas más completaron esta guía.


