Introducción
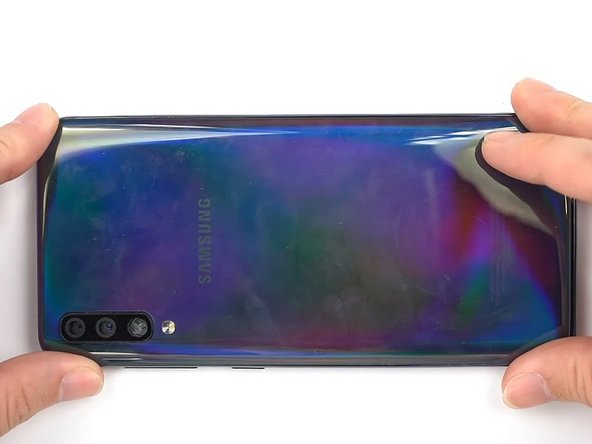
If your touch screen is broken, cracked or defective, use this guide to replace a broken screen on your Samsung Galaxy A50 (SM-A505F).
For your information, the screen product codes of a Samsung Galaxy A50 are: GH82-19204A or GH82-19713A.
'Before disassembling your phone, it is advisable to discharge the battery of the Samsung Galaxy A50 below 25%.' Otherwise, if you accidentally puncture or damage the battery during repair, the battery may catch fire or explode. These risks are lessened if the battery is mostly discharged.
Note: Replacing the screen includes removing the back of the phone, which means you will need a new piece of back adhesive.
If you damage the frame, you will need to replace it, as a damaged frame could result in uneven pressure on the screen, permanently damaging or destroying it.
-
-
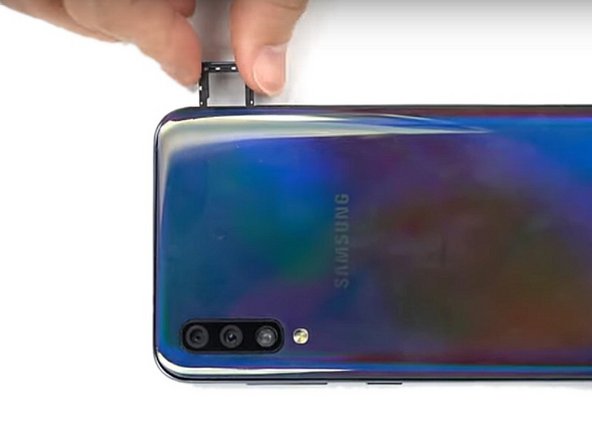
Heat the back of the phone for 5 minutes at 65°C
-
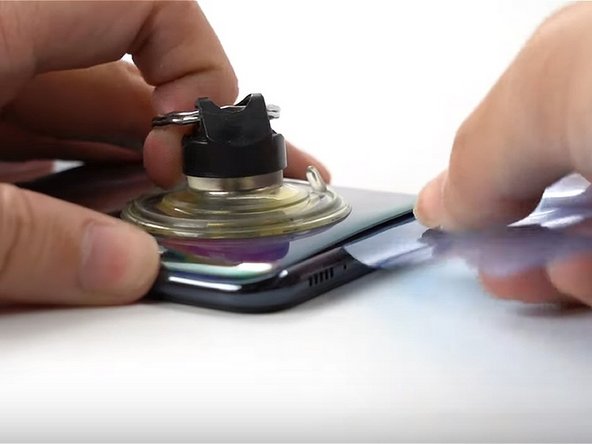
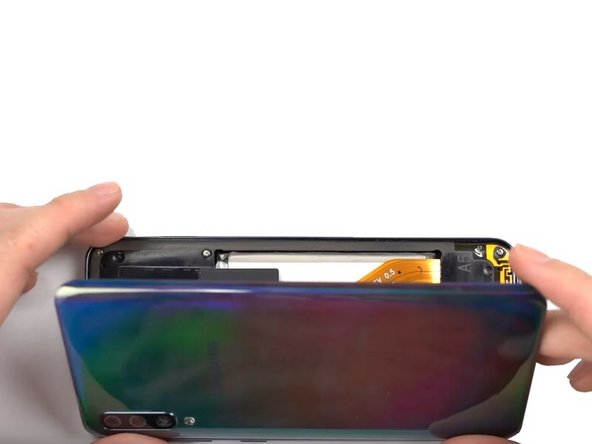
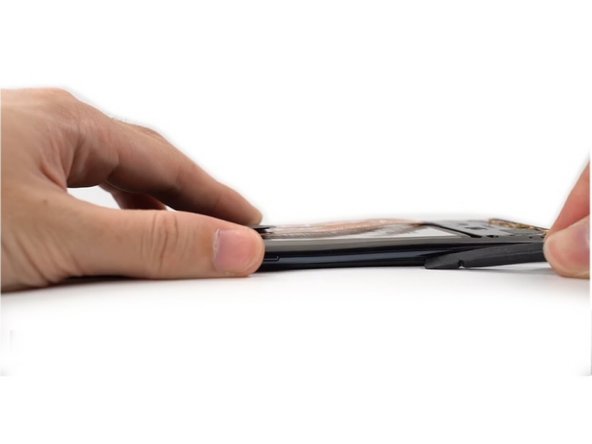
Slowly lift the back glass off the phone using a suction cup
-
Insert a pick into the gap created.
-
Slide the pick around the edge, using more picks to keep the gap open.
-
-
-
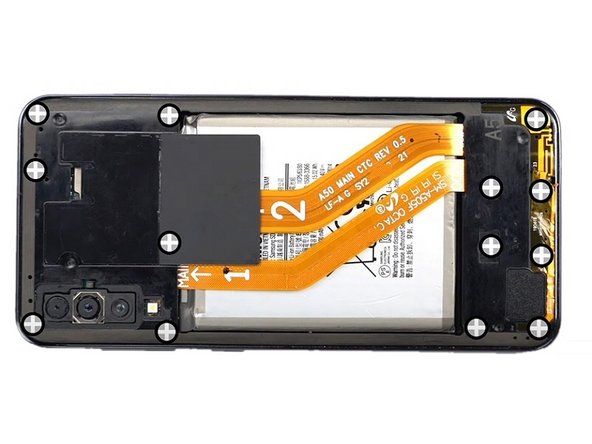
Remove all the screws using a 4mm Philips #00 screwdriver
-
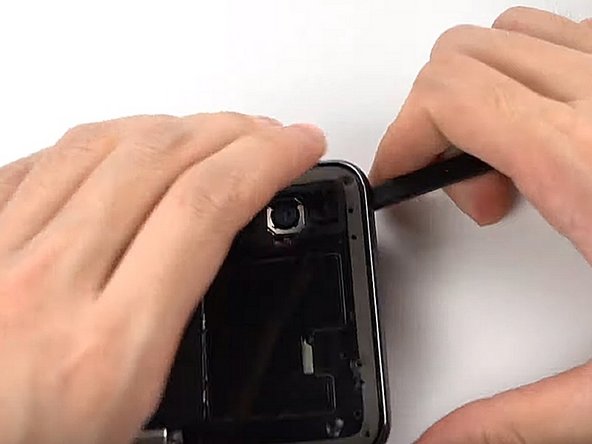
Slide a spudger in between the screen and the frame
-
Slide the spudger around the entire perimeter of the phone to unclip the screen and separate it from the midframe
-
-
-
-
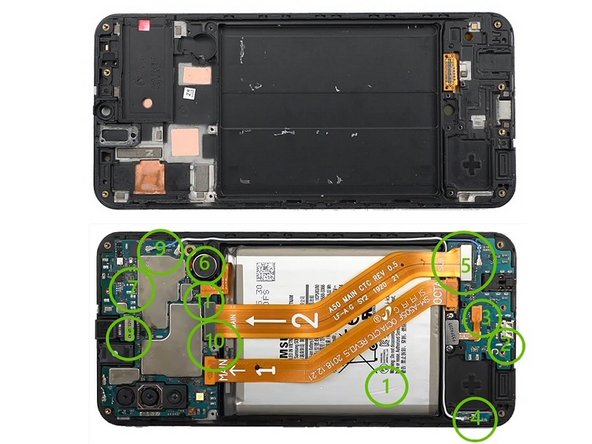
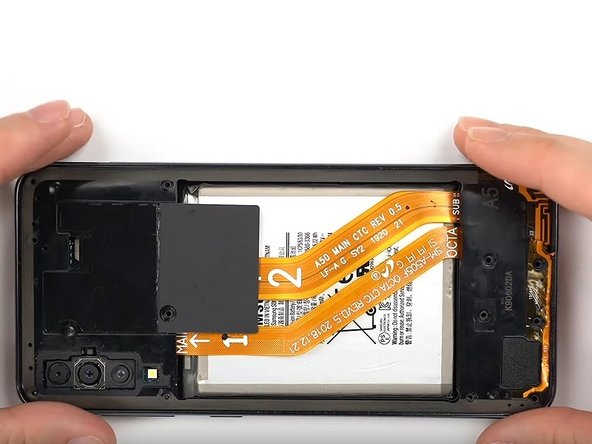
Disconnect the battery
-
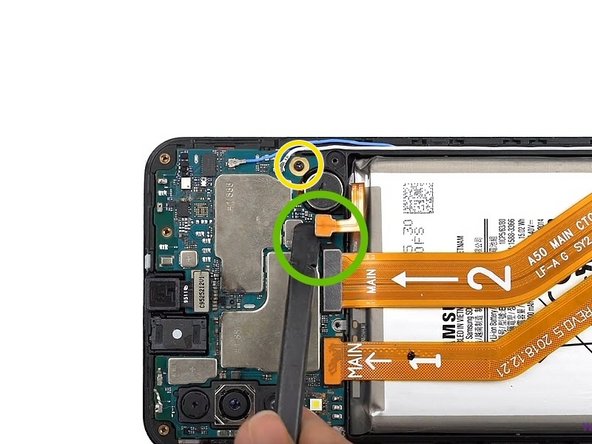
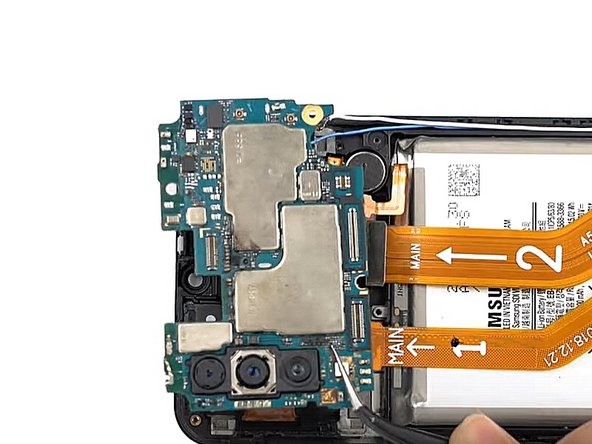
Unscrew the Phillips screw holding the motherboard
-
-
-
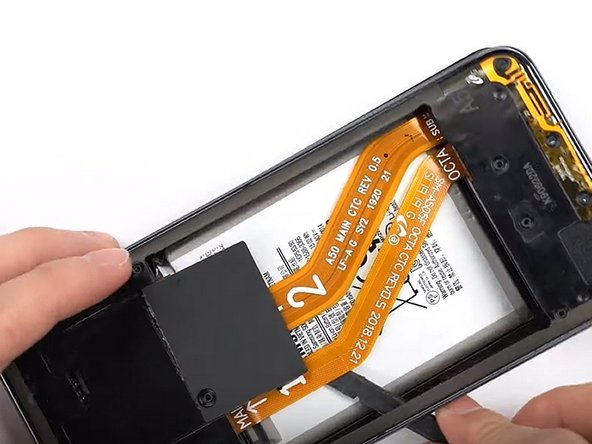
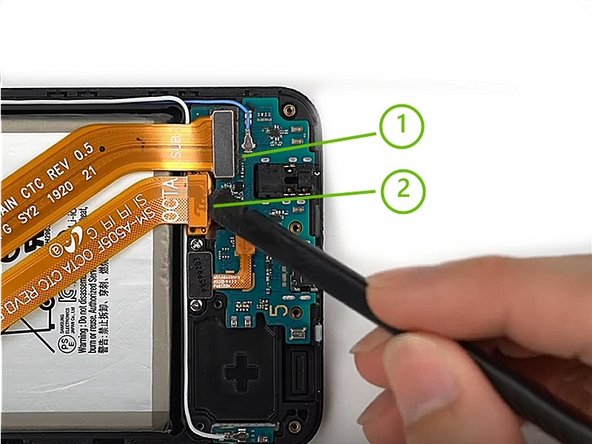
Disconnect cables 1 and 2
-
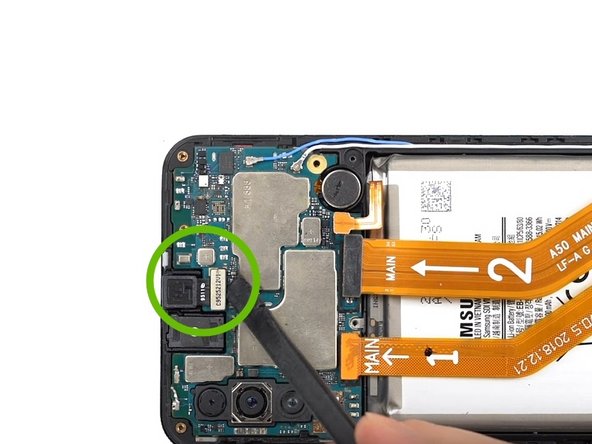
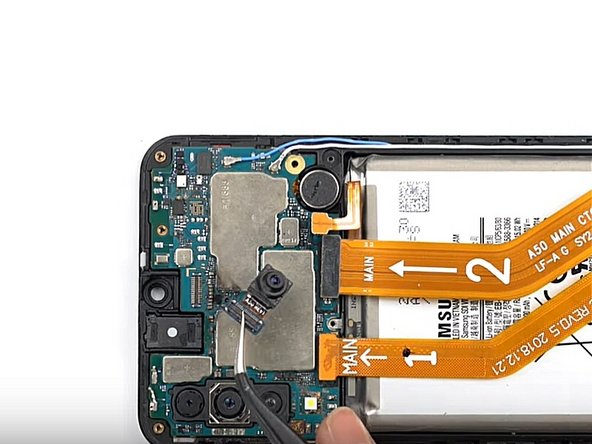
Unplug and remove the front camera (FaceTime)
-
-
-
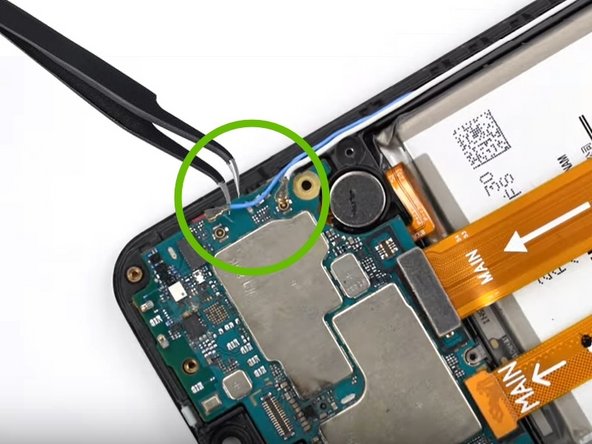
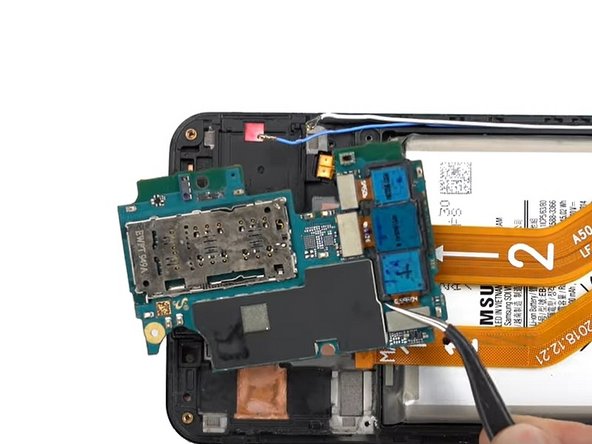
Disconnect the blue and white coaxial cables
-
Gently remove the motherboard by lifting it up.
-
-
-
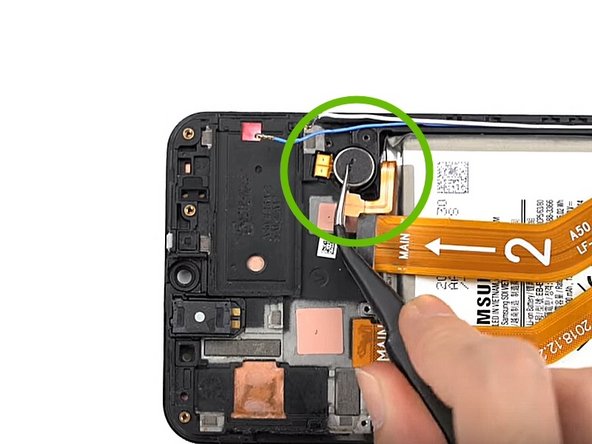
Using Tweezers, remove the vibrator
-
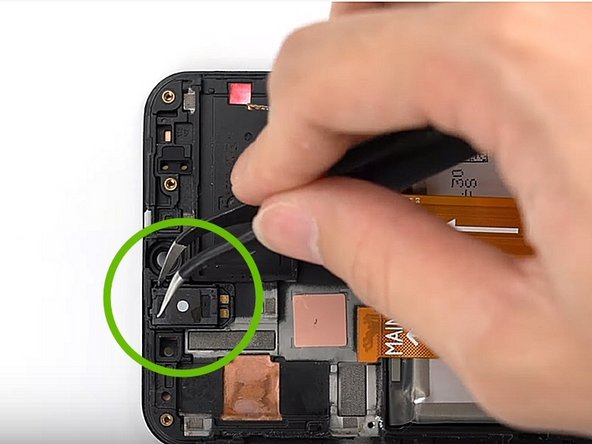
Remove the speaker that way as well
-
Remove the two Phillips screws, unplug and remove the fingerprint sensor.
-
-
-
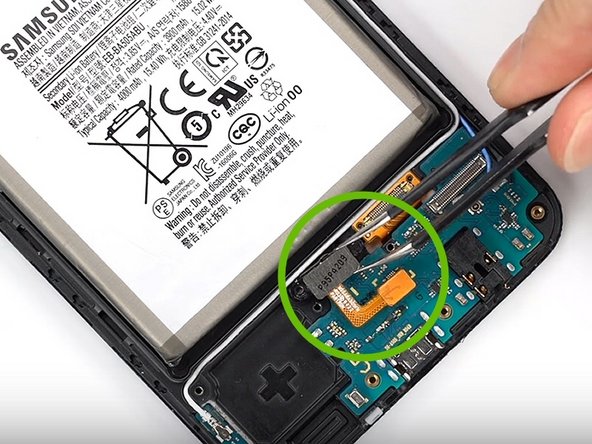
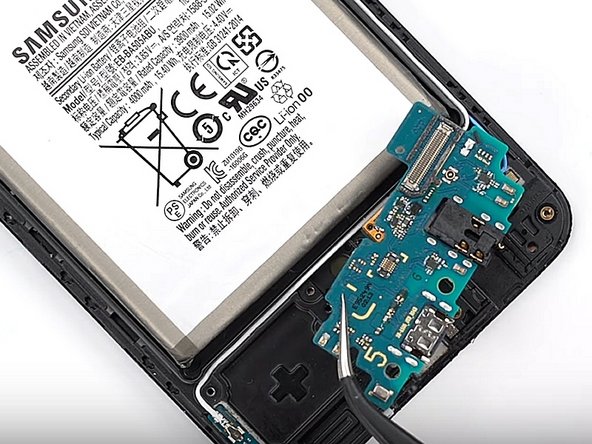
Remove the charging board
-
Pull out the coaxial cables
-
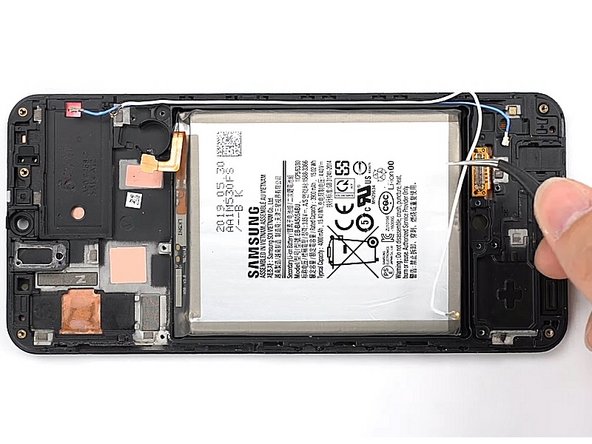
Carefully remove the battery with a Spudger
-
-
-
Now you should have removed all the components in the phone (see picture)
-
-
-
Replace all the components in the new display frame according to the diagram to the right (bottom is fully assembled)
-


After receiving your new screen, you will need to remove the protective film from it before installing it.
To reassemble your device, follow the steps above in reverse.
Turn on your phone and test your repair before applying the new adhesive and closing the phone.
After receiving your new screen, you will need to remove the protective film from it before installing it.
To reassemble your device, follow the steps above in reverse.
Turn on your phone and test your repair before applying the new adhesive and closing the phone.
Cancelar: No complete esta guía.
16 personas más completaron esta guía.
Un agradecimiento especial a estos traductores:
100%


Estos traductores nos están ayudando a reparar el mundo! ¿Quieres contribuir?
Empezar a traducir ›

6 comentarios
il me semble que le backcover du a50 est en plastique, le chauffer trop fort risque de le deformer
Done, finger print sensor won’t work any more, everything else is.