Esta guía ha sufrido modificaciones. Revisa la última versión sin revisar.
Introducción
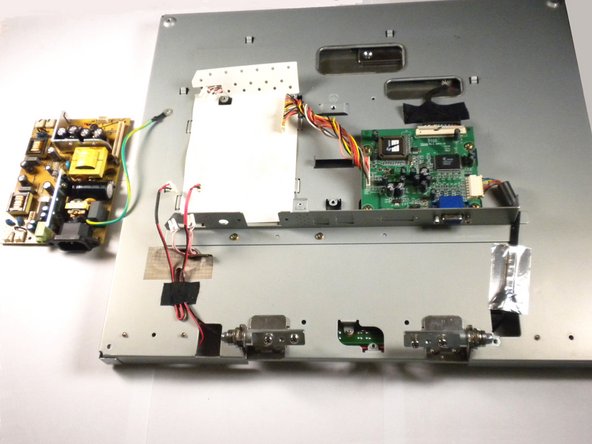
Use this guide to remove the power supply unit.
Qué necesitas
-
-
Place the monitor face down.
-
Remove the four 11.5mm screws with a #2 Phillips screwdriver.
-
Remove the stand by pulling it out.
-
-
-
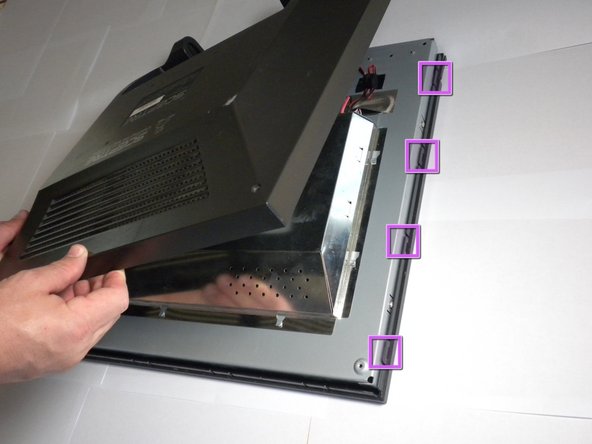
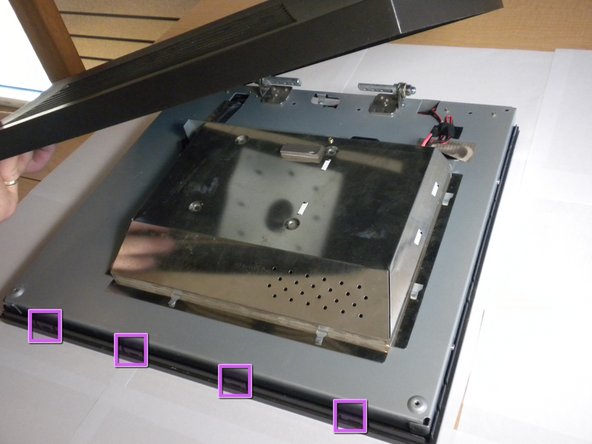
Using a #2 Phillips screwdriver, remove the six 7mm screws at the circled locations.
-
-
-
-
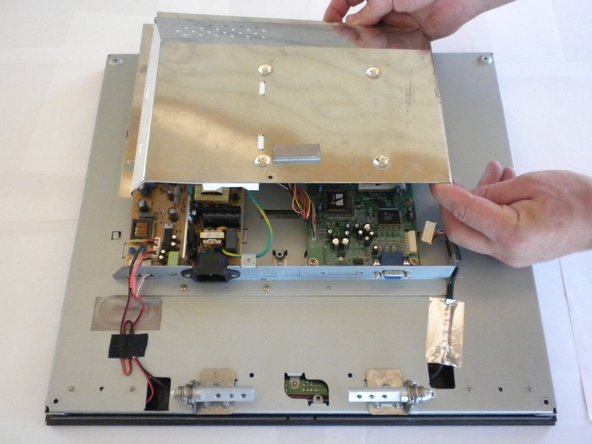
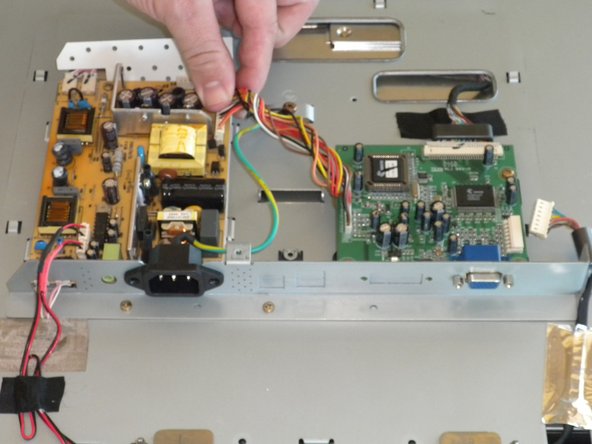
Using a #2 Phillips screwdriver, remove the two 4.72 mm Phillips screws that hold the power adapter in place.
-


To reassemble your device, follow these instructions in reverse order.
To reassemble your device, follow these instructions in reverse order.
Equipo

Cal Poly, Team 16-56, Forte Fall 2012 Miembro de Cal Poly, Team 16-56, Forte Fall 2012
CPSU-FORTE-F12S16G56
5 Miembros
13 Guías creadas