Saltar al contenido principal

Samsung Star Touch Screen Replacement

Qué necesitas

Resumen del Video

  1. Samsung Star Touch Screen Replacement, Touch Screen: paso 1, imagen 1 de 3 Samsung Star Touch Screen Replacement, Touch Screen: paso 1, imagen 2 de 3 Samsung Star Touch Screen Replacement, Touch Screen: paso 1, imagen 3 de 3
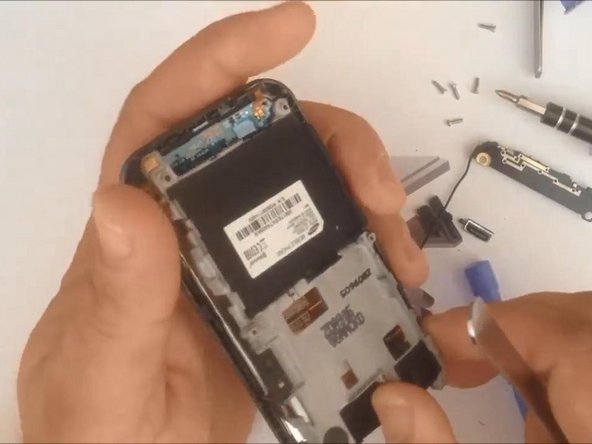
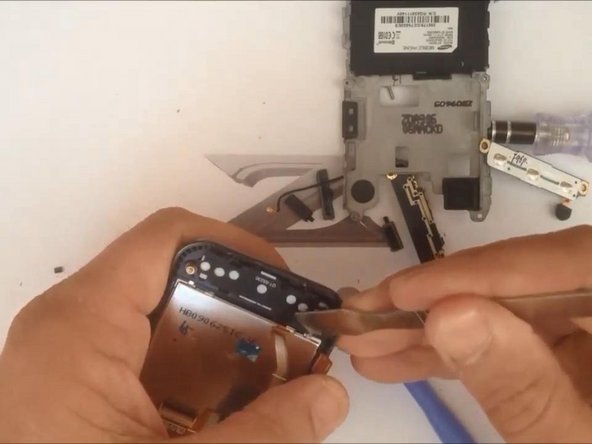
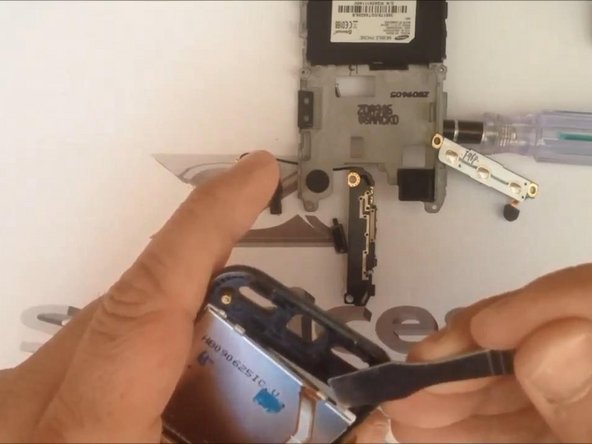
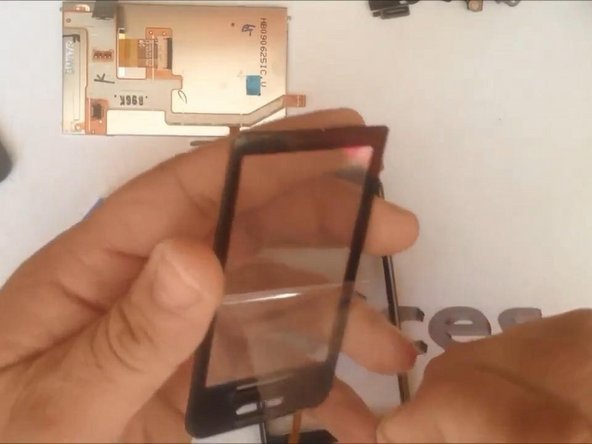
    • Remove the battery, the SIM card and the memory card. Then you must unscrew 6 phillips screws.
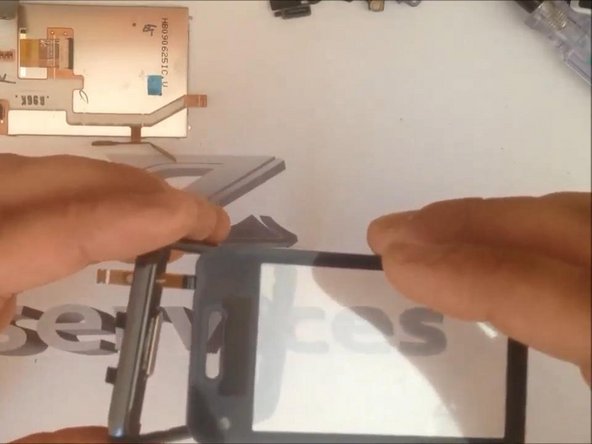
  2. Samsung Star Touch Screen Replacement: paso 2, imagen 1 de 3 Samsung Star Touch Screen Replacement: paso 2, imagen 2 de 3 Samsung Star Touch Screen Replacement: paso 2, imagen 3 de 3
    • After removing the back housing you must disconnect the antenna cable, the LCD connector and unstuck Vol(+,-) keys. There is another one screw. Now you can remove the main-board.

  3. Samsung Star Touch Screen Replacement: paso 3, imagen 1 de 3 Samsung Star Touch Screen Replacement: paso 3, imagen 2 de 3 Samsung Star Touch Screen Replacement: paso 3, imagen 3 de 3
    • Unstuck camera keys and remove the middle bezel.

  4. Samsung Star Touch Screen Replacement: paso 4, imagen 1 de 2 Samsung Star Touch Screen Replacement: paso 4, imagen 2 de 2
    • Disconnect the flex-cable from touch screen and the flex-cable from the small keyboard down.

  5. Samsung Star Touch Screen Replacement: paso 5, imagen 1 de 3 Samsung Star Touch Screen Replacement: paso 5, imagen 2 de 3 Samsung Star Touch Screen Replacement: paso 5, imagen 3 de 3
    • On the corners of the LCD screen there are small metal plates. Use them while you removing the screen. For best results, you can reheat with hairdryer. Be careful with this operation.

  6. Samsung Star Touch Screen Replacement: paso 6, imagen 1 de 2 Samsung Star Touch Screen Replacement: paso 6, imagen 2 de 2
    • Now is easy to remove the touch screen.

  7. Samsung Star Touch Screen Replacement: paso 7, imagen 1 de 3 Samsung Star Touch Screen Replacement: paso 7, imagen 2 de 3 Samsung Star Touch Screen Replacement: paso 7, imagen 3 de 3
    • Install new touch screen and assembly the phone.

Conclusión

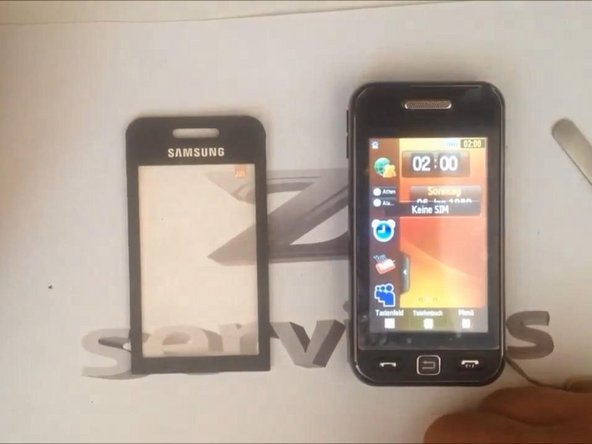
To reassemble your device, follow these instructions in reverse order.

10 personas más completaron esta guía.

ZFix

Miembro Desde 12/09/13

191,182 Reputación

330 Guías creadas

Equipo

Master Techs Miembro de Master Techs

Community

322 Miembros

2,520 Guías creadas

0 comentarios

Agregar Comentario

Ver Estadísticas:

Ultimas 24 horas: 0

Ultimos 7 días: 3

Ultimos 30 días: 9

Todo El Tiempo: 3,822