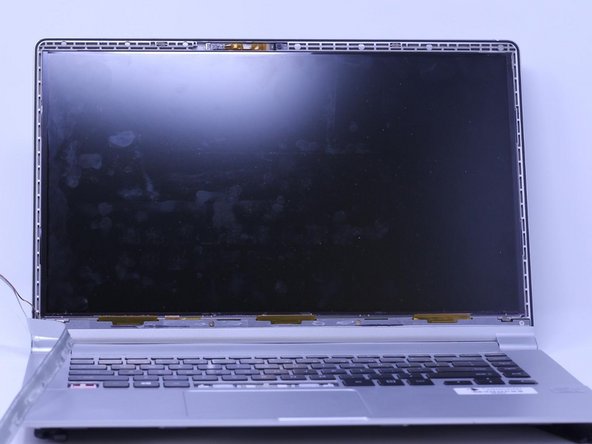
Saltar al contenido principal

Samsung Series 9 NP900X4D-A03US Display Replacement

Qué necesitas

  1. Samsung Series 9 NP900X4D-A03US Display Replacement, Battery: paso 1, imagen 1 de 2 Samsung Series 9 NP900X4D-A03US Display Replacement, Battery: paso 1, imagen 2 de 2
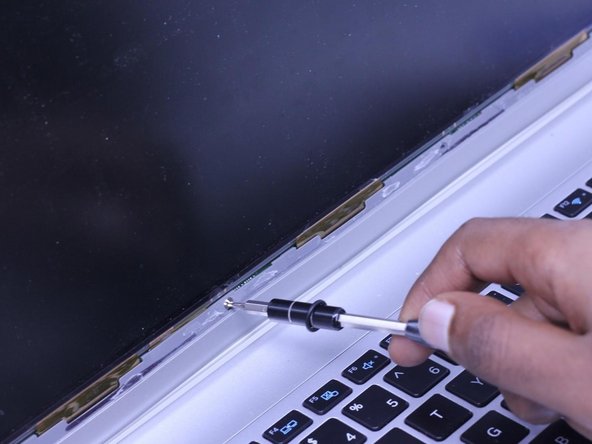
    • Use the screwdriver to remove the ten 2.5mm Phillips #00 screws.

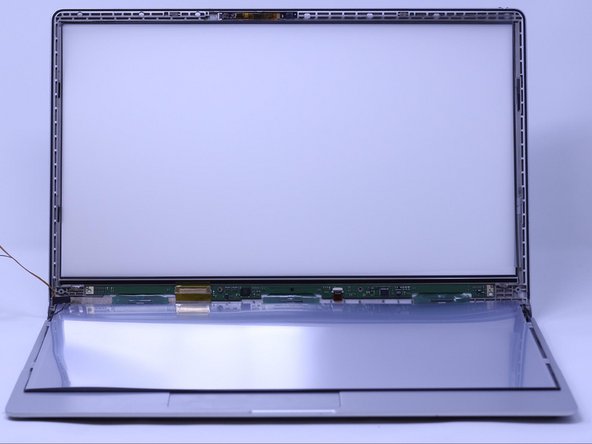
    • Use an iFixit opening tool to carefully remove the back panel from the laptop.

  2. Samsung Series 9 NP900X4D-A03US Display Replacement: paso 2, imagen 1 de 1
    • Remove the seven 0.5 mm Phillips #00 screws.

  3. Samsung Series 9 NP900X4D-A03US Display Replacement: paso 3, imagen 1 de 3 Samsung Series 9 NP900X4D-A03US Display Replacement: paso 3, imagen 2 de 3 Samsung Series 9 NP900X4D-A03US Display Replacement: paso 3, imagen 3 de 3
    • Lightly place some pressure into the highlighted cavity on the battery's outlet plug with a spudger.

    • Carefully remove the wires from the outlet plug.

    • Now you will be able to remove the battery from its place.

  4. Samsung Series 9 NP900X4D-A03US Display Replacement, Display: paso 4, imagen 1 de 2 Samsung Series 9 NP900X4D-A03US Display Replacement, Display: paso 4, imagen 2 de 2
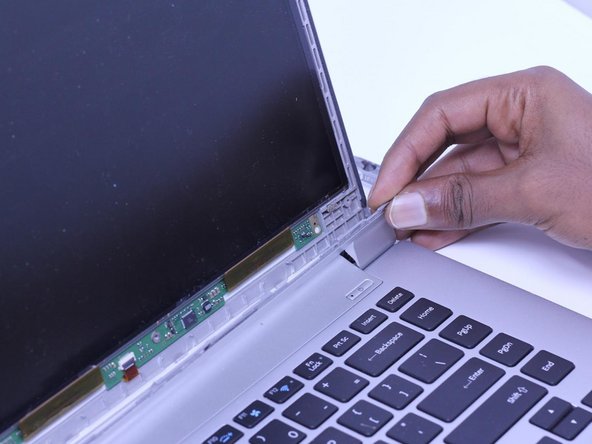
    • Using tweezers, gently remove the adhesive surrounding the cover. At the same time, gently pry the cover off of the display using an iFixit opening tool.

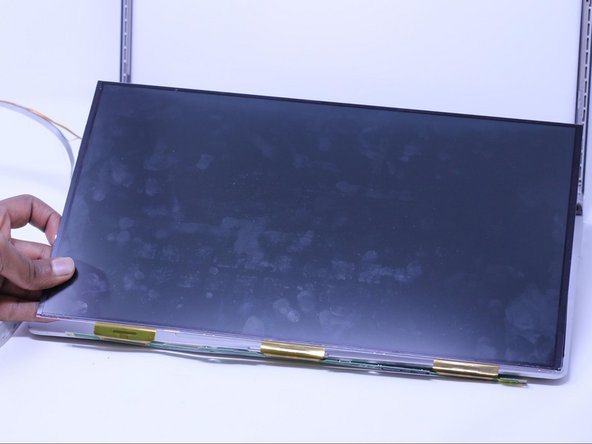
    • Gently place the cover to the left, as a wire is still attached.

  5. Samsung Series 9 NP900X4D-A03US Display Replacement: paso 5, imagen 1 de 3 Samsung Series 9 NP900X4D-A03US Display Replacement: paso 5, imagen 2 de 3 Samsung Series 9 NP900X4D-A03US Display Replacement: paso 5, imagen 3 de 3
    • Use the Phillips #00 screwdriver to unscrew the four 2.5mm screws.

    • Gently remove the tabs from each corner.

  6. Samsung Series 9 NP900X4D-A03US Display Replacement: paso 6, imagen 1 de 2 Samsung Series 9 NP900X4D-A03US Display Replacement: paso 6, imagen 2 de 2
    • Use the iFixit opening tool to detach the screen from the frame.

    • Slowly lay the screen down on the keyboard.

    • Be careful not to lift or tug on the display since a wire is still connected.

  7. Samsung Series 9 NP900X4D-A03US Display Replacement: paso 7, imagen 1 de 3 Samsung Series 9 NP900X4D-A03US Display Replacement: paso 7, imagen 2 de 3 Samsung Series 9 NP900X4D-A03US Display Replacement: paso 7, imagen 3 de 3
    • Using tweezers, slowly remove the connected wire from the display.

    • Gently remove the display from the device.

Conclusión

To reassemble your device, follow these instructions in reverse order.

Una persona más ha completado esta guía.

John

Miembro Desde 04/22/19

139 Reputación

1 Guía escrita

3 comentarios

Good day

Where can I buy the screen?

My laptop model number is NP900X4D-A01ZA

Your assistance will be highly appreciated

Kind regards

Rixongile Mathebula - Contestar

is not easy to get that screen i think it needs a special screen

adolph sibomana -

How Can I get that screen or any other related Screen ?

Morphat Gold - Contestar

Agregar Comentario

Ver Estadísticas:

Ultimas 24 horas: 1

Ultimos 7 días: 3

Ultimos 30 días: 20

Todo El Tiempo: 2,002