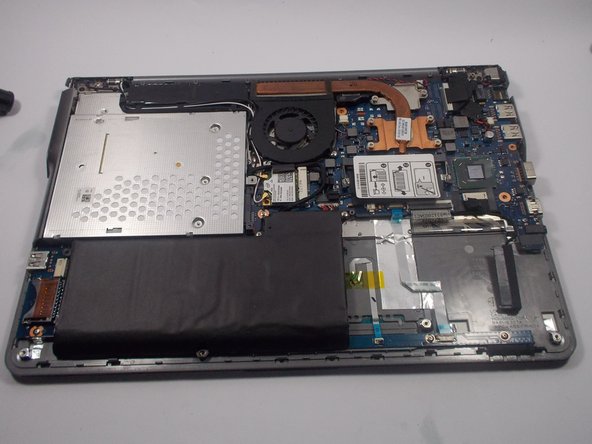
Saltar al contenido principal

Samsung NP530U4BL Battery Replacement

Qué necesitas

  1. Samsung NP530U4BL Battery Replacement, Removing Back Cover: paso 1, imagen 1 de 1
    • Before disassembling your computer, make sure it is powered off.

    • Using the Phillips #00 screwdriver, remove all ten 1.5 mm screws from the back cover of the laptop.

    • Removing these screws allows you to take off the panel on the right side of the laptop.

  2. Samsung NP530U4BL Battery Replacement: paso 2, imagen 1 de 2 Samsung NP530U4BL Battery Replacement: paso 2, imagen 2 de 2
    • Using your dominant hand, pinch the tab on the back panel to the right and remove it.

    • Using the Phillips #00 screwdriver, remove the two 1.5 mm screws that are under the panel.

    • You are now able to detach the entire back cover of the laptop. You can store these screws in the same area as the others because they are all 1.5 mm, identical parts.

  3. Samsung NP530U4BL Battery Replacement: paso 3, imagen 1 de 1
    • Be sure that you are looking at the laptop so that the spine connecting the base to the screen is at the top.

    • When using the plastic opening tool, be careful not to rip or pull too hard to disengage the prongs connecting the back cover to the base. Moving slowly will make this task easier and less likely to cause damage to your machine.

    • Using the plastic opening tool, start in the upper-left hand corner of the laptop and pry horizontally to the upper right-hand corner.

  4. Samsung NP530U4BL Battery Replacement: paso 4, imagen 1 de 1
    • Again starting in the upper left-hand corner, pry down vertically towards the bottom left-hand corner of the laptop.

    • You have now disengaged two of the four sides holding the back cover onto the base.

  5. Samsung NP530U4BL Battery Replacement: paso 5, imagen 1 de 2 Samsung NP530U4BL Battery Replacement: paso 5, imagen 2 de 2
    • Using your dominant hand, grasp the left side of the back cover and gently pull it up. This should disengage the prongs on the bottom and right edge of the base.

    • The right side of the cover has openings that go around the USB ports, the HDMI port, the Ethernet port, the VGA port, and the headphone jack. Use caution when disengaging the prongs around these parts.

    • After completing this step the entire back cover should be separated from the base, and the inside of the laptop should be revealed.

  6. Samsung NP530U4BL Battery Replacement: paso 6, imagen 1 de 2 Samsung NP530U4BL Battery Replacement: paso 6, imagen 2 de 2
    • All steps following the removal of the back cover should be completed while wearing an Anti static bracelet. This prevents ESD (electrostatic discharge). ESD can damage nearly every part on the inside of your computer.

  7. Samsung NP530U4BL Battery Replacement, Battery: paso 7, imagen 1 de 2 Samsung NP530U4BL Battery Replacement, Battery: paso 7, imagen 2 de 2
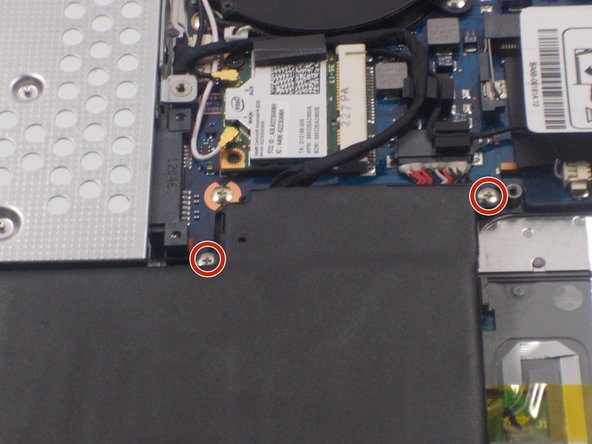
    • On each side of the portion that is jutting out, there is one, silver 1.5 mm screw. Using the Phillips #00 screwdriver, remove these two screws.

  8. Samsung NP530U4BL Battery Replacement: paso 8, imagen 1 de 2 Samsung NP530U4BL Battery Replacement: paso 8, imagen 2 de 2
    • Using the plastic opening tool, carefully separate the battery from the plug that connects the battery to the circuit board.

    • Use caution when removing the battery from the plug. Damaging any of the wires attached to the plug could affect the battery's functionality.

  9. Samsung NP530U4BL Battery Replacement: paso 9, imagen 1 de 1
    • Using your dominant hand, carefully lift the battery vertically out of place, making sure to handle with care and to not bump any other parts of the computer.

Conclusión

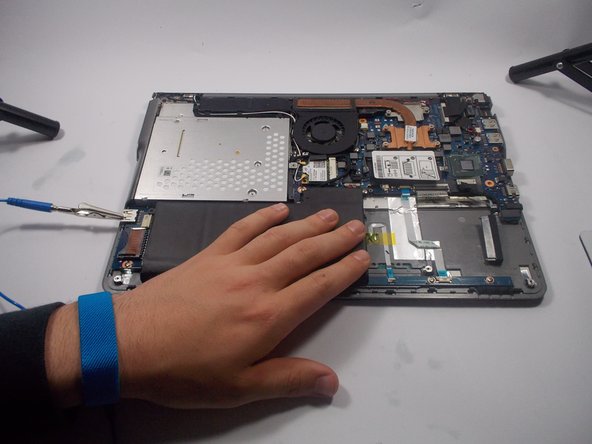
To reassemble your device, follow these instructions in reverse order.

4 personas más completaron esta guía.

Kayla Loycano

Miembro Desde 03/02/16

889 Reputación

6 Guías creadas

Equipo

0 comentarios

Agregar Comentario

Ver Estadísticas:

Ultimas 24 horas: 1

Ultimos 7 días: 3

Ultimos 30 días: 15

Todo El Tiempo: 3,381