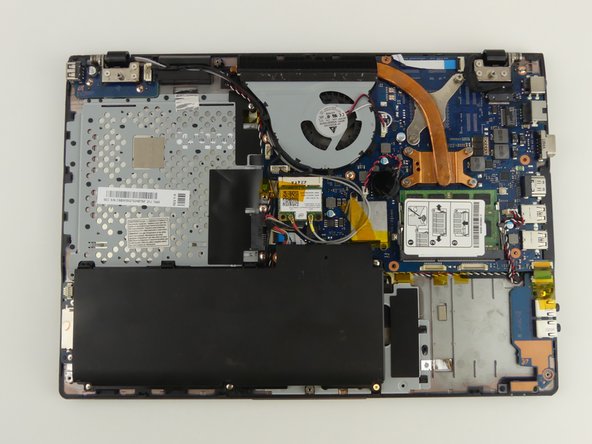
Saltar al contenido principal

Samsung NP-QX411L Battery Replacement

Qué necesitas

  1. Samsung NP-QX411L Battery Replacement, Optical Drive: paso 1, imagen 1 de 2 Samsung NP-QX411L Battery Replacement, Optical Drive: paso 1, imagen 2 de 2
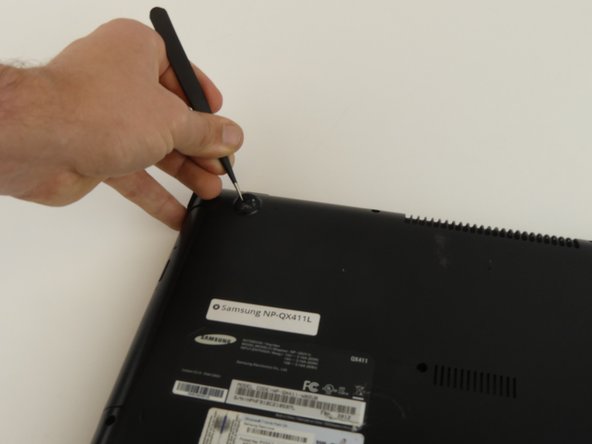
    • Flip the laptop over.

    • Remove the 6 mm screw with the Phillips #000 screwdriver.
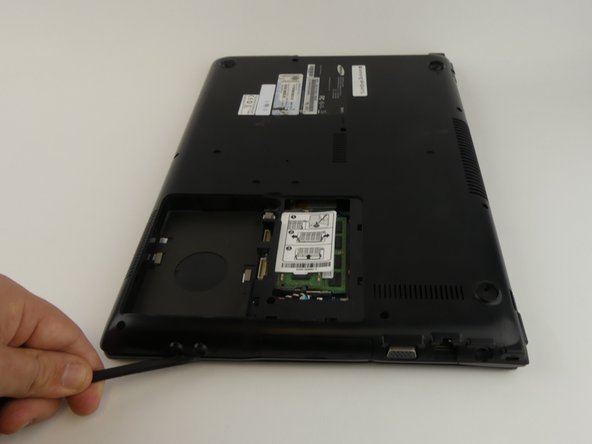
  2. Samsung NP-QX411L Battery Replacement: paso 2, imagen 1 de 1
    • Slide out the optical drive to remove it.

  3. Samsung NP-QX411L Battery Replacement, Hard Drive: paso 3, imagen 1 de 2 Samsung NP-QX411L Battery Replacement, Hard Drive: paso 3, imagen 2 de 2
    • Put on the anti-static wristband and connect the attached alligator clip to a metal object. This will prevent you from shocking the motherboard.

    • Flip the laptop.

    • Use the Phillips #000 screwdriver to unscrew the 6 mm screw from the square panel.

  4. Samsung NP-QX411L Battery Replacement: paso 4, imagen 1 de 2 Samsung NP-QX411L Battery Replacement: paso 4, imagen 2 de 2
    • Gently wedge the spudger under the square panel.

    • Run the spudger under the edges of the square panel to loosen it.

    • Remove the panel.

  5. Samsung NP-QX411L Battery Replacement: paso 5, imagen 1 de 1
    • Remove the hard drive slowly because it is still connected to a wire.

    • Pull up on the rubber flap or use the spudger to lift the hard drive.

  6. Samsung NP-QX411L Battery Replacement: paso 6, imagen 1 de 1
    • Remove the hard drive by gently pulling the power connector at the base of the wire off. You can do this by pulling the connector away from the hard drive.

  7. Samsung NP-QX411L Battery Replacement, Battery: paso 7, imagen 1 de 1
    • Use the Phillips #000 screwdriver to remove the 6 mm screw.

  8. Samsung NP-QX411L Battery Replacement: paso 8, imagen 1 de 2 Samsung NP-QX411L Battery Replacement: paso 8, imagen 2 de 2
    • Remove the top two rubber stoppers by grasping them with the precision tweezers and pulling up.

  9. Samsung NP-QX411L Battery Replacement: paso 9, imagen 1 de 1
    • Remove nine 6mm cover screws using the Phillips #000 screwdriver.

  10. Samsung NP-QX411L Battery Replacement: paso 10, imagen 1 de 3 Samsung NP-QX411L Battery Replacement: paso 10, imagen 2 de 3 Samsung NP-QX411L Battery Replacement: paso 10, imagen 3 de 3
    • Wedge the spudger under the cover and run it along the edges.

    • Pry the cover up with the spudger to remove it.

  11. Samsung NP-QX411L Battery Replacement: paso 11, imagen 1 de 2 Samsung NP-QX411L Battery Replacement: paso 11, imagen 2 de 2
    • Remove the four 3 mm screws using the Phillips #000 screwdriver.

  12. Samsung NP-QX411L Battery Replacement: paso 12, imagen 1 de 1
    • A wire is still connecting the battery to the motherboard.

    • Lift and slide the battery out from under the three plastic prongs.

  13. Samsung NP-QX411L Battery Replacement: paso 13, imagen 1 de 1
    • Grab the wires and gently pull them away from the motherboard.

Conclusión

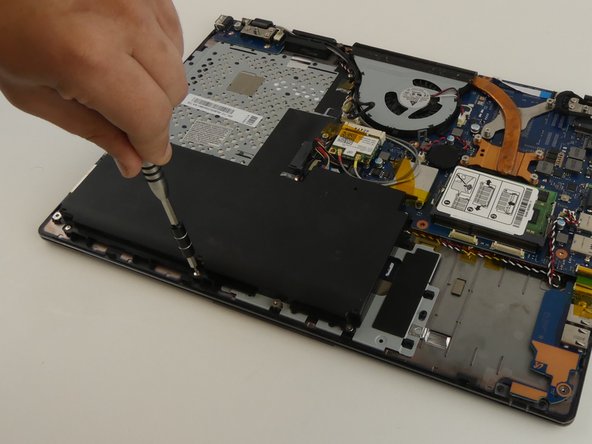
To reassemble your device, follow these instructions in reverse order.

3 personas más completaron esta guía.

Rebecca Johnson

Miembro Desde 02/17/17

561 Reputación

5 Guías creadas

Equipo

USF Tampa, Team S19-G3, Hoffman Spring 2017 Miembro de USF Tampa, Team S19-G3, Hoffman Spring 2017

USFT-HOFFMAN-S17S19G3

4 Miembros

5 Guías creadas

0 comentarios

Agregar Comentario

Ver Estadísticas:

Ultimas 24 horas: 3

Ultimos 7 días: 6

Ultimos 30 días: 19

Todo El Tiempo: 3,869