Esta guía ha sufrido modificaciones. Revisa la última versión sin revisar.
Introducción
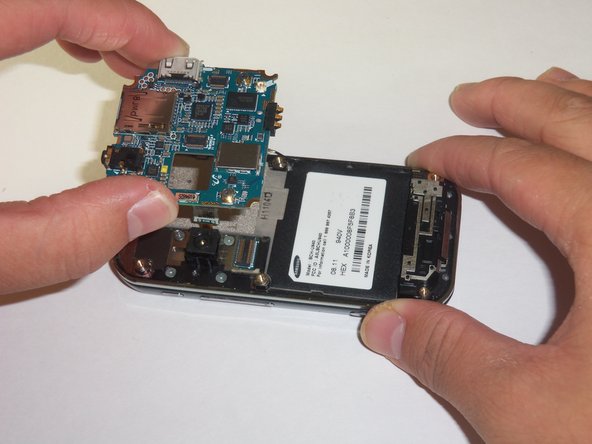
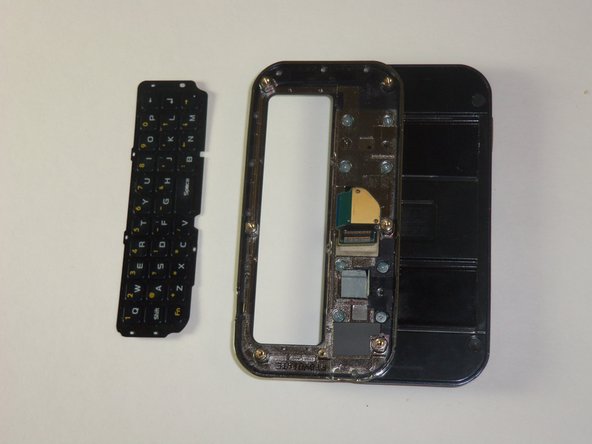
This guide will provide a step by step procedure for installing the keypad.
Qué necesitas
-
-
-
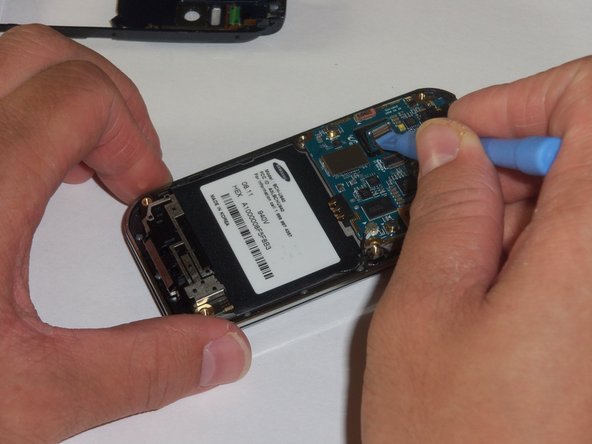
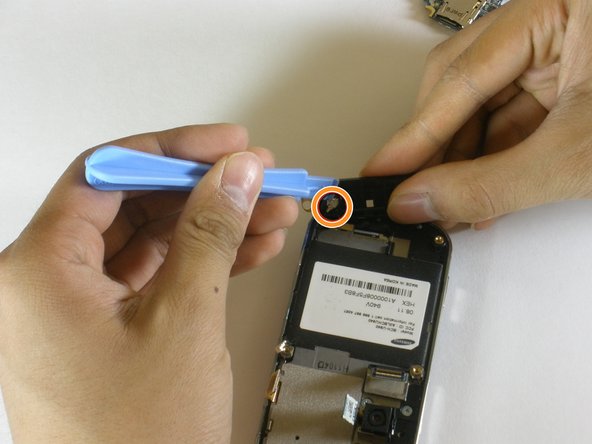
Look for the antenna which is located at the bottom end of the device. Prop the antenna out by using the plastic opening tool and slipping the tip of the tool into the edges of the antenna.
-
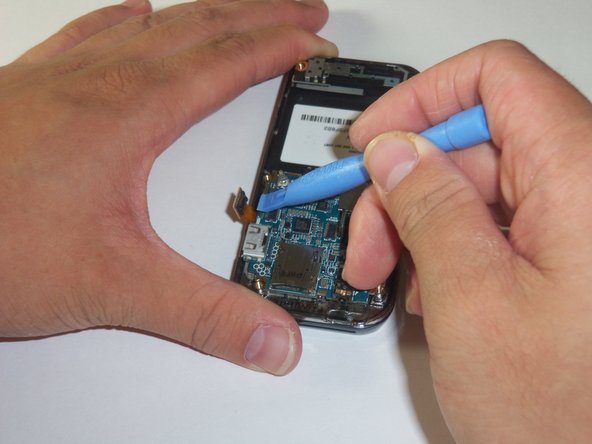
Using the plastic opening tool, disconnect the connector that leads from the phone to the antenna.
-
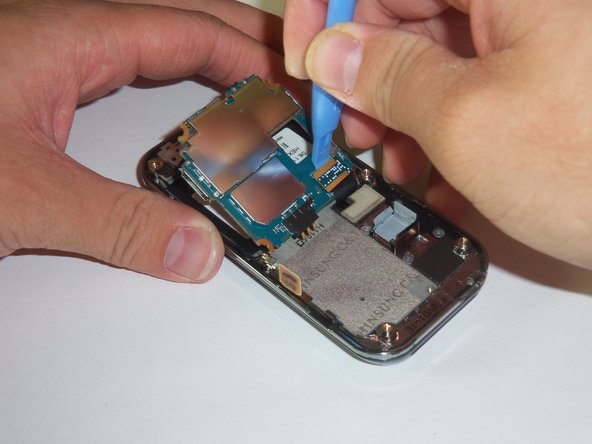
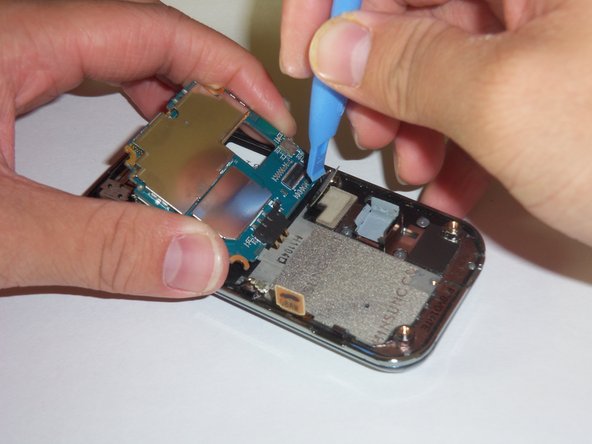
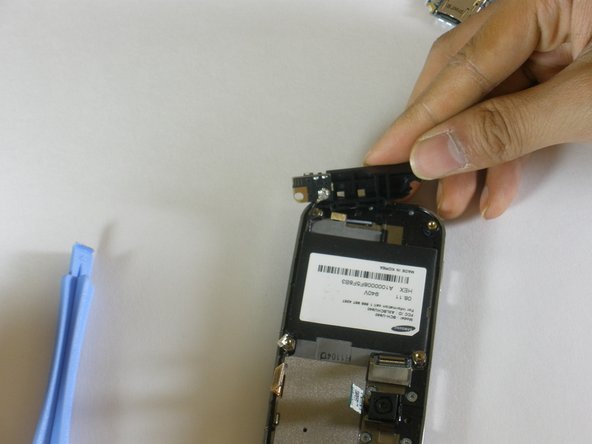
With your hands finish prying apart the antenna by lifting it up.
-


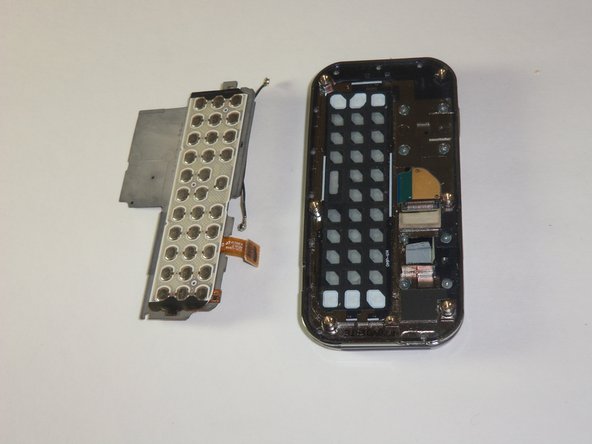

To reassemble your device, follow these instructions in reverse order.
To reassemble your device, follow these instructions in reverse order.
Equipo

Cal Poly, Team 3-12, Regan Fall 2011 Miembro de Cal Poly, Team 3-12, Regan Fall 2011
CPSU-REGAN-F11S3G12
4 Miembros
14 Guías creadas