Saltar al contenido principal

Samsung Galaxy Y Charging port and headphone jack Replacement

Qué necesitas

  1. Samsung Galaxy Y Charging port and headphone jack Replacement, Back Panel: paso 1, imagen 1 de 3 Samsung Galaxy Y Charging port and headphone jack Replacement, Back Panel: paso 1, imagen 2 de 3 Samsung Galaxy Y Charging port and headphone jack Replacement, Back Panel: paso 1, imagen 3 de 3
    • Use the blue plastic opening tool to pry the back-panel off of the device.

  2. Samsung Galaxy Y Charging port and headphone jack Replacement, Charging port and headphone jack: paso 2, imagen 1 de 3 Samsung Galaxy Y Charging port and headphone jack Replacement, Charging port and headphone jack: paso 2, imagen 2 de 3 Samsung Galaxy Y Charging port and headphone jack Replacement, Charging port and headphone jack: paso 2, imagen 3 de 3
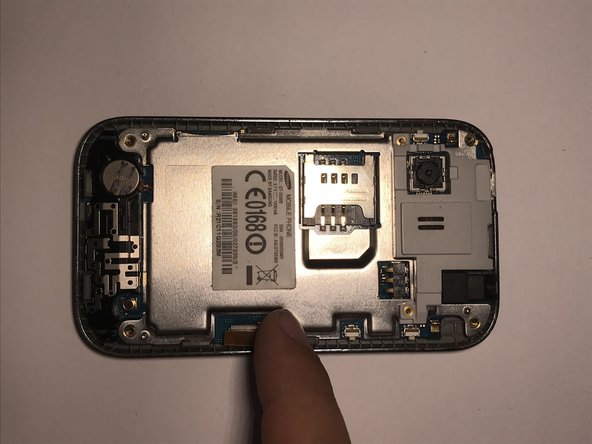
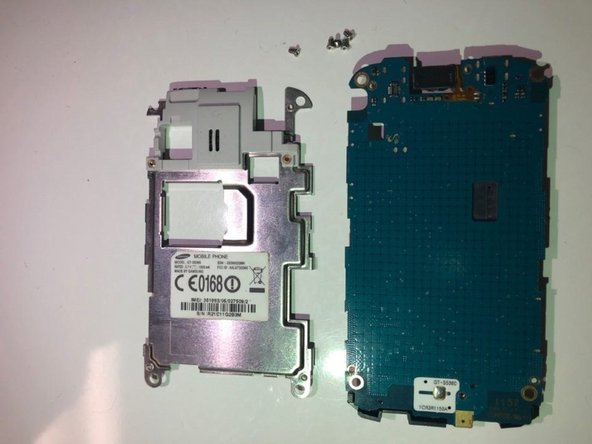
    • Use the screwdriver with a PH000 screwdriver head to remove the four 5mm screws located in the corner of the interior back panel.

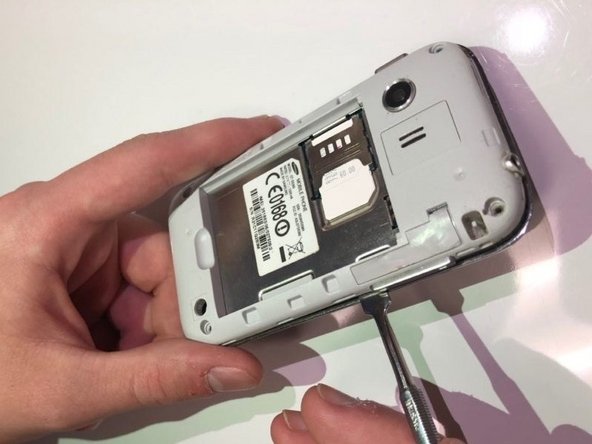
    • Remove the SD card as well by sliding the card out of it's slot.

  3. Samsung Galaxy Y Charging port and headphone jack Replacement: paso 3, imagen 1 de 3 Samsung Galaxy Y Charging port and headphone jack Replacement: paso 3, imagen 2 de 3 Samsung Galaxy Y Charging port and headphone jack Replacement: paso 3, imagen 3 de 3
    • Use metal pry tool to separate the interior back panel from the interior hardware and screen.

  4. Samsung Galaxy Y Charging port and headphone jack Replacement: paso 4, imagen 1 de 3 Samsung Galaxy Y Charging port and headphone jack Replacement: paso 4, imagen 2 de 3 Samsung Galaxy Y Charging port and headphone jack Replacement: paso 4, imagen 3 de 3
    • Disconnect the orange motherboard connection, then remove interior hardware from the front screen display.

  5. Samsung Galaxy Y Charging port and headphone jack Replacement: paso 5, imagen 1 de 3 Samsung Galaxy Y Charging port and headphone jack Replacement: paso 5, imagen 2 de 3 Samsung Galaxy Y Charging port and headphone jack Replacement: paso 5, imagen 3 de 3
    • Use a Phillips #000 screwdriver to remove the five 2mm screws located in the corner of the silver protective panel.

    • If the motherboard is cracked or damaged, then replace with a new one.

  6. Samsung Galaxy Y Charging port and headphone jack Replacement: paso 6, imagen 1 de 3 Samsung Galaxy Y Charging port and headphone jack Replacement: paso 6, imagen 2 de 3 Samsung Galaxy Y Charging port and headphone jack Replacement: paso 6, imagen 3 de 3
Conclusión

To reassemble your device, follow these instructions in reverse order.

Una persona más ha completado esta guía.

0 comentarios

Agregar Comentario

Ver Estadísticas:

Ultimas 24 horas: 0

Ultimos 7 días: 1

Ultimos 30 días: 6

Todo El Tiempo: 613