Esta versión puede contener ediciones incorrectas. Cambie a la última instantánea verificada.
Qué necesitas
-
Este paso está sin traducir. Ayuda a traducirlo
-
Place the plastic opening tool into the SD card slot or charge port.
-
Try in an upward motion until you see a separation between the tablet and back cover.
-
-
Este paso está sin traducir. Ayuda a traducirlo
-
Work around the entire device by sliding the plastic opening tool around the rim.
-
-
Este paso está sin traducir. Ayuda a traducirlo
-
Remove the back cover once all links have been separated.
-
-
-
Este paso está sin traducir. Ayuda a traducirlo
-
After taking off the back cover, use a pair of tweezers to disconnect the two (T807) ribbons.
-
-
Este paso está sin traducir. Ayuda a traducirlo
-
Remove the four screws holding down the battery using the Phillips #000 screwdriver.
-
-
Este paso está sin traducir. Ayuda a traducirlo
-
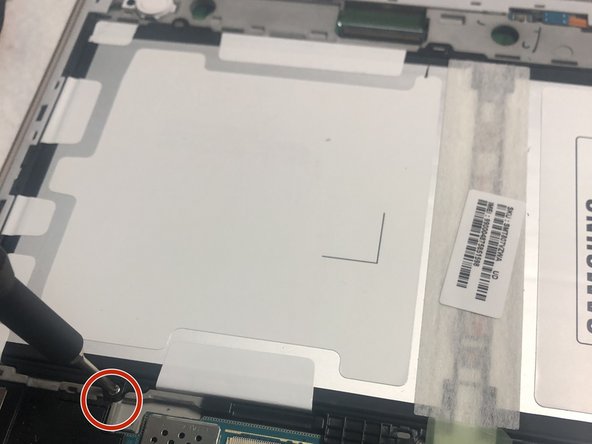
Use a Phillips #00 screwdriver to remove the screw holding the motherboard.
-
-
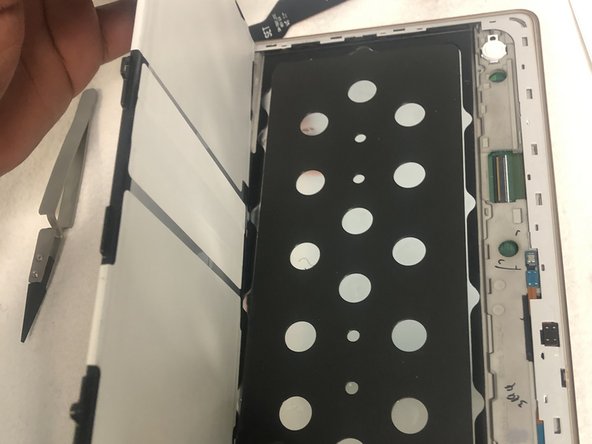
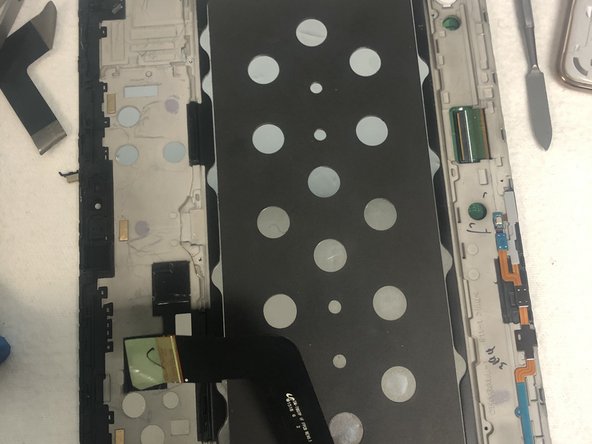
Este paso está sin traducir. Ayuda a traducirlo
-
Disconnect the motherboard and remove it from the device using the spudger.
-


Cancelar: No complete esta guía.
2 personas más completaron esta guía.

Equipo

The Citadel Military College of South Carolina, Team S3-G15, Eggleston Spring 2020 Miembro de The Citadel Military College of South Carolina, Team S3-G15, Eggleston Spring 2020
CMCSC-EGGLESTON-S20S3G15
3 Miembros
3 Guías creadas