Saltar al contenido principal

Samsung Galaxy Tab A 9.7 Display Replacement

Qué necesitas

  1. Samsung Galaxy Tab A 9.7 Display Replacement, Back Cover: paso 1, imagen 1 de 1
    • Insert a metal spudger between the back case and the screen of the device.

    • The back cover is attached to the device by a series of snaps. The snaps are positioned about an inch from each other.

    • Move the spudger along the perimeter of the device while it is in between the back case and the screen to open each snap.

    • There will be an audible click every time a snap releases.

  2. Samsung Galaxy Tab A 9.7 Display Replacement, Battery: paso 2, imagen 1 de 2 Samsung Galaxy Tab A 9.7 Display Replacement, Battery: paso 2, imagen 2 de 2
    • Remove the eleven #000 Phillips 2.8mm screws that hold the battery in place.

  3. Samsung Galaxy Tab A 9.7 Display Replacement: paso 3, imagen 1 de 2 Samsung Galaxy Tab A 9.7 Display Replacement: paso 3, imagen 2 de 2
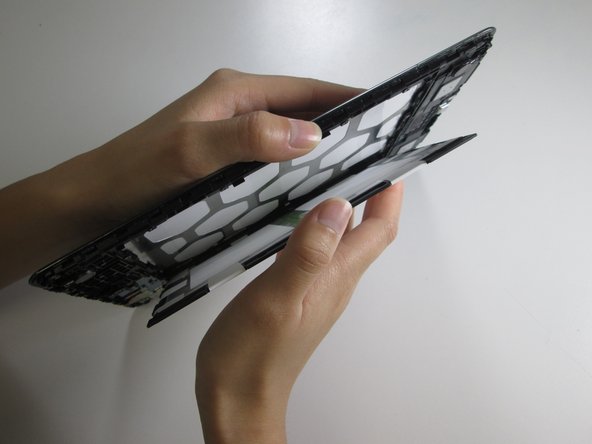
    • Place one hand on the battery and grasp the outer edge of the device with the other hand.

    • Flip the device over so that the battery falls over and onto your hand.

  4. Samsung Galaxy Tab A 9.7 Display Replacement: paso 4, imagen 1 de 2 Samsung Galaxy Tab A 9.7 Display Replacement: paso 4, imagen 2 de 2
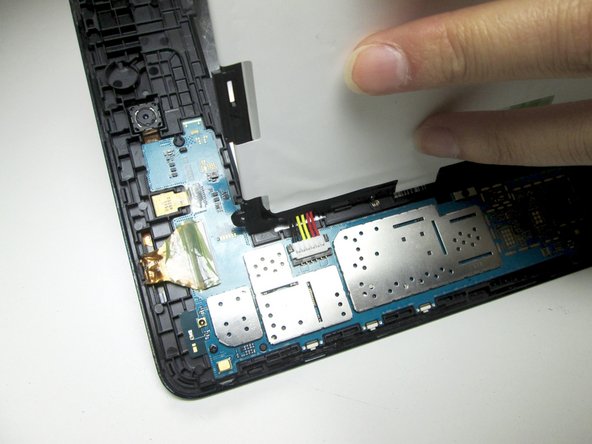
    • Pull the battery out until it is only connected to the device by the black, yellow, and red connectors.

  5. Samsung Galaxy Tab A 9.7 Display Replacement: paso 5, imagen 1 de 2 Samsung Galaxy Tab A 9.7 Display Replacement: paso 5, imagen 2 de 2
    • Hold the battery and grip the wires with your thumb and finger.

    • Pull the wires away from the device to remove the white connector from the black socket.

    • Lift the battery away from the device.

  6. Samsung Galaxy Tab A 9.7 Display Replacement, Display: paso 6, imagen 1 de 1
    • Gently remove the tape covering the screen ribbon cable, located at the top of the devise.

    • With the plastic spudger, disconnect the ribbon cable from the motherboard, located at the middle of the device.

  7. Samsung Galaxy Tab A 9.7 Display Replacement: paso 7, imagen 1 de 1
    • Using a plastic spudger, work around the edge of the screen, prying the screen away from the device.

  8. Samsung Galaxy Tab A 9.7 Display Replacement: paso 8, imagen 1 de 1
    • Use the left side of the tablet as a hinge to swing the display assembly open.

    • As you move the display assembly, make sure that the display ribbon cable is unattached.

Conclusión

To reassemble your device, follow these instructions in reverse order.

3 personas más completaron esta guía.

Un comentario

my device burnt down.

HetBesteNaam - Contestar

Agregar Comentario

Ver Estadísticas:

Ultimas 24 horas: 1

Ultimos 7 días: 6

Ultimos 30 días: 19

Todo El Tiempo: 2,585