Qué necesitas
-
-
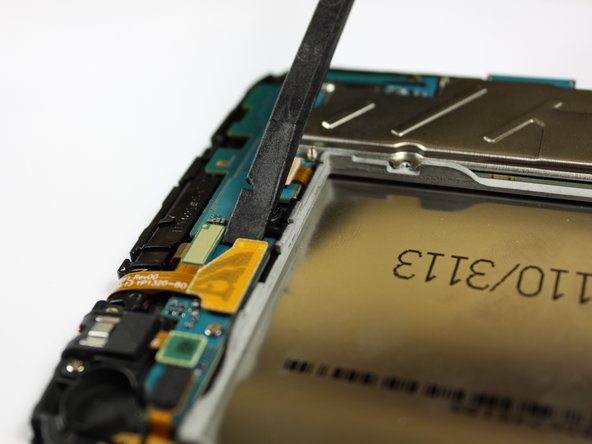
With a plastic opening tool, gently insert the prying end in between the glass digitizer and the silver frame from the front of the device.
-
-
Herramienta utilizada en este paso:Tweezers$4.99
-
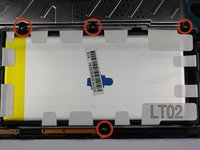
To begin actual removal of the battery itself, remove the four designated screws with your screwdriver.
-
Once the screws are removed, use either the tip of your screwdriver or a pair of tweezers to pull up the battery connector. Pull directly up and the connector should pop out.
-
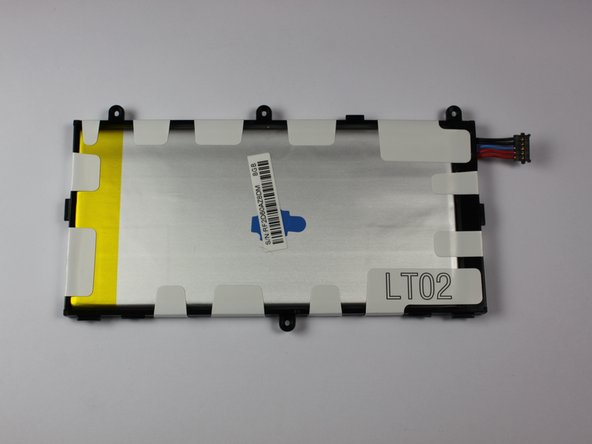
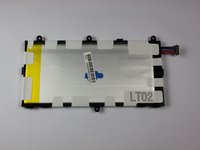
Once the battery is removed, it should look as it does in the third picture.
-
-
-
Herramienta utilizada en este paso:Tweezers$4.99
-
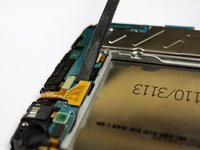
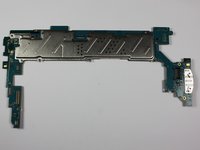
Begin replacement of the motherboard by releasing all connections holding down the motherboard, shown in the first picture.
-
To do this, use your spudger, tweezers, or a plastic opening tool and gently lift the connections up from their ports.
-
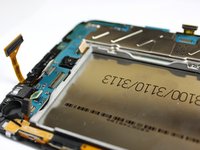
Once you separate all connections, the back of your device should look as it does in the third picture.
-
-
Herramienta utilizada en este paso:Tweezers$4.99
-
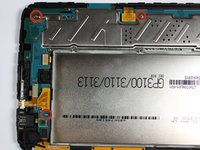
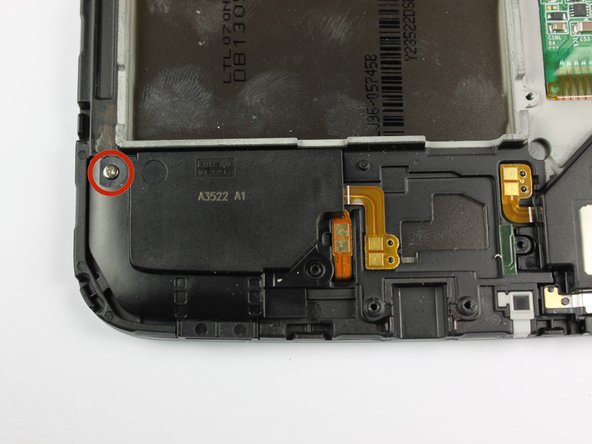
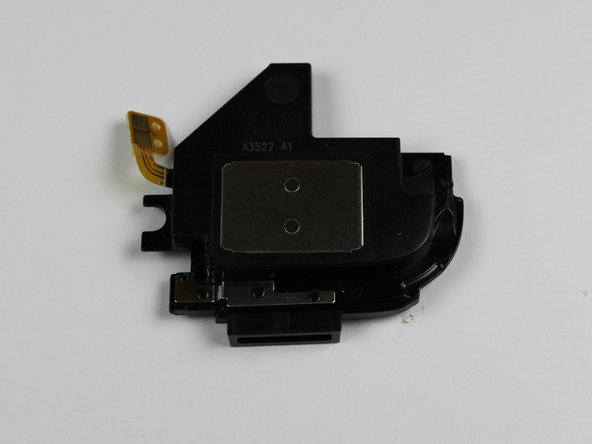
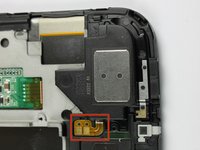
Release the right speaker's connection with either a spudger or tweezers as shown in the first picture. To do this, lift the wire directly up until the glued down wires come off.
-
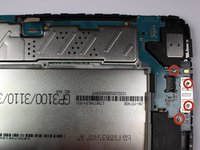
Once the connection is released, remove the single screw holding down the speaker, shown in the second picture.
-
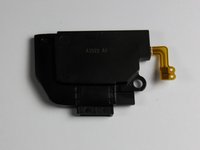
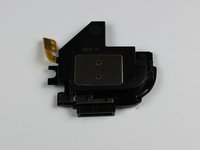
After removing the screw and releasing the connection, you should now be able to remove the right speaker and replace it with a new one.
-
-
-
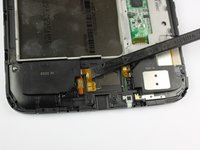
There is no screw that needs to be removed for the left speaker. All that must be done is to release the connection as done similarly with the right speaker.
-
Once the connection has been released, use your spudger or a plastic opening tool to lift the speaker up.
-
After completing this step, you can replace the left speaker with a new one.
-


To reassemble your device, follow these instructions in reverse order.
To reassemble your device, follow these instructions in reverse order.
Cancelar: No complete esta guía.
6 personas más completaron esta guía.
Equipo

Cal Poly, Team 7-20, Regan Spring 2014 Miembro de Cal Poly, Team 7-20, Regan Spring 2014
CPSU-REGAN-S14S7G20
4 Miembros
10 Guías creadas