Qué necesitas
Resumen del Video
-
-
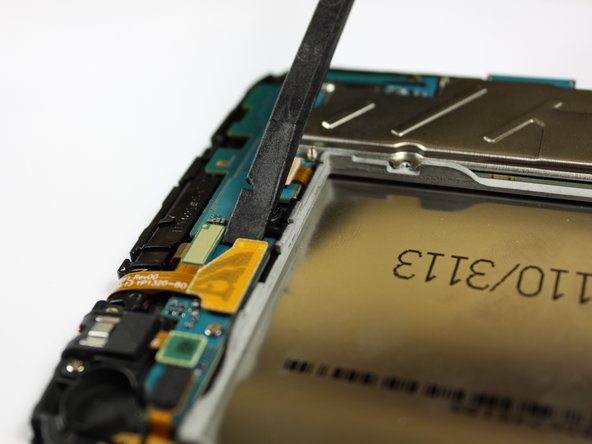
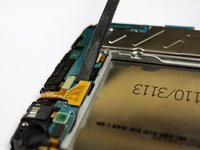
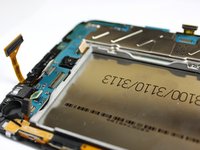
With a plastic opening tool, gently insert the prying end in between the glass digitizer and the silver frame from the front of the device.
-
-
-
Herramienta utilizada en este paso:Tweezers$4.99
-
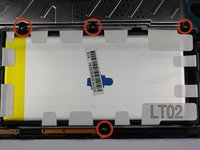
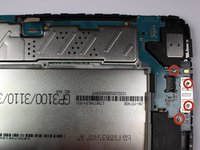
To begin actual removal of the battery itself, remove the four designated screws with your screwdriver.
-
Once the screws are removed, use either the tip of your screwdriver or a pair of tweezers to pull up the battery connector. Pull directly up and the connector should pop out.
-
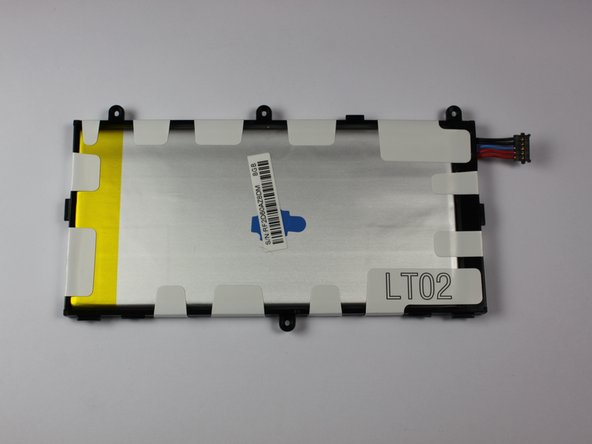
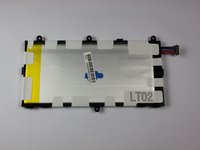
Once the battery is removed, it should look as it does in the third picture.
-
-
Herramienta utilizada en este paso:Tweezers$4.99
-
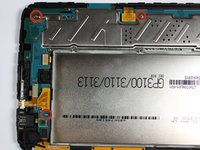
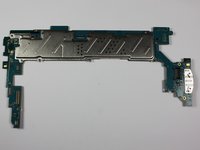
Begin replacement of the motherboard by releasing all connections holding down the motherboard, shown in the first picture.
-
To do this, use your spudger, tweezers, or a plastic opening tool and gently lift the connections up from their ports.
-
Once you separate all connections, the back of your device should look as it does in the third picture.
-


To reassemble your device, follow these instructions in reverse order.
To reassemble your device, follow these instructions in reverse order.
Cancelar: No complete esta guía.
48 personas más completaron esta guía.
Equipo

Cal Poly, Team 7-20, Regan Spring 2014 Miembro de Cal Poly, Team 7-20, Regan Spring 2014
CPSU-REGAN-S14S7G20
4 Miembros
10 Guías creadas
8 comentarios
So I will add to this, please do not take the back case off as shown here, it will cause damage to the case and will not snap back in place properly. The casing comes off around the digitizer itself, if you decide to do this yourself slide your spudger or plastic pick along the sides of the screen, applying enough pressure to snap the casing from the screens frame. I work on Samsung tablets for a living and know doing it the way they show will cause damage to the casing. Basically what is shown in step 2 of removing the silver frame is what you should do first, not in separate steps. If you don't have any warranty then by all means do it how you want, if you have warranty dont do this as it can void your warranty.
Even if's it's not a screen replacement instruction it really help me start on the replacement. Thanks for the help
Where can I get a motherboard for a T-211?++My email is gemartin46@gmail.com
Thanks