Introducción
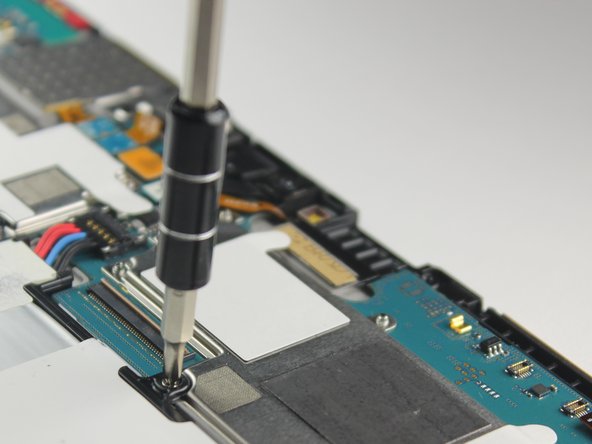
You will first need to remove the back panel of the device to gain access to the battery housing. There are four total cables to disconnect before the battery comes free: one power cable that runs between the motherboard and the battery itself, and three ribbon cables that inhibit access to the battery. A small electronics screwdriver, preferably a Phillips #00, will remove the screws holding the battery in its housing. From there the battery can be replaced.
Qué necesitas
-
-
Screen side facing you, rotate device 180 degrees so the "SAMSUNG" logo is upside down.
-
-
-
Using the plastic opening tool, start in the center near the charge port and wedge the angled tip between the plastic back and the glass screen.
-
Create a wedge and apply pressure. Use the tool to separate the screen from the back until you hear an audible “pop."
-
Continue to wedge the tool about every inch along the current edge.
-
-
-
-
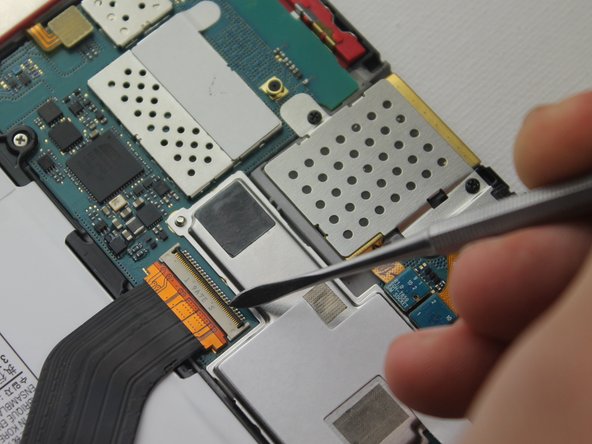
Remove the small piece of tape covering the ribbon connector.
-
You don't need to save this piece of tape.
-
-
-
Carefully slide a plastic spudger under the black strip of plastic on the far side of the ribbon connector housing.
-
Lift the black strip upwards. This will release the ribbon.
-
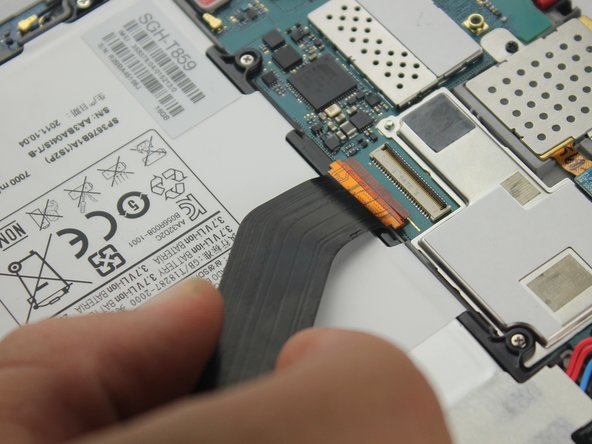
Slide the ribbon out of the connector.
-
Repeat this step to release the other two ribbons.
-
You will need to remove the tape from covering those connectors, too.
-


To reassemble your device, follow these instructions in reverse order.
To reassemble your device, follow these instructions in reverse order.
Cancelar: No complete esta guía.
7 personas más completaron esta guía.
Equipo

Baylor, Team 10-11, Williams Fall 2015 Miembro de Baylor, Team 10-11, Williams Fall 2015
BU-WILLIAMS-F15S10G11
3 Miembros
16 Guías creadas