Esta versión puede contener ediciones incorrectas. Cambie a la última instantánea verificada.
Qué necesitas
-
Este paso está sin traducir. Ayuda a traducirlo
-
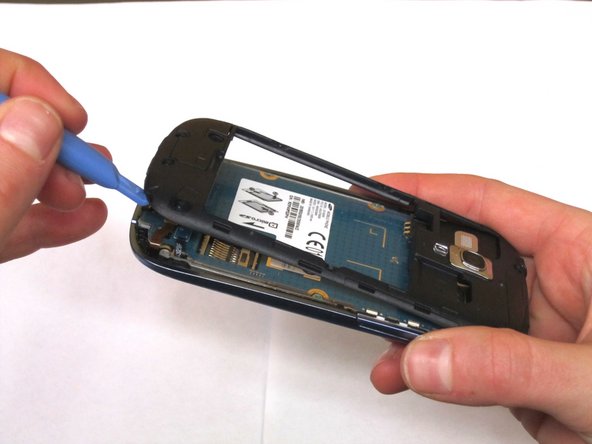
Flip your phone so you are facing the back.
-
Locate the notch at the top and gently use your finger or an opening tool to remove the rear casing.
-
-
Este paso está sin traducir. Ayuda a traducirlo
-
Use your finger or an opening tool to pry the battery out of the phone.
-
-
-
Este paso está sin traducir. Ayuda a traducirlo
-
Use the Phillips #000 Screwdriver to remove the 10, 4mm screws holding the plastic frame in place.
-
-
Este paso está sin traducir. Ayuda a traducirlo
-
Using an opening tool, gently separate the plastic framing from the phone.
-
-
Este paso está sin traducir. Ayuda a traducirlo
-
Unhook the two electrical connections at the bottom of the phone using your fingernail or a spudger.
-
Next, use the spudger and tweezers to remove the speaker at the top of the phone.
-
Once the 3 components have detached, the circuit board should release from the phone except for 1 connection on the underside.
-
Detach this connection using the spudger.
-


Equipo

Michigan Tech, Team 1-8, Lauer Fall 2014 Miembro de Michigan Tech, Team 1-8, Lauer Fall 2014
MTU-LAUER-F14S1G8
3 Miembros
6 Guías creadas