Esta versión puede contener ediciones incorrectas. Cambie a la última instantánea verificada.
Qué necesitas
-
Este paso está sin traducir. Ayuda a traducirlo
-
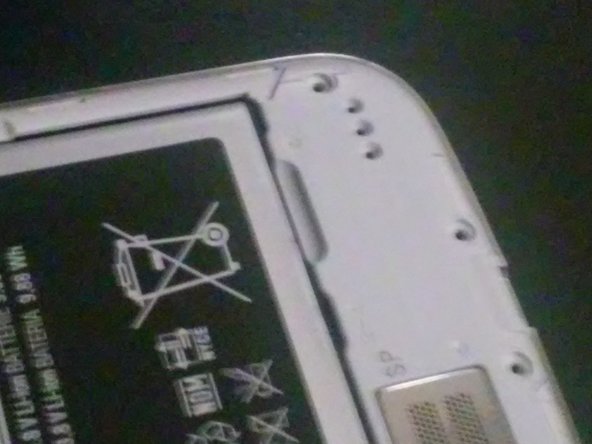
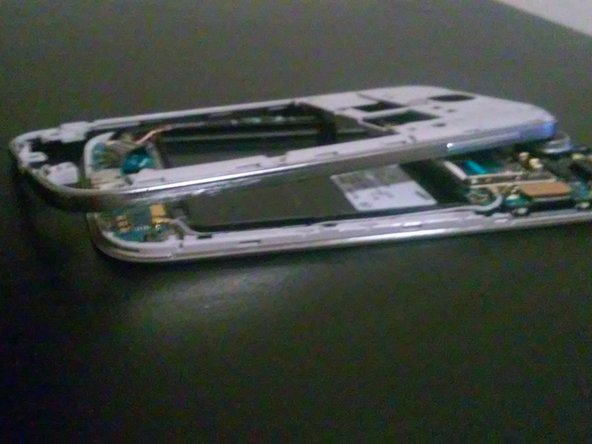
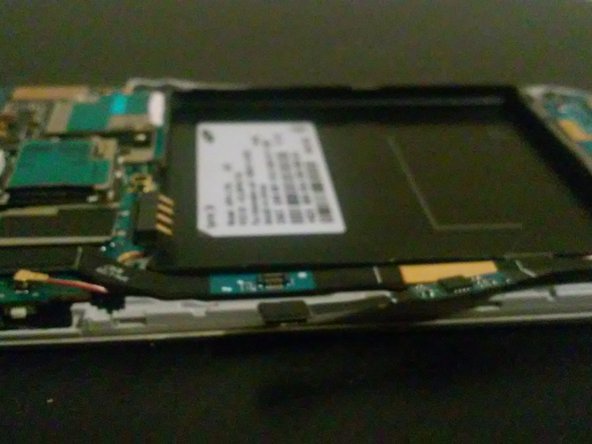
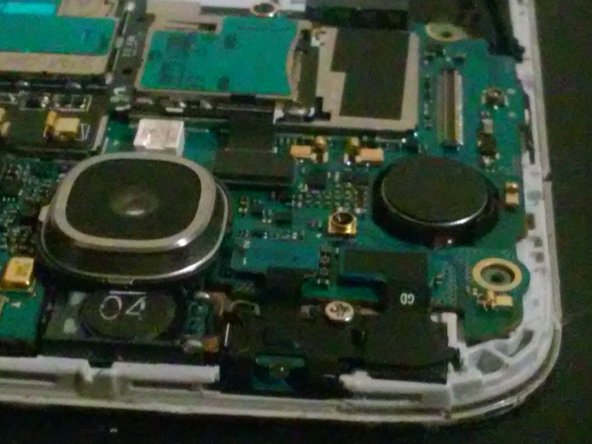
Remove Speaker using a thin rigid plastic thing, starting from where the battery nail-hold is located.
-
-
Este paso está sin traducir. Ayuda a traducirlo
-
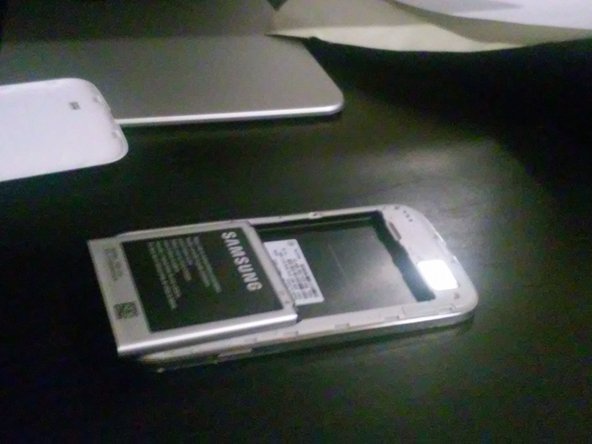
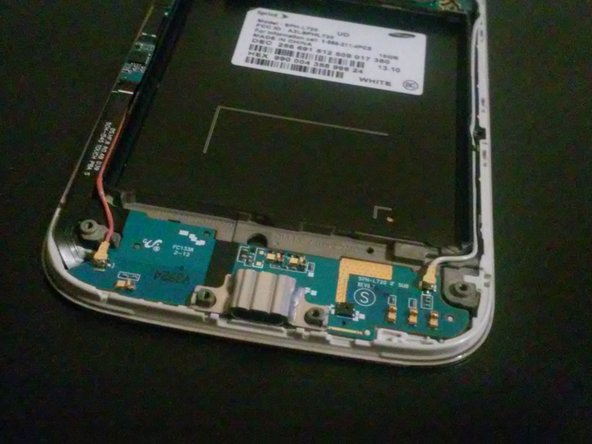
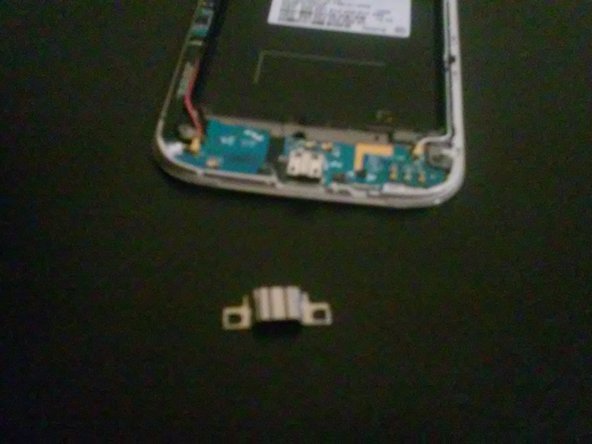
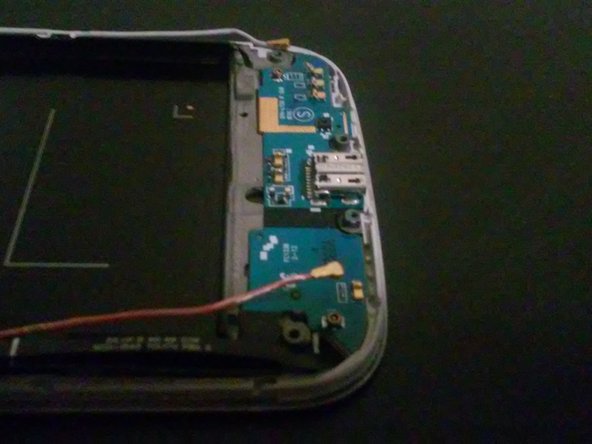
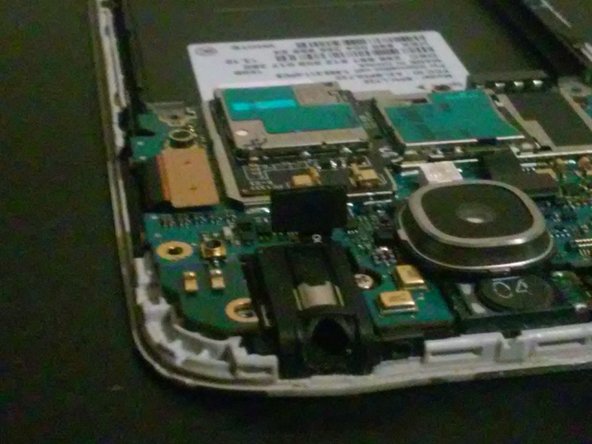
Remove clip off of USB port with a flathead screwdriver.
-
-
-
Este paso está sin traducir. Ayuda a traducirlo
-
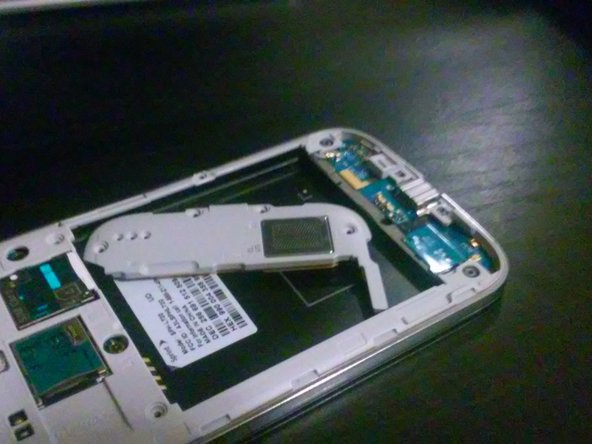
Use a platic knife or flathead srewdriver to gently unplug the cable.
-
-
Este paso está sin traducir. Ayuda a traducirlo
-
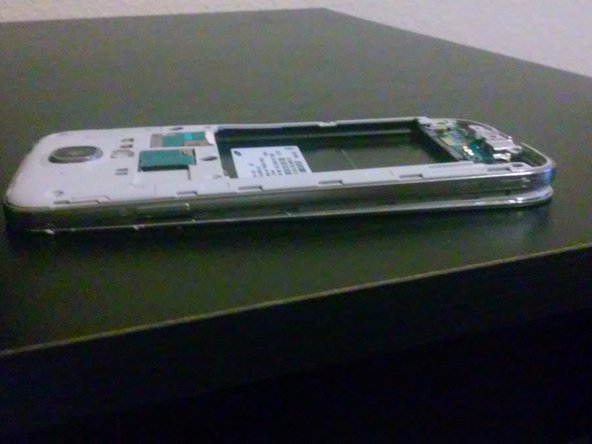
Use your flathead screwdrive to carefully detatch the Touch and Homescreen Flex cable
-
-
Este paso está sin traducir. Ayuda a traducirlo
-
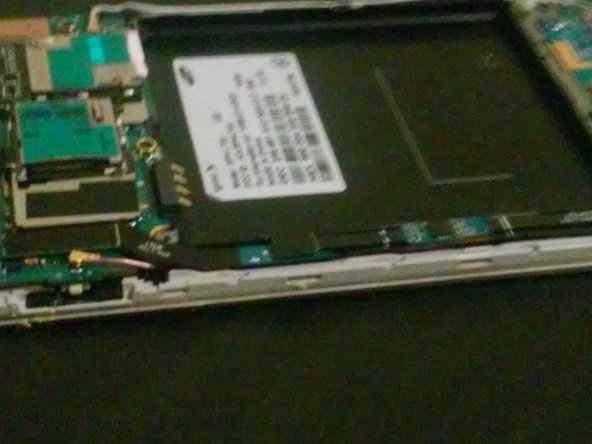
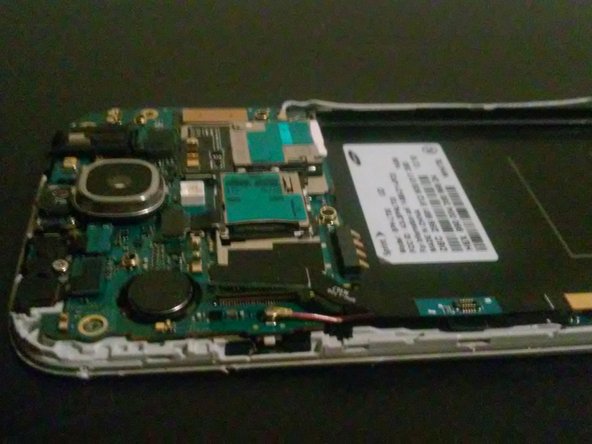
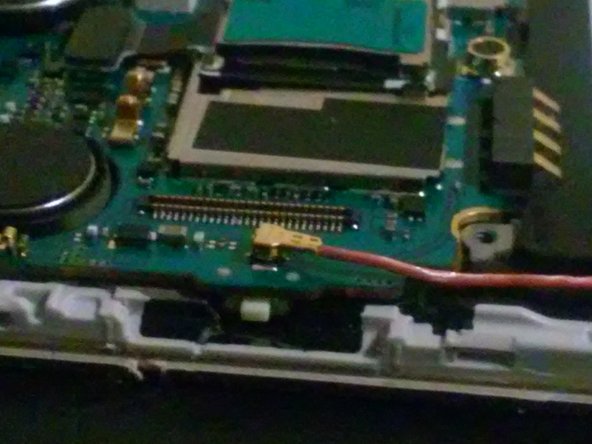
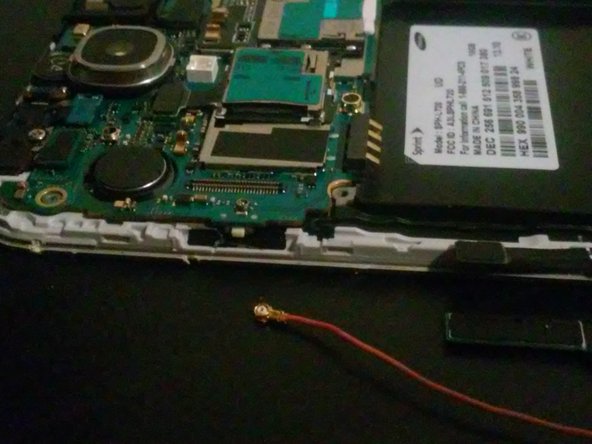
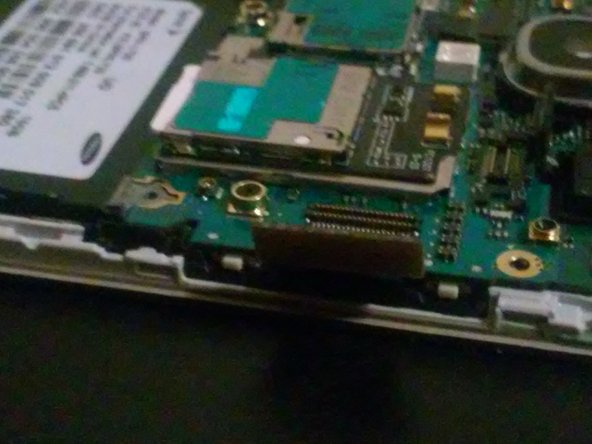
Remove the 3G and GSM antenna cable from the motherboard.
-
-
Este paso está sin traducir. Ayuda a traducirlo
-
Disconnect main screen cable
-
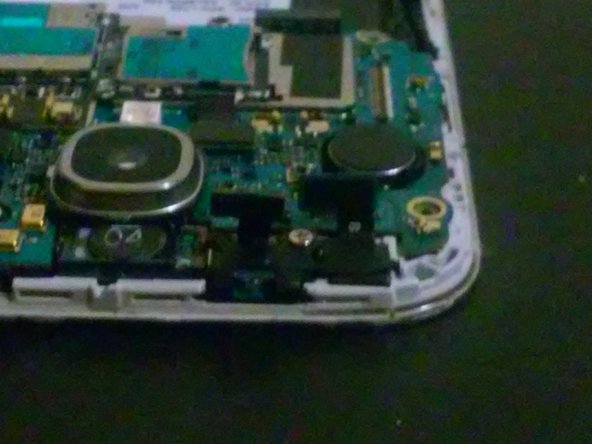
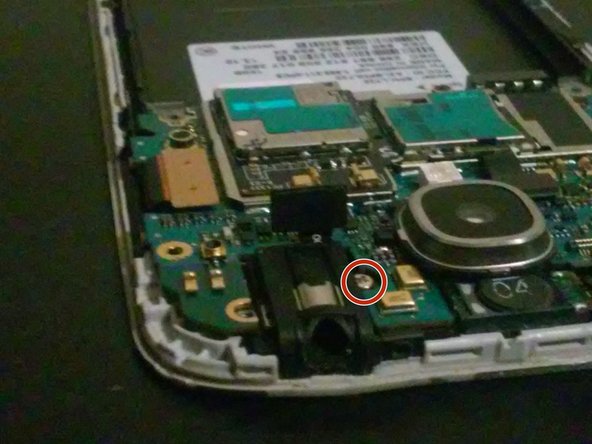
Don't forget to remove this screw.
-


Cancelar: No complete esta guía.
8 personas más completaron esta guía.
2 comentarios
This sucked so baaaaaaad.
I found it helpful, though you're right that it could use a lot of work.
You neglected to mention a screw that holds the motherboard to the display assembly. It can be found to the lower right of the headphone jack and should be removed immediately prior to step 17.
To others who may come along, the USB/daughterboard assembly is affixed to the display chassis with mild adhesive. The daughterboard is VERY flexible and should be removed with caution. I used the flat end of a spudger to gently pry the board up from the chassis by going underneath the cabling on the lefthand side.
Thanks!
E West -