Saltar al contenido principal

Esta versión puede contener ediciones incorrectas. Cambiar a la última instantánea verificada.

Qué necesitas

  1. Este paso está sin traducir. Ayuda a traducirlo

    : paso 1, imagen 1 de 2 : paso 1, imagen 2 de 2
    • We have a Samsung Galaxy S II with broken screen.

  2. Este paso está sin traducir. Ayuda a traducirlo

    : paso 2, imagen 1 de 3 : paso 2, imagen 2 de 3 : paso 2, imagen 3 de 3
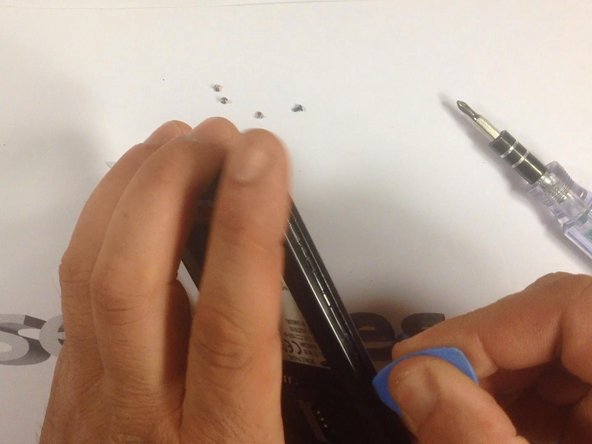
    • Remove your battery, the SIM card and the SD card.

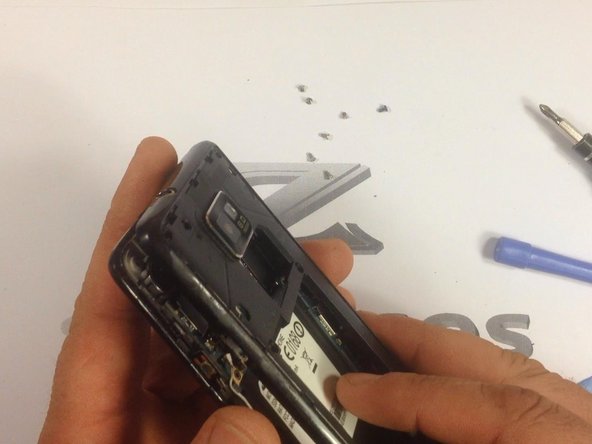
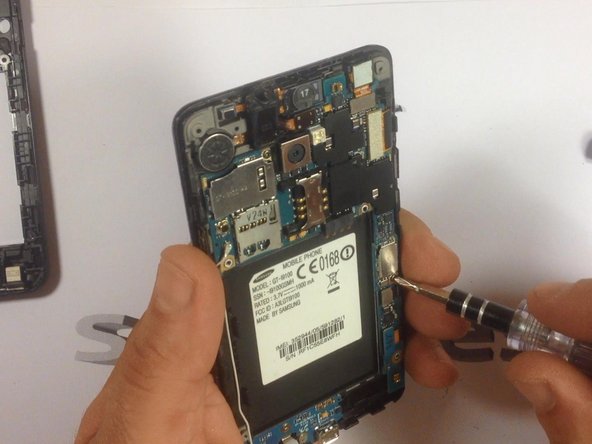
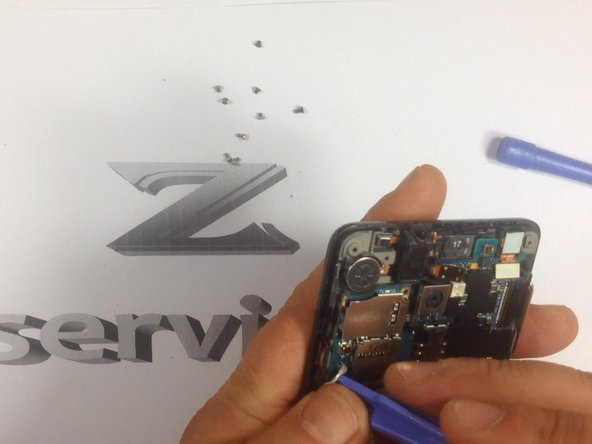
    • Remove the 7 screws highlighted in red.

  3. Este paso está sin traducir. Ayuda a traducirlo

    : paso 3, imagen 1 de 3 : paso 3, imagen 2 de 3 : paso 3, imagen 3 de 3
    • Use a plastic tool to remove the rear housing.

  4. Este paso está sin traducir. Ayuda a traducirlo

    : paso 4, imagen 1 de 2 : paso 4, imagen 2 de 2
    • The mother board is held by 2x screws. Remove them.

  5. Este paso está sin traducir. Ayuda a traducirlo

    : paso 5, imagen 1 de 3 : paso 5, imagen 2 de 3 : paso 5, imagen 3 de 3
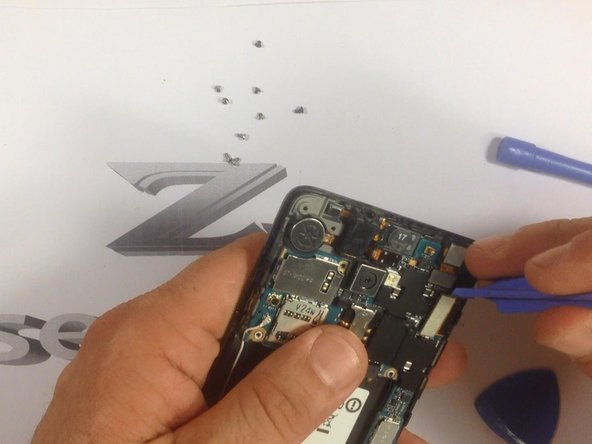
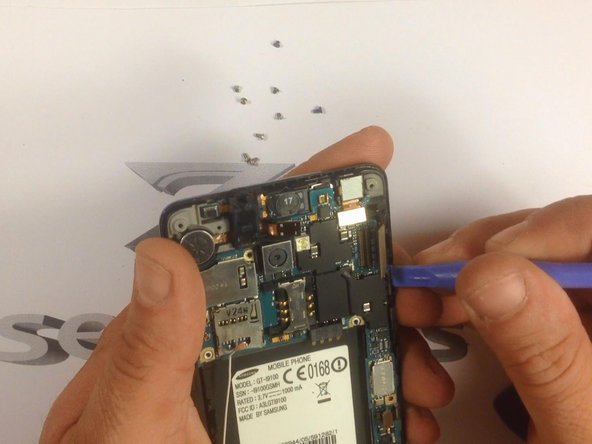
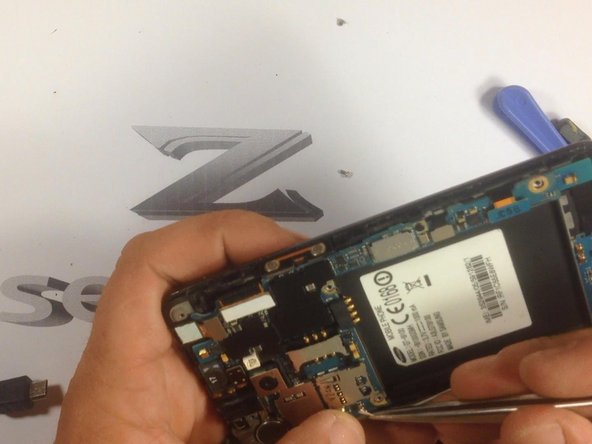
    • Remove the cables that are highlighted in red, before continuing to the screen.

  6. Este paso está sin traducir. Ayuda a traducirlo

    : paso 6, imagen 1 de 3 : paso 6, imagen 2 de 3 : paso 6, imagen 3 de 3
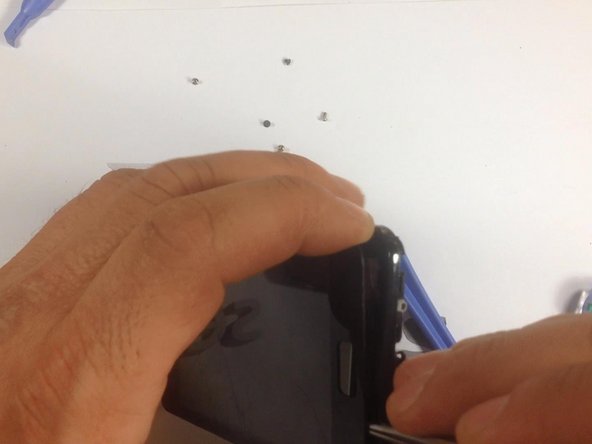
    • Release the side buttons. The arrow will point you to where they are.

  7. Este paso está sin traducir. Ayuda a traducirlo

    : paso 7, imagen 1 de 2 : paso 7, imagen 2 de 2
    • Careful release the motherboard from it's housing.

  8. Este paso está sin traducir. Ayuda a traducirlo

    : paso 8, imagen 1 de 2 : paso 8, imagen 2 de 2
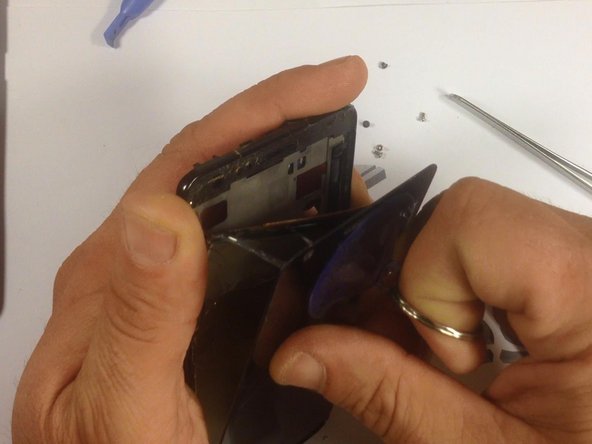
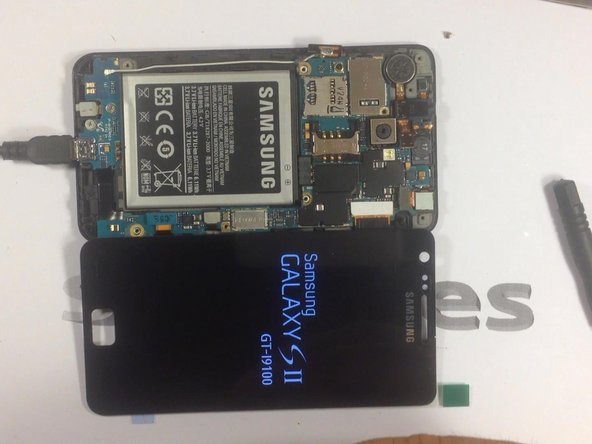
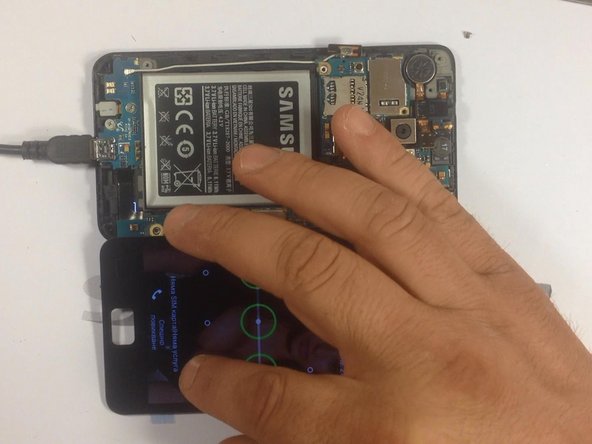
    • At this moment if you have touch screen with LCD and frame like spare part you are ready for replacing.

    • We will continue with disassembling LCD and Touch from the frame. Now preheat it before removing!

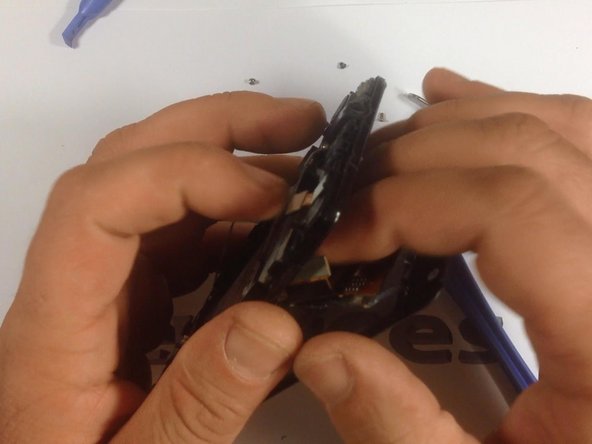
    • Use a hot air to soften the adhesive enough to remove the glass.

  9. Este paso está sin traducir. Ayuda a traducirlo

    : paso 9, imagen 1 de 3 : paso 9, imagen 2 de 3 : paso 9, imagen 3 de 3
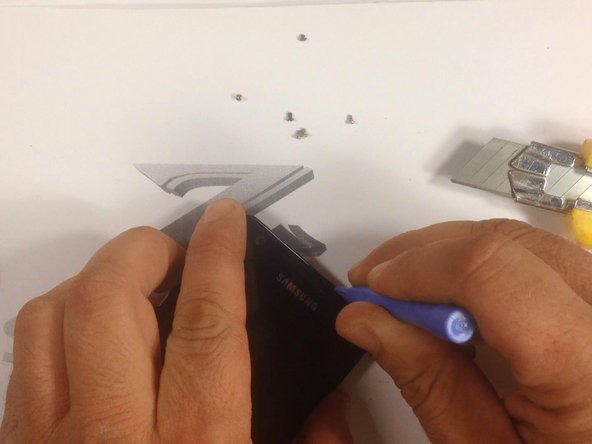
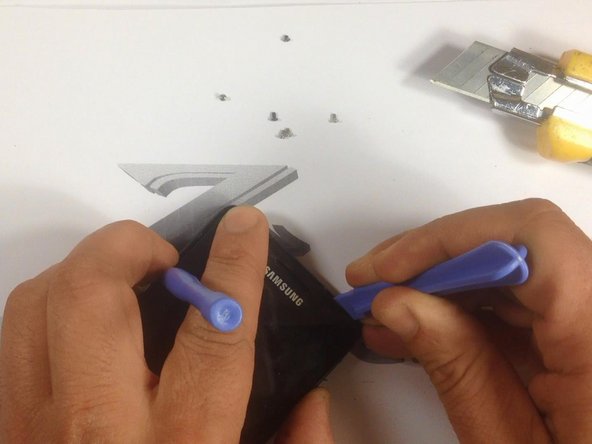
    • With a cutter, make a room for a plastic tool, then continue with separating the Touchscreen & LCD Display from the frame.

  10. Este paso está sin traducir. Ayuda a traducirlo

    : paso 10, imagen 1 de 3 : paso 10, imagen 2 de 3 : paso 10, imagen 3 de 3
    • Be careful with the menu buttons flex cable in the bottom side of the touchscreen. You must release it before separating the digitizer from the frame.

  11. Este paso está sin traducir. Ayuda a traducirlo

    : paso 11, imagen 1 de 3 : paso 11, imagen 2 de 3 : paso 11, imagen 3 de 3
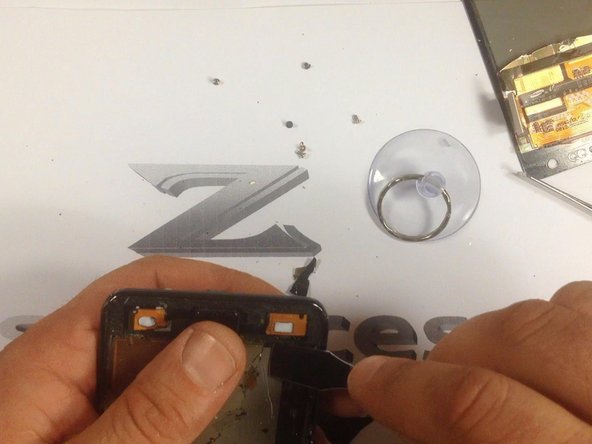
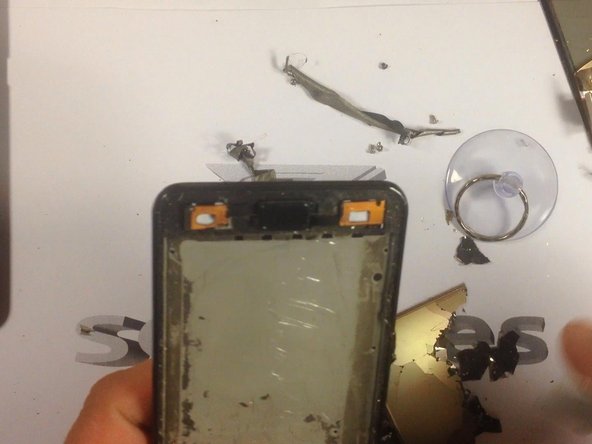
    • Now, use a suction tool to remove the screen from it's housing. Be careful when doing this, to prevent possible injury.

  12. Este paso está sin traducir. Ayuda a traducirlo

    : paso 12, imagen 1 de 3 : paso 12, imagen 2 de 3 : paso 12, imagen 3 de 3
    • Clean the frame from the remains of tape.

  13. Este paso está sin traducir. Ayuda a traducirlo

    : paso 13, imagen 1 de 3 : paso 13, imagen 2 de 3 : paso 13, imagen 3 de 3
    • Test the new spare part before reassembling.

  14. Este paso está sin traducir. Ayuda a traducirlo

    : paso 14, imagen 1 de 3 : paso 14, imagen 2 de 3 : paso 14, imagen 3 de 3
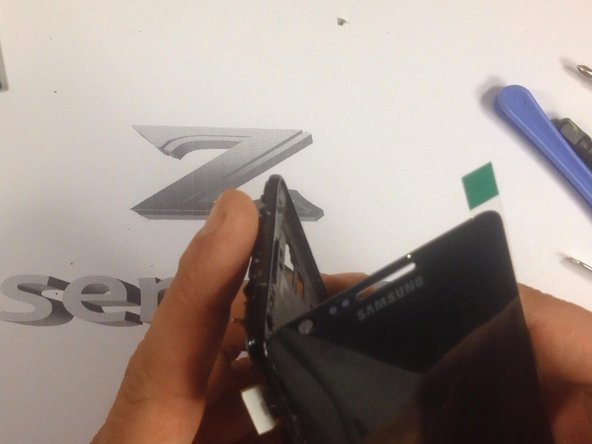
    • Install the LCD&Digitiser on it's housing.

    • Many times the spare parts come without adhesive tape. In this situation you'll need to install double sided adhesive tape yourself. Also you can easy find adhesive sticker exactly for the model.

  15. Este paso está sin traducir. Ayuda a traducirlo

    : paso 15, imagen 1 de 3 : paso 15, imagen 2 de 3 : paso 15, imagen 3 de 3
    • To reassemble your device, follow these instructions in reverse order.

Linea de Meta

32 personas más completaron esta guía.

ZFix

Miembro Desde 12/09/13

191,278 Reputación

330 Guías creadas

Equipo

Master Techs Miembro de Master Techs

Community

322 Miembros

2,528 Guías creadas

9 comentarios

I attempted to replace the display glass alone on a Virgin Mobile Galaxy SII, and was unsuccessful. Removing the Glass from the Digitizer proved to be extremely difficult. It seems as if the Virgin Mobile version of the SII is not meant for repair, so easily.

Edward Weissbard - Contestar

Yes, removing the glass is very difficult and you must have some experience from before.

ZFix - Contestar

To moderators: please un-archive this guide: there's no replacement or "updated version of the guide" among the current guides.

yurkennis - Contestar

To moderators :

please there is a photo of a babe in the video tutorial and in the photo tutorial, not for children.

Frederic Morelli - Contestar

how much the cost in replacement display with fame.....samsung galaxy s2

Bhola Shrestha - Contestar

Agregar Comentario

Ver Estadísticas:

Ultimas 24 horas: 0

Ultimos 7 días: 5

Ultimos 30 días: 21

Todo El Tiempo: 98,608