Saltar al contenido principal

Esta versión puede contener ediciones incorrectas. Cambiar a la última instantánea verificada.

Qué necesitas

  1. Este paso está sin traducir. Ayuda a traducirlo

    : paso 1, imagen 1 de 2 : paso 1, imagen 2 de 2
    Herramienta utilizada en este paso:
    Spudger
    $2.99
    Comprar
    • Using the nylon spudger or plastic opening tool along the edges of the screen, separate the back case off of the device.

    • If possible, consider using the black nylon spudger for a gentler separation.

  2. Este paso está sin traducir. Ayuda a traducirlo

    : paso 2, imagen 1 de 1
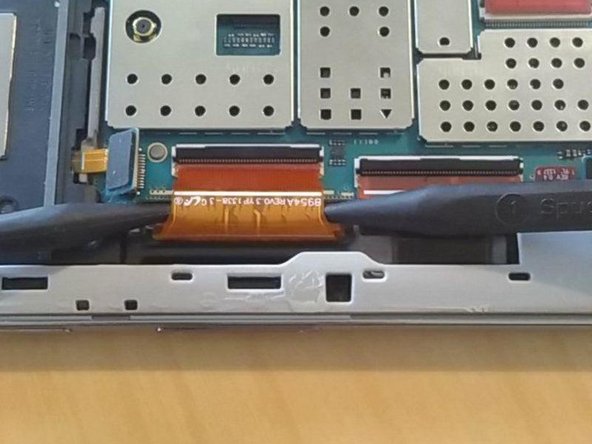
    • Place your finger on the thin black bar at the end of the ribbon tape and flip each one up.

    • Gently pull the ribbon tape on the battery away from the bar. Repeat this process for the second ribbon tape.

  3. Este paso está sin traducir. Ayuda a traducirlo

    : paso 3, imagen 1 de 1
    Herramienta utilizada en este paso:
    Phillips #000 Screwdriver
    $5.49
    Comprar
  4. Este paso está sin traducir. Ayuda a traducirlo

    : paso 4, imagen 1 de 2 : paso 4, imagen 2 de 2
    Herramienta utilizada en este paso:
    Spudger
    $2.99
    Comprar
    • Lift up the battery from the bottom and situate the black nylon spudger underneath the battery.

    • Use the black nylon spudger to disconnect the multi-colored wires from the rest of the device.

  5. Este paso está sin traducir. Ayuda a traducirlo

    : paso 5, imagen 1 de 2 : paso 5, imagen 2 de 2
    • Remove the three 3mm screws on the top right side of the device with the Phillips PH000 screw head.

    • Remove the one 3mm screw on the top left side of the device with the same method.

  6. Este paso está sin traducir. Ayuda a traducirlo

    : paso 6, imagen 1 de 3 : paso 6, imagen 2 de 3 : paso 6, imagen 3 de 3
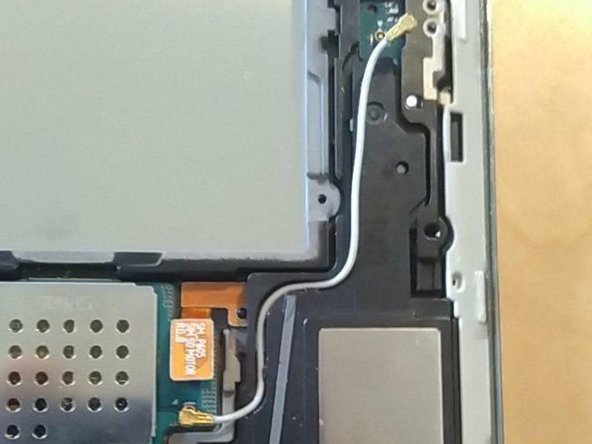
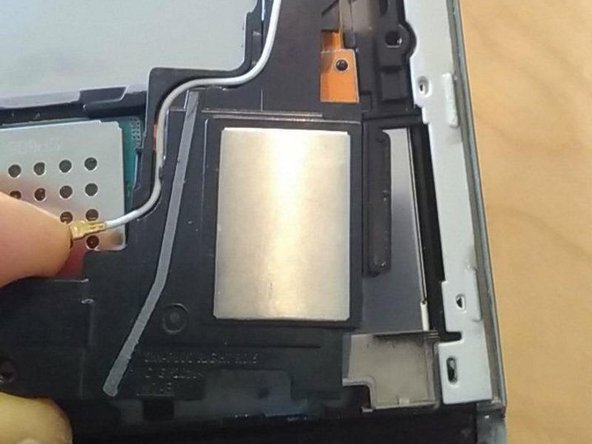
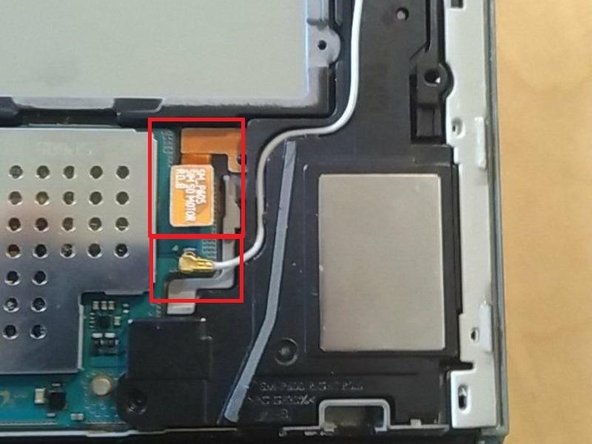
    • Remove the gray rubber piece.

    • Use a spudger or fingernail to disconnect the blue antenna cable from the motherboard.

    • Remove the right speaker unit.

  7. Este paso está sin traducir. Ayuda a traducirlo

    : paso 7, imagen 1 de 3 : paso 7, imagen 2 de 3 : paso 7, imagen 3 de 3
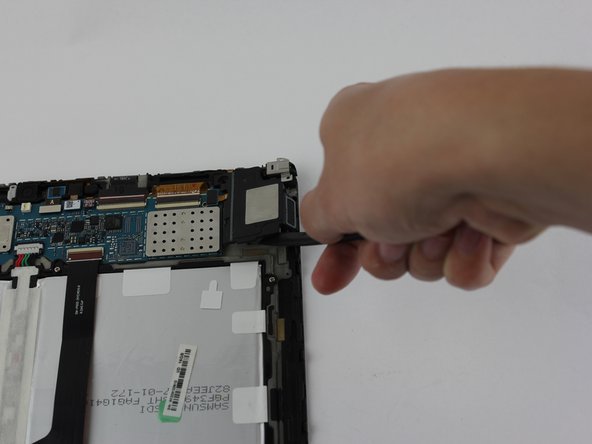
    • Remove the loudspeaker modules located on the parts where the screws were removed by using the black nylon spudger.

    • They are the black pieces at the top left and right corners of the device that have metal squares on them in the middle.

  8. Este paso está sin traducir. Ayuda a traducirlo

    : paso 8, imagen 1 de 2 : paso 8, imagen 2 de 2
    • Disconnect the camera piece from the motherboard.

    • The camera piece is shaped like an "L".

  9. Este paso está sin traducir. Ayuda a traducirlo

    : paso 9, imagen 1 de 3 : paso 9, imagen 2 de 3 : paso 9, imagen 3 de 3
    • Disconnect all cables on the motherboard.

    • See our connector guide for help safely disconnecting various types of connectors.

  10. Este paso está sin traducir. Ayuda a traducirlo

    : paso 10, imagen 1 de 3 : paso 10, imagen 2 de 3 : paso 10, imagen 3 de 3
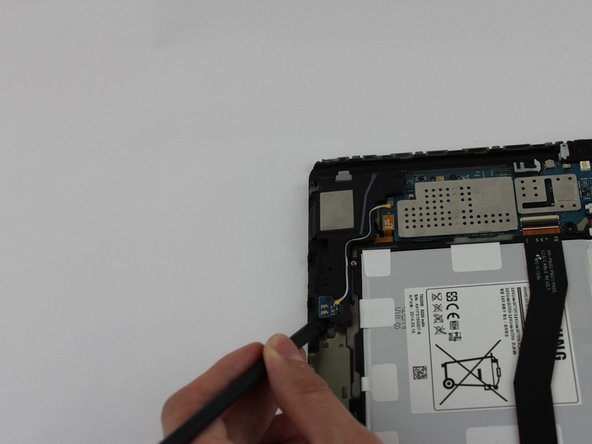
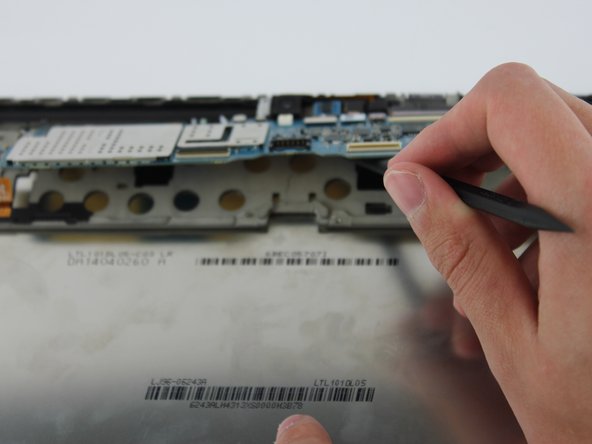
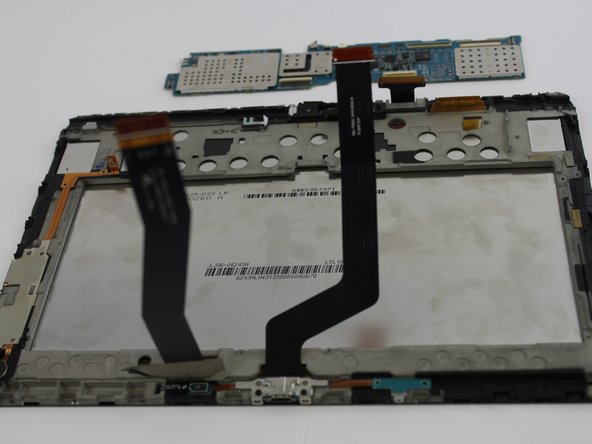
    • Use the black nylon spudger to gently lift the motherboard away from the frame.

    • Remove the motherboard.

  11. Este paso está sin traducir. Ayuda a traducirlo

    : paso 11, imagen 1 de 1
    • remove middle frame by pulling it off

  12. Este paso está sin traducir. Ayuda a traducirlo

    • follow as shown on TechGuru.gr

    • Screen burst, be aware of glass splinters. May you cover the screen with tissue

  13. Este paso está sin traducir. Ayuda a traducirlo

    : paso 13, imagen 1 de 1
    • buttons are glued to frame, gently lift up screen

    • pull of cable, connecting the buttons, gently

  14. Este paso está sin traducir. Ayuda a traducirlo

    : paso 14, imagen 1 de 1
    • rub of the glue with the fingers

    • remove residues with makeup remover or similar

Linea de Meta

9 personas más completaron esta guía.

Stefn Mueller

Miembro Desde 12/23/15

403 Reputación

1 Guía escrita

4 comentarios

is the digitizer glued to the lcd screen?

Amiel D Hechanova - Contestar

The e battery and screen cable clasps that hold tge cables in….. Where do i get them repaired

Paul Brook - Contestar

Hi can somebody help me

Paul Brook - Contestar

Agregar Comentario

Ver Estadísticas:

Ultimas 24 horas: 0

Ultimos 7 días: 6

Ultimos 30 días: 36

Todo El Tiempo: 10,320