Esta versión puede contener ediciones incorrectas. Cambiar a la última instantánea verificada.
Qué necesitas
-
Este paso está sin traducir. Ayuda a traducirlo
-
Using the nylon spudger or plastic opening tool along the edges of the screen, separate the back case off of the device.
-
-
Este paso está sin traducir. Ayuda a traducirlo
-
Remove the three 3mm screws on the top right side of the device with the Phillips PH000 screw head.
-
Remove the one 3mm screw on the top left side of the device with the same method.
-
-
-
Este paso está sin traducir. Ayuda a traducirlo
-
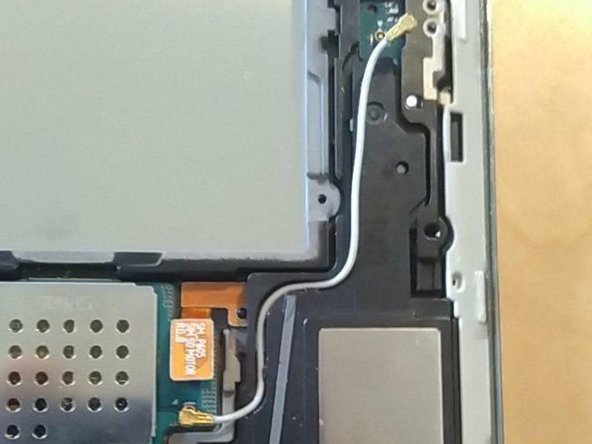
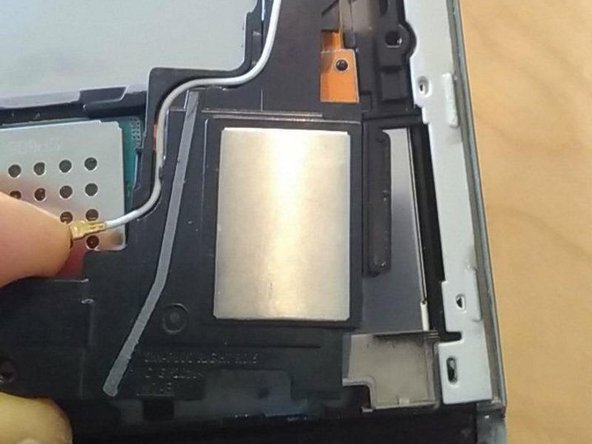
Remove the gray rubber piece.
-
Use a spudger or fingernail to disconnect the blue antenna cable from the motherboard.
-
Remove the right speaker unit.
-
-
Este paso está sin traducir. Ayuda a traducirlo
-
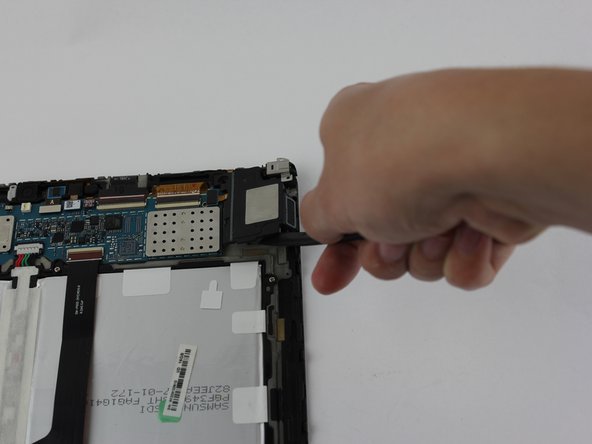
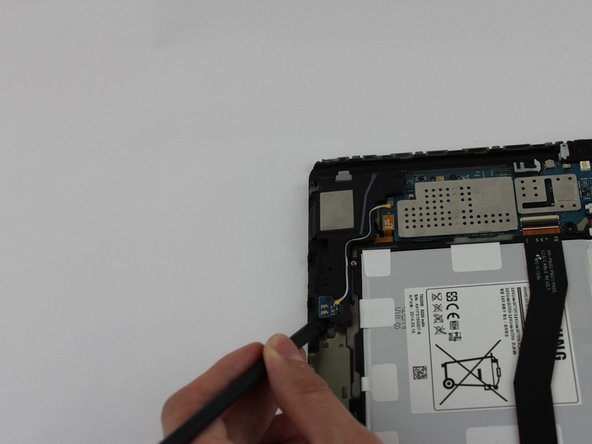
Remove the loudspeaker modules located on the parts where the screws were removed by using the black nylon spudger.
-


Cancelar: No complete esta guía.
4 personas más completaron esta guía.
Equipo

USF Tampa, Team S1-G6, Leahy Spring 2017 Miembro de USF Tampa, Team S1-G6, Leahy Spring 2017
USFT-LEAHY-S17S1G6
3 Miembros
6 Guías creadas