Introducción
Note: This guide is a continuation off of the display housing removal guide. It is crucial that you follow and complete the prerequisite guide step-by-step.
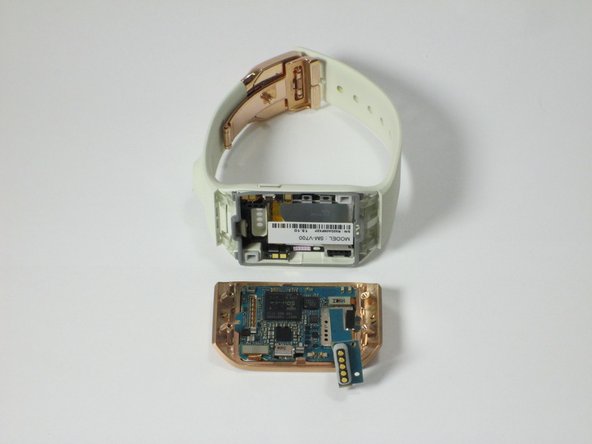
Use this guide to easily replace a faulty battery or insert a fresh new battery for a longer- lasting, more reliable Samsung Galaxy Gear watch.
Qué necesitas
-
-
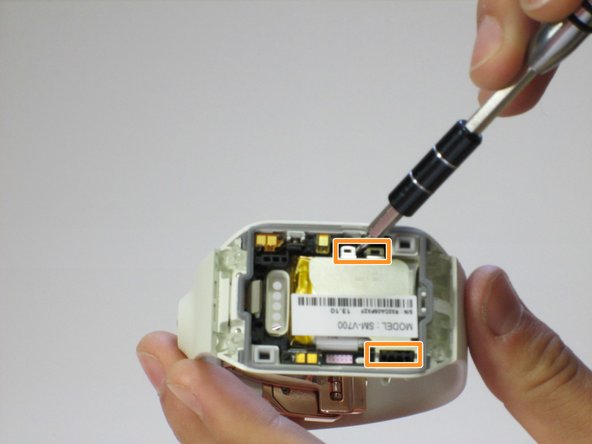
Use a T5 Torx screwdriver to remove the four 4.0 mm screws on the back of the device.
-
-


To reassemble your device, follow these instructions in reverse order.
To reassemble your device, follow these instructions in reverse order.
Cancelar: No complete esta guía.
11 personas más completaron esta guía.
Equipo

Cal Poly, Team 1-9, Maness Spring 2016 Miembro de Cal Poly, Team 1-9, Maness Spring 2016
CPSU-MANESS-S16S1G9
4 Miembros
7 Guías creadas
4 comentarios
where do I get the battery & tools
“Parts
No parts required.”
I think a battery is required!
Thank you very much
Adam P NYC