Saltar al contenido principal

Samsung Galaxy A20e Display Assembly Replacement

Qué necesitas

Resumen del Video

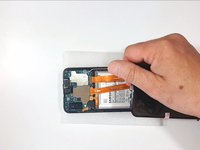
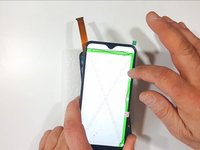
  1. Samsung Galaxy A20e Display Assembly Replacement, Display Touch Screen Assembly Spare part: paso 1, imagen 1 de 2 Samsung Galaxy A20e Display Assembly Replacement, Display Touch Screen Assembly Spare part: paso 1, imagen 2 de 2
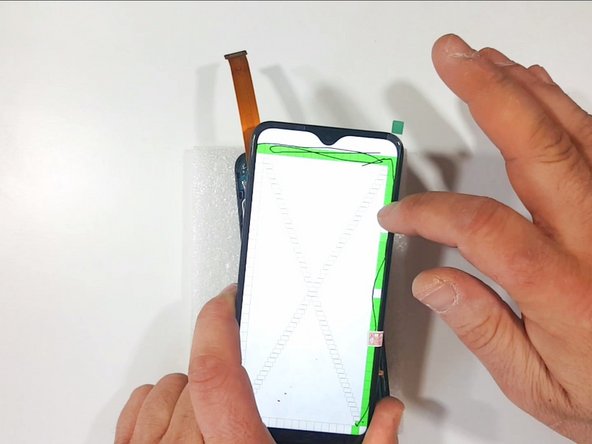
    • This is Display Touch Screen Assembly with Frame

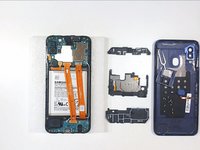
  2. Samsung Galaxy A20e Display Assembly Replacement, Back Cover Removal: paso 2, imagen 1 de 3 Samsung Galaxy A20e Display Assembly Replacement, Back Cover Removal: paso 2, imagen 2 de 3 Samsung Galaxy A20e Display Assembly Replacement, Back Cover Removal: paso 2, imagen 3 de 3
    • Remove the SIM tray

    • To remove the back cover use a plastic opening tool

    • When you remove the back cover, press the Touch ID to unstick it from the back cover

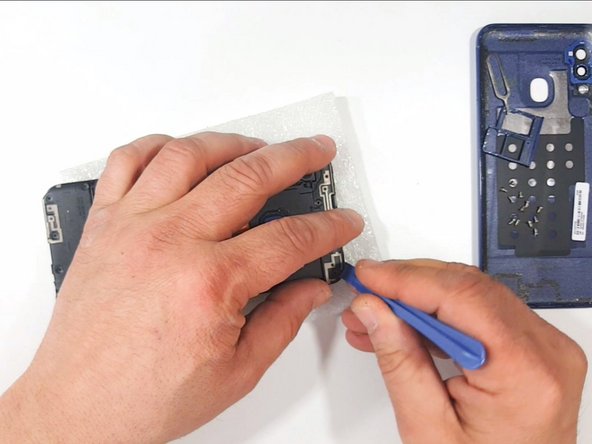
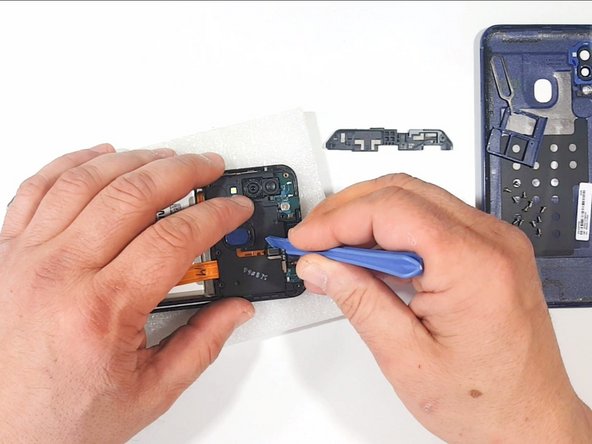
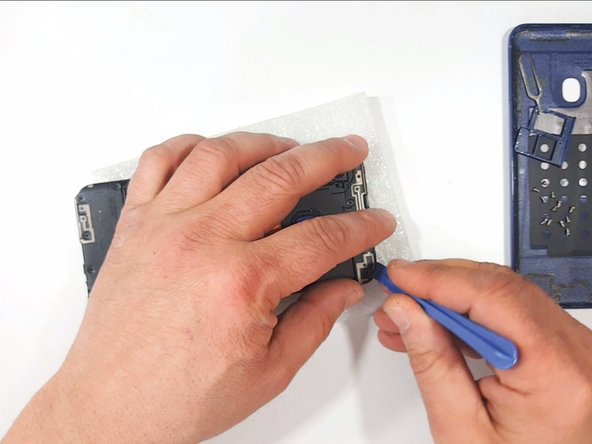
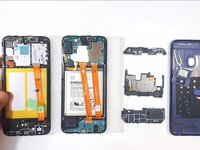
  3. Samsung Galaxy A20e Display Assembly Replacement, Fingerprint Sensor Removal: paso 3, imagen 1 de 3 Samsung Galaxy A20e Display Assembly Replacement, Fingerprint Sensor Removal: paso 3, imagen 2 de 3 Samsung Galaxy A20e Display Assembly Replacement, Fingerprint Sensor Removal: paso 3, imagen 3 de 3
    • With a Phillips Screwdriver remove all the screws

    • With a Plastic Opening Tool:

    • Remove the Antenna Assembly

    • Disconnect and remove the Touch ID Fingerprint Sensor

  4. Samsung Galaxy A20e Display Assembly Replacement, Logic Board Cover Removal: paso 4, imagen 1 de 3 Samsung Galaxy A20e Display Assembly Replacement, Logic Board Cover Removal: paso 4, imagen 2 de 3 Samsung Galaxy A20e Display Assembly Replacement, Logic Board Cover Removal: paso 4, imagen 3 de 3
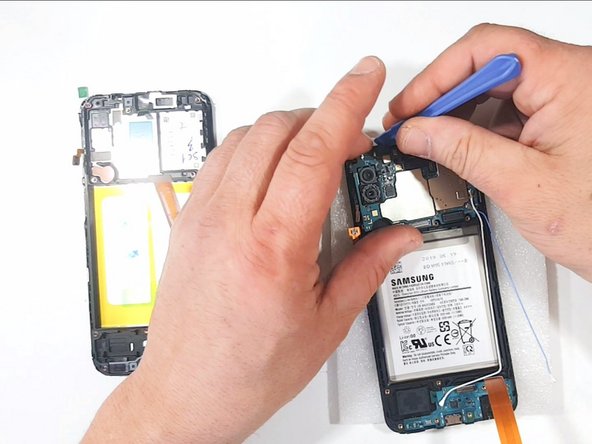
    • Remove the Logic Board Plastic Cover

    • Remove the Sup-board Plastic Cover

  5. Samsung Galaxy A20e Display Assembly Replacement, Test the New Spare part: paso 5, imagen 1 de 3 Samsung Galaxy A20e Display Assembly Replacement, Test the New Spare part: paso 5, imagen 2 de 3 Samsung Galaxy A20e Display Assembly Replacement, Test the New Spare part: paso 5, imagen 3 de 3
    • Its time to test the new spare part

    • Do not forget to disconnect the battery before you start working on the device.

  6. Samsung Galaxy A20e Display Assembly Replacement, Logic Board Removal - Part 1: paso 6, imagen 1 de 3 Samsung Galaxy A20e Display Assembly Replacement, Logic Board Removal - Part 1: paso 6, imagen 2 de 3 Samsung Galaxy A20e Display Assembly Replacement, Logic Board Removal - Part 1: paso 6, imagen 3 de 3
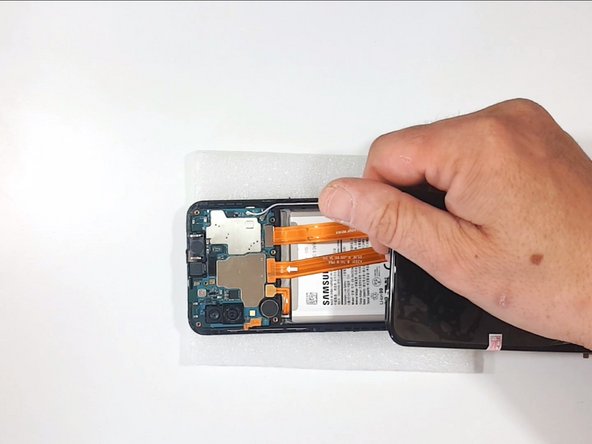
    • Disconnect the Battery

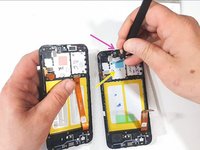
    • Disconnect the Sup-board Flex Cable

    • Disconnect the Coaxial Antenna Cables. Do it very carefully because you can easily damage them

  7. Samsung Galaxy A20e Display Assembly Replacement, Logic Board Removal - Part 2: paso 7, imagen 1 de 3 Samsung Galaxy A20e Display Assembly Replacement, Logic Board Removal - Part 2: paso 7, imagen 2 de 3 Samsung Galaxy A20e Display Assembly Replacement, Logic Board Removal - Part 2: paso 7, imagen 3 de 3
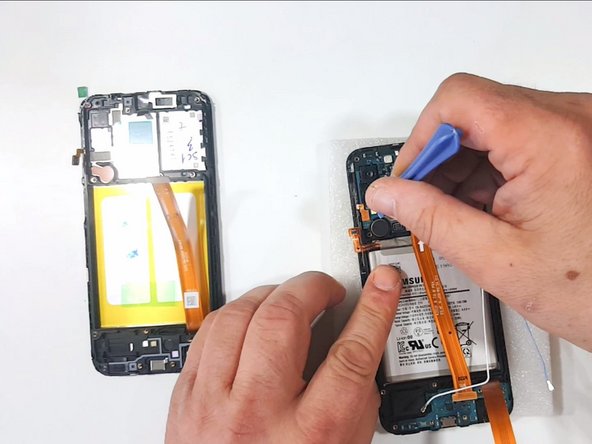
    • Remove the Sup-board Flex Cable

    • Disconnect the Volume buttons Flex Cable

    • Gently remove the Logic board. Be careful for the cameras

  8. Samsung Galaxy A20e Display Assembly Replacement, Sup-board removal: paso 8, imagen 1 de 3 Samsung Galaxy A20e Display Assembly Replacement, Sup-board removal: paso 8, imagen 2 de 3 Samsung Galaxy A20e Display Assembly Replacement, Sup-board removal: paso 8, imagen 3 de 3
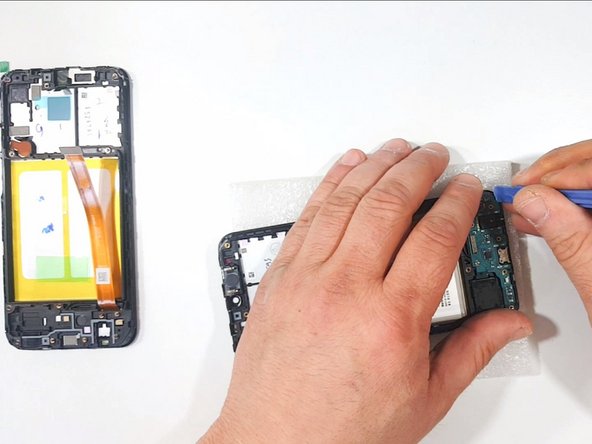
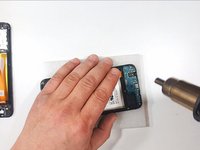
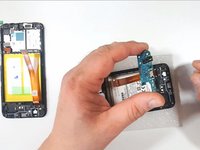
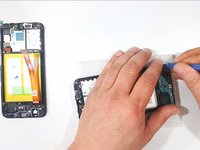
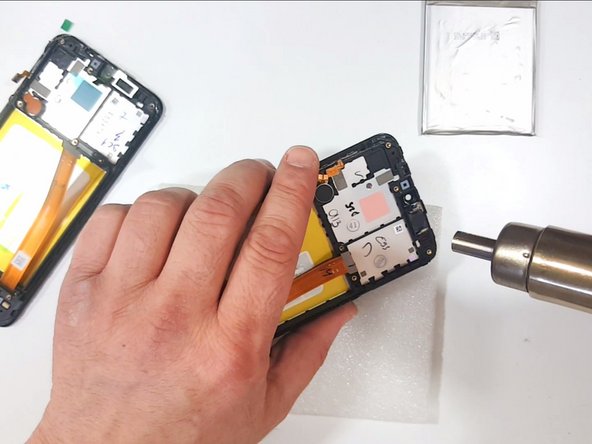
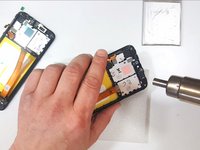
    • Use Hot air to soften the adhesive and gently remove the sup-bord

    • Its better to use a plastic tools

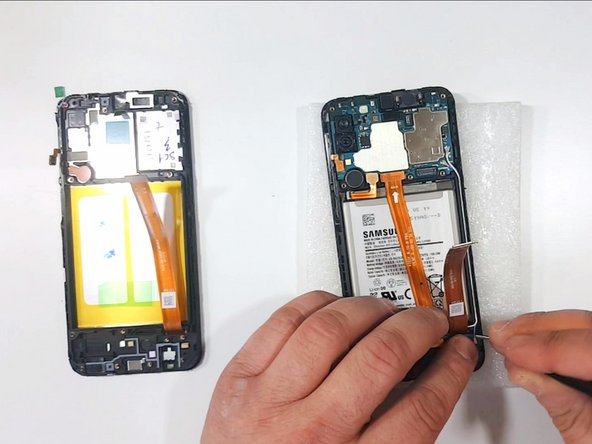
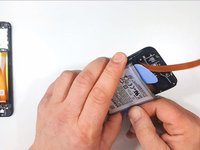
  9. Samsung Galaxy A20e Display Assembly Replacement, Battery Removal: paso 9, imagen 1 de 3 Samsung Galaxy A20e Display Assembly Replacement, Battery Removal: paso 9, imagen 2 de 3 Samsung Galaxy A20e Display Assembly Replacement, Battery Removal: paso 9, imagen 3 de 3
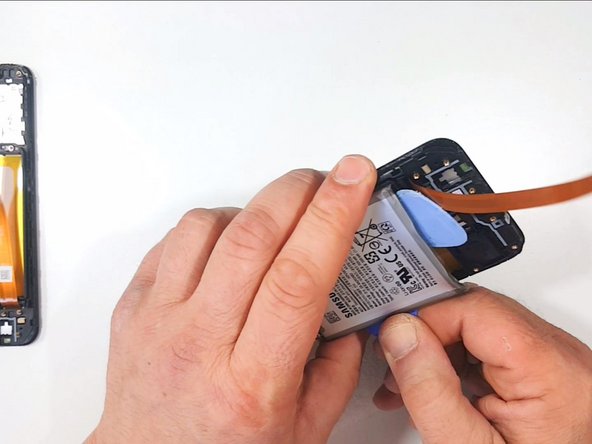
    • To remove the Battery use a few drops of alcohol and warm the device.

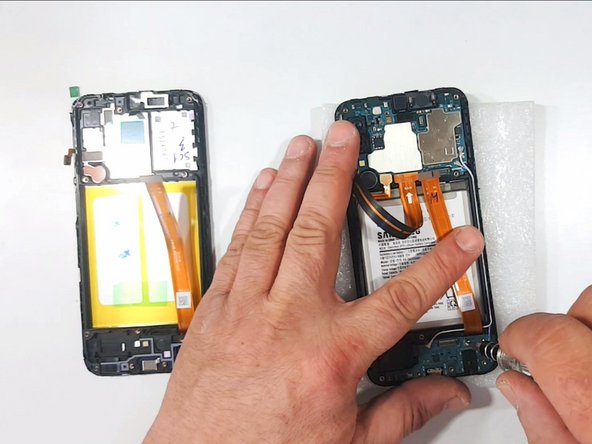
  10. Samsung Galaxy A20e Display Assembly Replacement, Transfer the Receiver, Loudspeaker and the Vibration-motor: paso 10, imagen 1 de 3 Samsung Galaxy A20e Display Assembly Replacement, Transfer the Receiver, Loudspeaker and the Vibration-motor: paso 10, imagen 2 de 3 Samsung Galaxy A20e Display Assembly Replacement, Transfer the Receiver, Loudspeaker and the Vibration-motor: paso 10, imagen 3 de 3
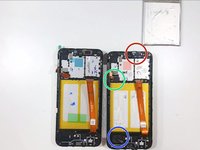
    • Now you have to transfer:

    • Receiber

    • Vibromotor

    • Loudspeacker

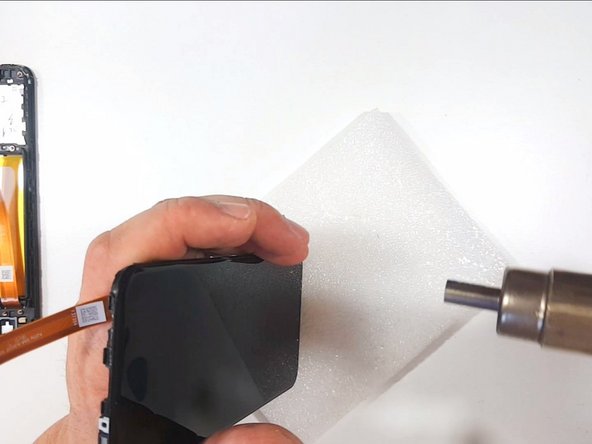
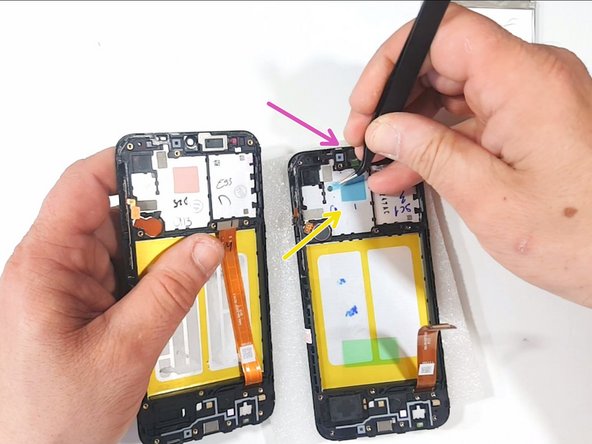
    • Remove the transport tapes from:

    • Silicon Thermal Pad

    • Front Camera Hole

    • Use Hot Air to do this easily

  11. Samsung Galaxy A20e Display Assembly Replacement, Battery: paso 11, imagen 1 de 1
    • Use Double side Adhesive tape to install the battery to the new frame

  12. Samsung Galaxy A20e Display Assembly Replacement: paso 12, imagen 1 de 1
    • "All's Well That Ends Well."

Conclusión

To reassemble your device, follow these instructions in reverse order.

19 personas más completaron esta guía.

ZFix

Miembro Desde 12/09/13

191,278 Reputación

330 Guías creadas

Equipo

Master Techs Miembro de Master Techs

Community

322 Miembros

2,528 Guías creadas

0 comentarios

Agregar Comentario

Ver Estadísticas:

Ultimas 24 horas: 3

Ultimos 7 días: 15

Ultimos 30 días: 78

Todo El Tiempo: 16,535