Introducción
Caution: All alteration or modifications are the users responsibility, and not of the guide creator. These steps are only recommended if not under warranty or if a solution has not yet been found.
Qué necesitas
-
-
Find and locate the disk tray it is located top right hand side of the component when the back of the device ( dvd player ) is facing you.
-
-
-
Locate and gently remove the data strips on the tray. There are three in total, two on the left hand side and one on the right.
-
-
-
-
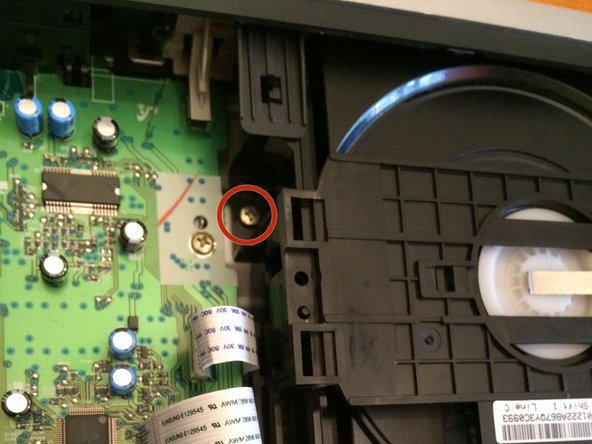
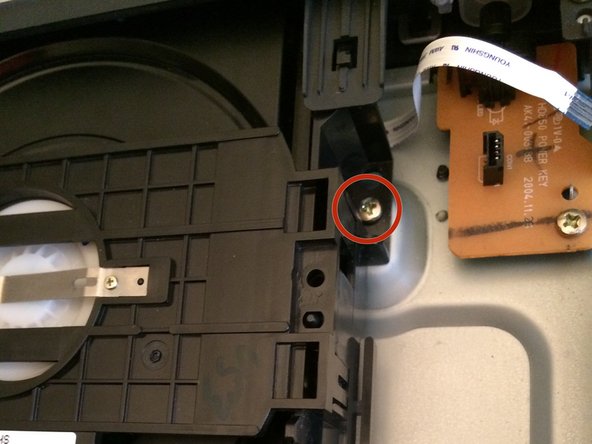
As noted by the red circles, locate and remove the screws one at a time
-
-
-
After removing the clips slowly incline the disk drive towards you and unclip it from the two (2) brackets located on the top
-


To reassemble your device, follow these instructions in reverse order.
To reassemble your device, follow these instructions in reverse order.
Cancelar: No complete esta guía.
Una persona más ha completado esta guía.
Equipo

UMass Dartmouth, Team 1-6, Duarte Fall 2014 Miembro de UMass Dartmouth, Team 1-6, Duarte Fall 2014
UMASSD-DUARTE-F14S1G6
3 Miembros
7 Guías creadas