Introducción
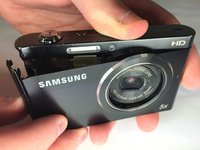
This guide will show you how to remove the casing around the device so that it and the parts underneath it can be replaced.
Qué necesitas
-
-
Remove the two black 4.2 mm screws on the right side of the camera using a Phillips #0 screwdriver.
-
Remove the two black 4.2 mm screws on the left side of the camera using a Phillips #0 screwdriver.
-
Remove the two black 4.2 mm screws on the bottom of the camera using a Phillips #0 screwdriver.
-
-


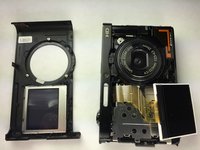
To reassemble your device, follow these instructions in reverse order.
To reassemble your device, follow these instructions in reverse order.
Cancelar: No complete esta guía.
2 personas más completaron esta guía.
Equipo

Baylor, Team 5-10, Williams Spring 2015 Miembro de Baylor, Team 5-10, Williams Spring 2015
BU-WILLIAMS-S15S5G10
3 Miembros
10 Guías creadas