Esta versión puede contener ediciones incorrectas. Cambie a la última instantánea verificada.
Qué necesitas
-
Este paso está sin traducir. Ayuda a traducirlo
-
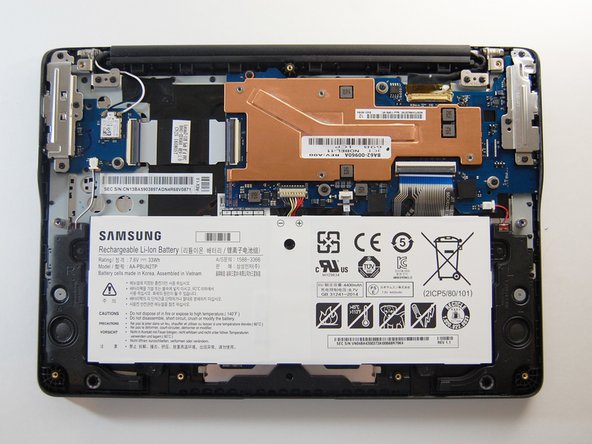
Place the laptop back cover facing up to expose the screws.
-
Using a Phillips #00 screwdriver, remove nine 4.6mm screws from the back casing.
-
-
Este paso está sin traducir. Ayuda a traducirlo
-
Use an iFixit opening tool to wedge in between the case and body of the laptop.
-
Once the tool is wedged in between the case and laptop, slide it around the entire laptop's edge to disengage the retaining clips.
-
-
Este paso está sin traducir. Ayuda a traducirlo
-
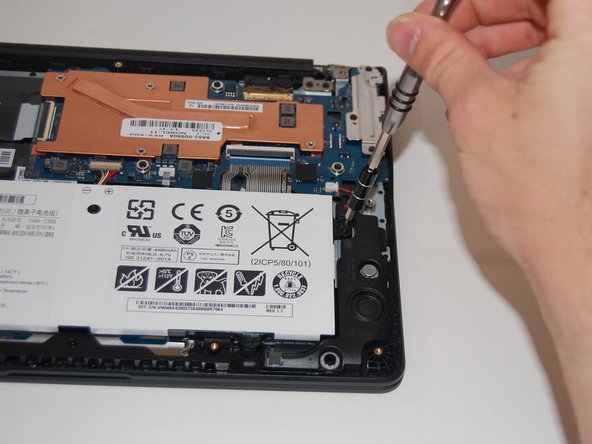
Remove the four 4.6mm screws with the Phillips #00 screwdriver.
-
-
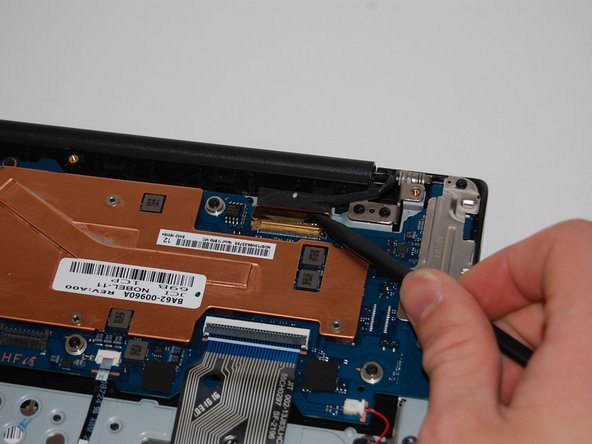
Este paso está sin traducir. Ayuda a traducirlo
-
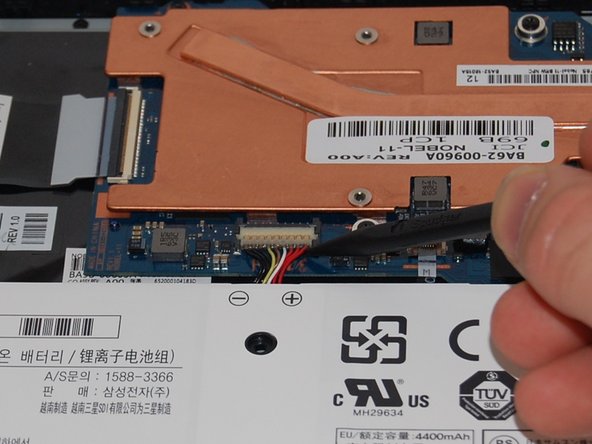
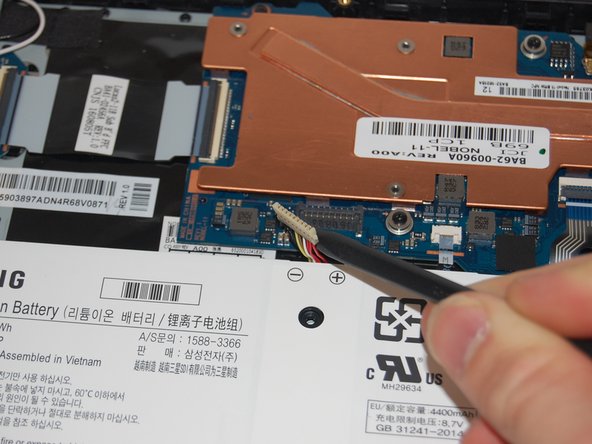
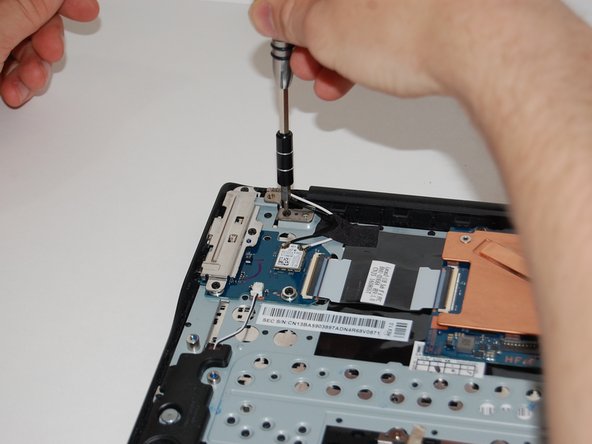
Use the spudger to pry underneath the cable and gently lift the connector up.
-
-
-
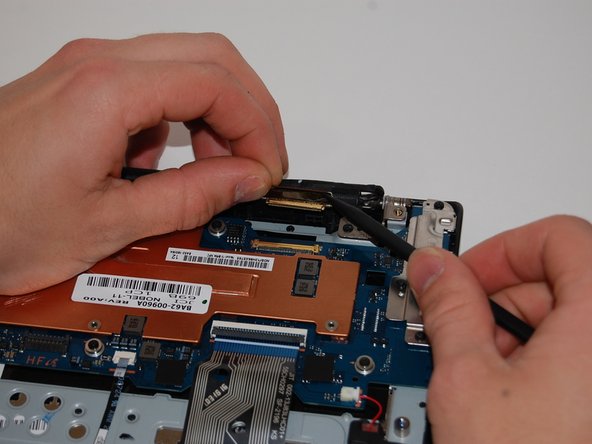
Este paso está sin traducir. Ayuda a traducirlo
-
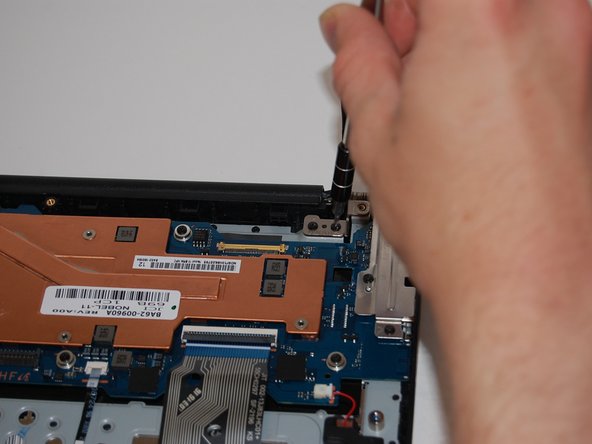
Use the spudger to lift the hinge locking the gold colored display cable in place.
-
Slide the cable out to remove it from the motherboard.
-
-
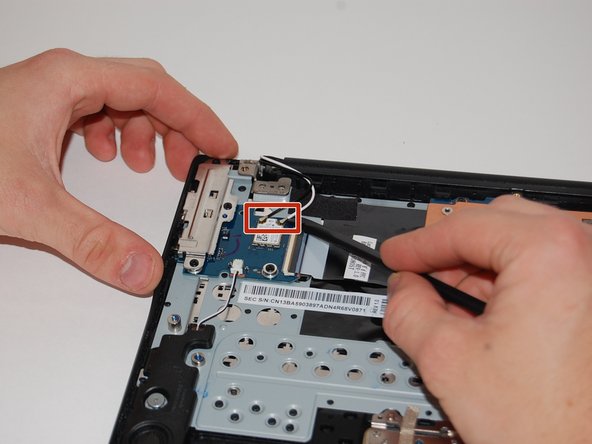
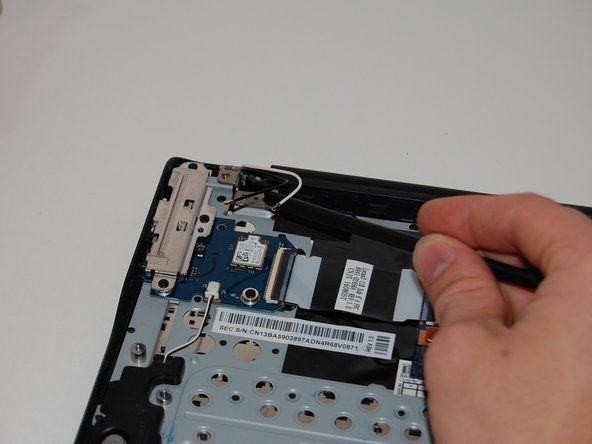
Este paso está sin traducir. Ayuda a traducirlo
-
Using the spudger, lift the adhesive securing the wireless card antenna wires.
-
Lift the white and black antenna wires with the spudger.
-
-
Este paso está sin traducir. Ayuda a traducirlo
-
Remove the four 4.6mm screws from the display mounts using a Phillips #00 screwdriver.
-
-
Este paso está sin traducir. Ayuda a traducirlo
-
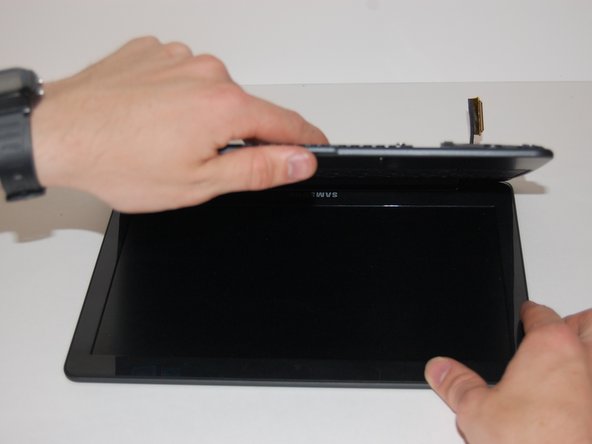
Once the hinge screws have been removed, open the laptop.
-
-
Este paso está sin traducir. Ayuda a traducirlo
-
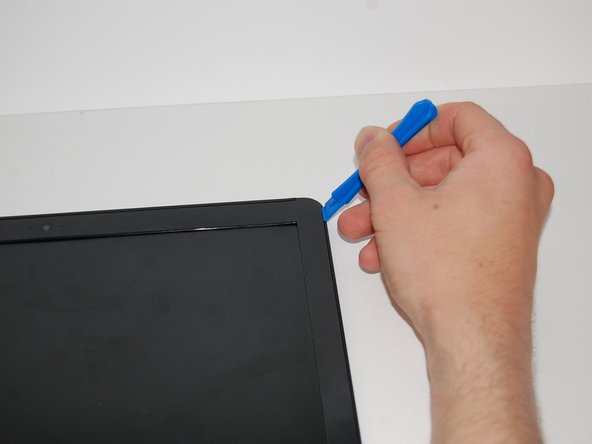
Use the iFixit opening tool to pry in between the bezel and screen.
-
-
Este paso está sin traducir. Ayuda a traducirlo
-
Remove the four 4.6mm screws from the display mounts using a Phillips #00 screwdriver.
-
-
Este paso está sin traducir. Ayuda a traducirlo
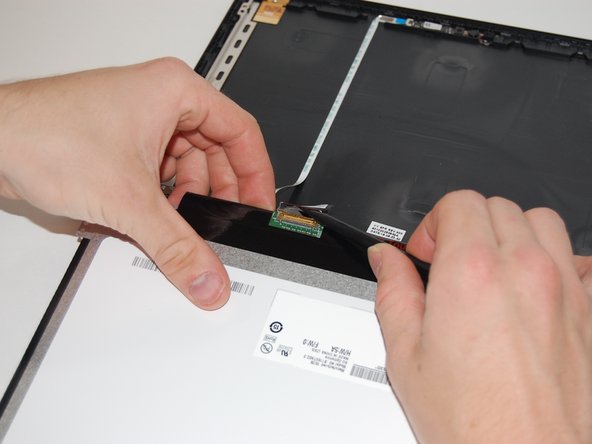
-
Using the spudger, lift the adhesive tape holding the display cable.
-
-
Este paso está sin traducir. Ayuda a traducirlo
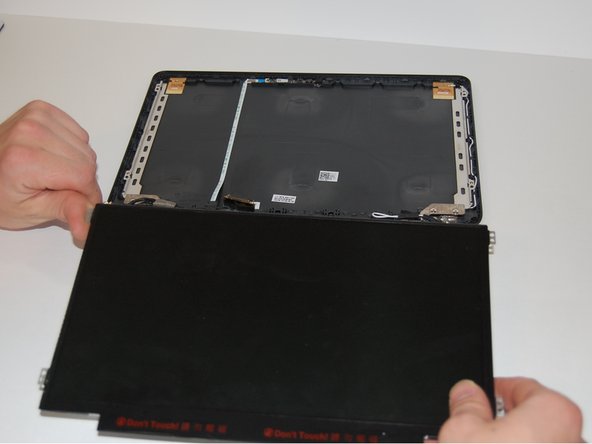
-
Gently lift the panel up and fold it over to expose the display cable on the backside of the display.
-
-
Este paso está sin traducir. Ayuda a traducirlo
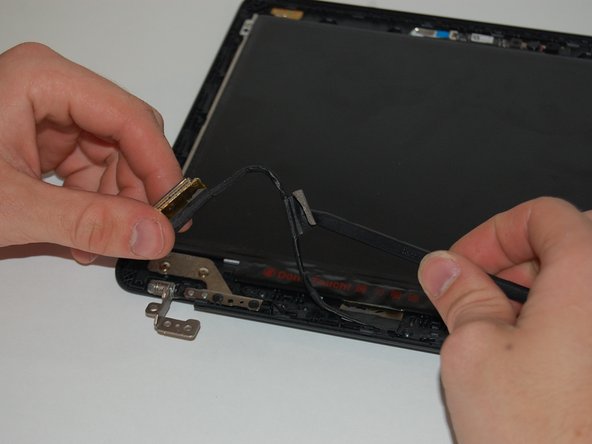
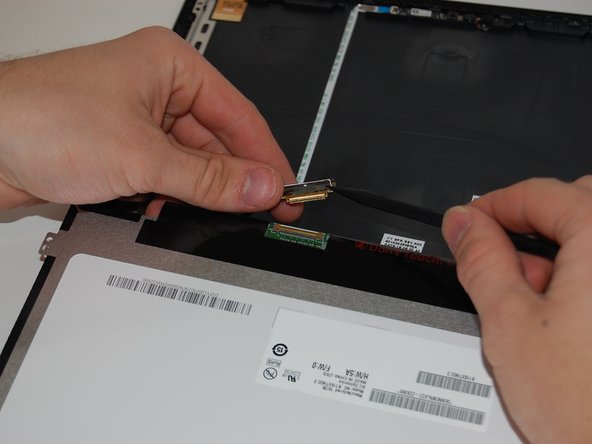
-
Use the spudger, lift the hinge locking the gold colored display cable in place.
-
Pull the cable away from you to slide it out of the monitor.
-
-
Este paso está sin traducir. Ayuda a traducirlo
-
Once the display cable has been removed, lift the screen up and out of the case.
-


Cancelar: No complete esta guía.
8 personas más completaron esta guía.
Equipo

University of Memphis, Team S1-G24, Kim Spring 2019 Miembro de University of Memphis, Team S1-G24, Kim Spring 2019
UM-KIM-S19S1G24
3 Miembros
6 Guías creadas
4 comentarios
It was more challenging than I thought. Reconnecting the antenna wires wasn’t easy. I needed better vision and dexterity to find it easier. Don’t forget to reuse the adhesive tape or you may be disappointed.
Great guide!
Very accurate!
Just to confirm. You have to tear apart the bottom just to replace the led screen? Can't just remove the bezel?
Xe501c13-k02us