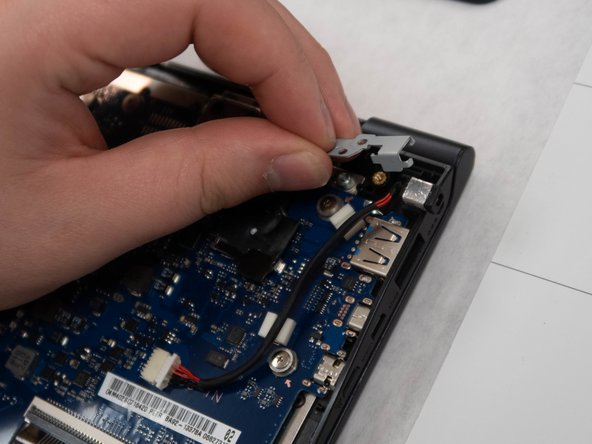
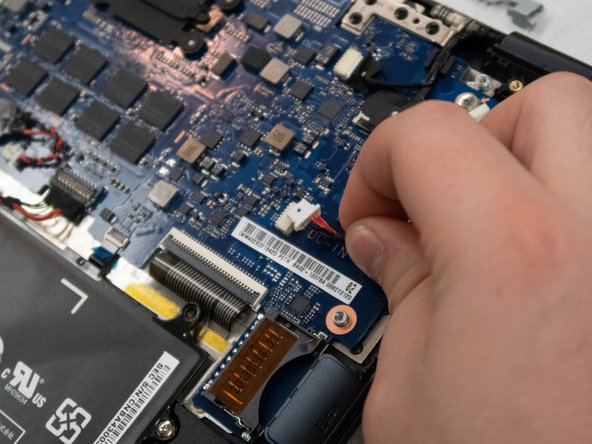
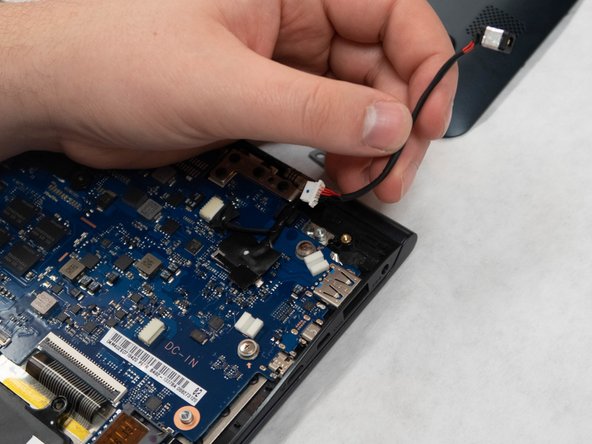
Saltar al contenido principal

Samsung ATIV Book 9 Lite Charging Port Replacement

Qué necesitas

  1. Samsung ATIV Book 9 Lite Charging Port Replacement, Charging Port: paso 1, imagen 1 de 2 Samsung ATIV Book 9 Lite Charging Port Replacement, Charging Port: paso 1, imagen 2 de 2
    • Put a protective lining such as a piece of cloth in between the screen and the keyboard when closed to protect your screen when performing this replacement.

    • Turn the laptop upside down to show the screws holding the back cover on.

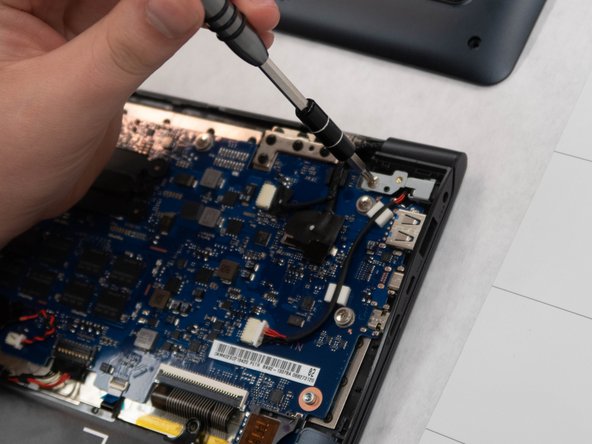
    • Using a Phillips #0, remove the ten 4mm screws located around the edges and one central.

  2. Samsung ATIV Book 9 Lite Charging Port Replacement: paso 2, imagen 1 de 3 Samsung ATIV Book 9 Lite Charging Port Replacement: paso 2, imagen 2 de 3 Samsung ATIV Book 9 Lite Charging Port Replacement: paso 2, imagen 3 de 3
    • Use two plastic opening tools to separate the back cover from the laptop.

    • This may take some force because the back cover is snapped into place before the screws are used to keep it in place.

  3. Samsung ATIV Book 9 Lite Charging Port Replacement: paso 3, imagen 1 de 3 Samsung ATIV Book 9 Lite Charging Port Replacement: paso 3, imagen 2 de 3 Samsung ATIV Book 9 Lite Charging Port Replacement: paso 3, imagen 3 de 3
    • Using a Phillips #0, remove the one 3mm screw holding the metal holder/cover in place.

    • Using your hand, remove the metal holder that covers the port. This will take some jostling to remove.

  4. Samsung ATIV Book 9 Lite Charging Port Replacement: paso 4, imagen 1 de 3 Samsung ATIV Book 9 Lite Charging Port Replacement: paso 4, imagen 2 de 3 Samsung ATIV Book 9 Lite Charging Port Replacement: paso 4, imagen 3 de 3
    • Using your hands, remove the cord that connects the charging port to the motherboard.

    • Do not pull on the cord as that might damage it; remove it by pulling on the white wire head.

    • Using your hands, remove the cord from the computer.

Conclusión

To reassemble your device, follow these instructions in reverse order.

2 personas más completaron esta guía.

Phat Tran

Miembro Desde 09/16/18

786 Reputación

5 Guías creadas

Equipo

Un comentario

Thanks for the clear guidance on how to locate the charge port. In order to complete the job of replacing the port if it is defective I have two questions. (1) How exactly do you remove the part that inside the notebook that is directly connected to the hole where the adaptor pin is put when charging? (2) Where can a replacement part be found for this piece?

Craig - Contestar

Agregar Comentario

Ver Estadísticas:

Ultimas 24 horas: 1

Ultimos 7 días: 2

Ultimos 30 días: 2

Todo El Tiempo: 484