Introducción
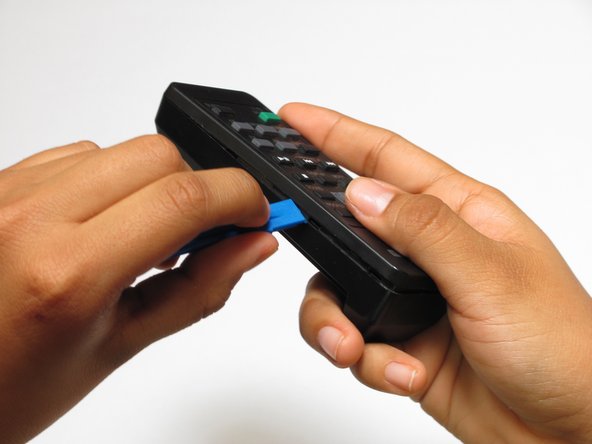
Remotes can wear out easily, specifically the contacts between the silicon button pad and the circuit board.
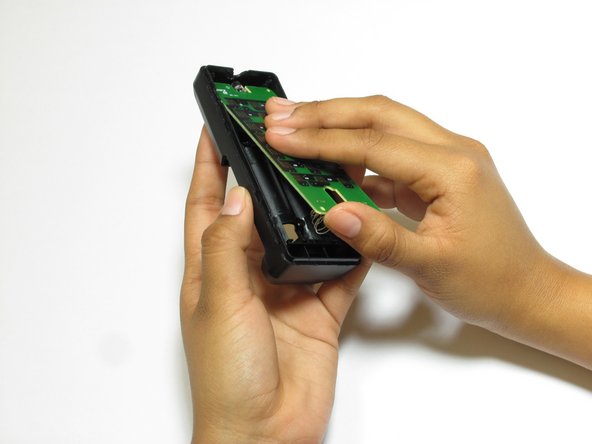
To fix this, and extend the life of your device's remote, this guide will show you how to replace the circuit board.
Qué necesitas


Casi Terminas!
To reassemble your device, follow these instructions in reverse order.
Conclusión
To reassemble your device, follow these instructions in reverse order.
