Introducción
This is a guide for disassembling the key panel for the later model Roland KR-33 electronic keyboard which uses flat metal leaf springs for the key return. Earlier models used coiled key-return springs and a slightly different key design. Using this guide you can gain access to the return springs as well as the key membranes for cleaning, replacement, or repair.
A common problem with these keyboards (and the one being resolved here) is dirt in the membrane contacts causing specific keys to play intermittently or stop playing entirely. Cleaning with isopropyl alcohol typically resolves this issue but replacement parts are also available from Syntaur.
Qué necesitas
-
-
Perform all maintenance on a large clean surface free of any dust or debris. The extruded aluminum chassis is easily damaged.
-
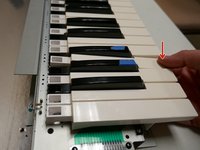
Test and mark any affected keys before continuing.
-
Unplug the device. Later steps involve close proximity to exposed electrical components. Proceed at your own risk.
-
-
-
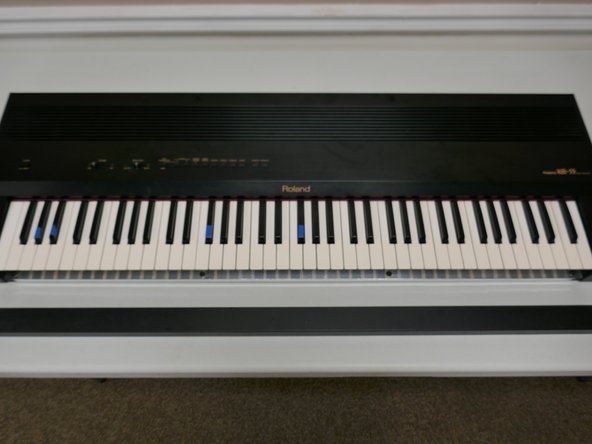
Flip the keyboard with the bottom facing up as shown.
-
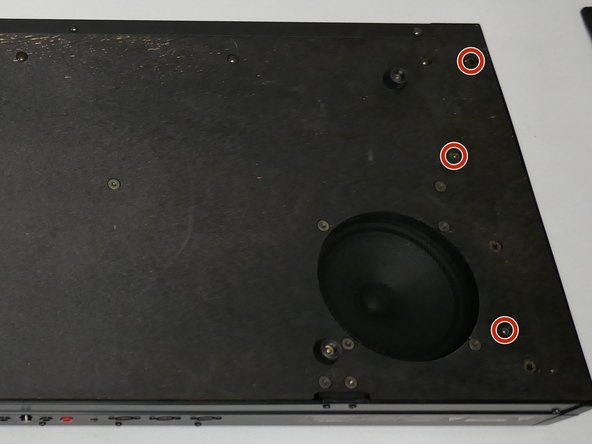
Remove the 6 screws securing the lid and base plate (3 on each side)
-
The lid can now be opened for basic cleaning. Continue guide for full disassembly.
-
-
-
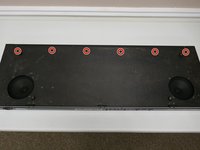
Remove the 4 screws shown to remove the metal fascia piece under the keys. This also partially frees the key panel.
-
DO NOT FLIP OVER YET. The second image is for detail only.
-
-
-
Remove the remaining 6 screws to free the front of the key panel.
-
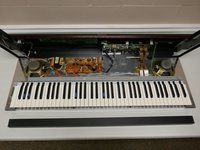
The keyboard may now be flipped back over. Do this carefully as the key tray and lid are now partially loose.
-
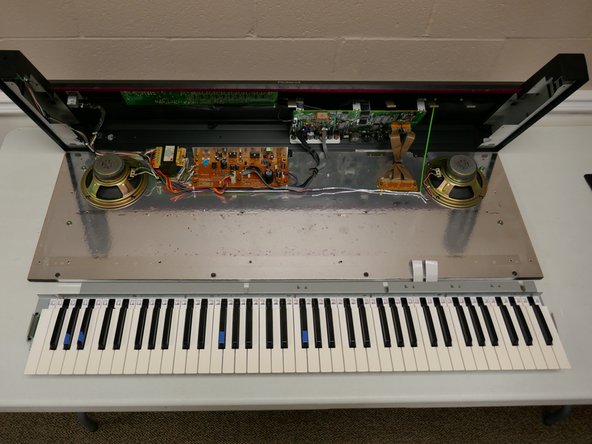
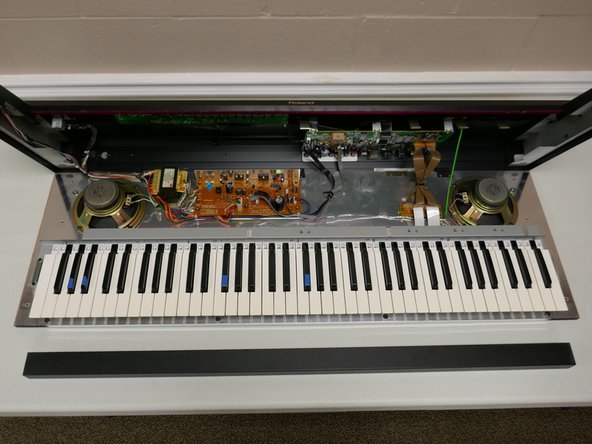
Open the lid by holding both sides of the upper chassis. It should hinge backwards and be stopped by a green grounding cable.
-
-
-
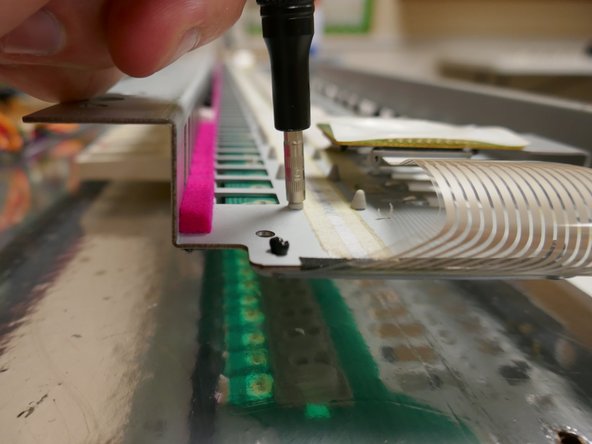
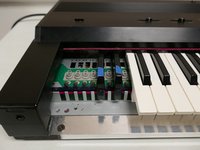
Remove the 4 screws in the top of the key panel as shown. You will need a thin-shaft screwdriver to access these screws.
-
-
-
-
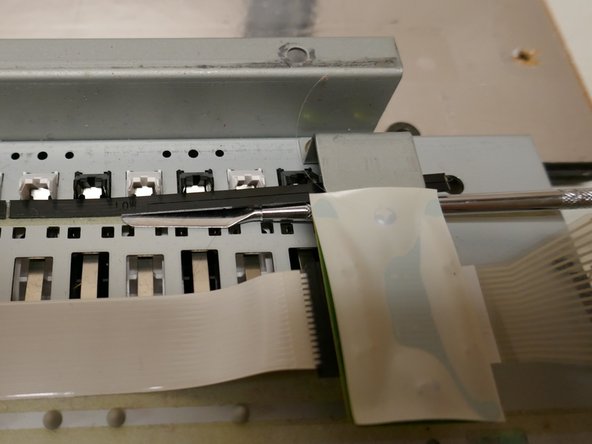
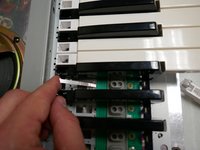
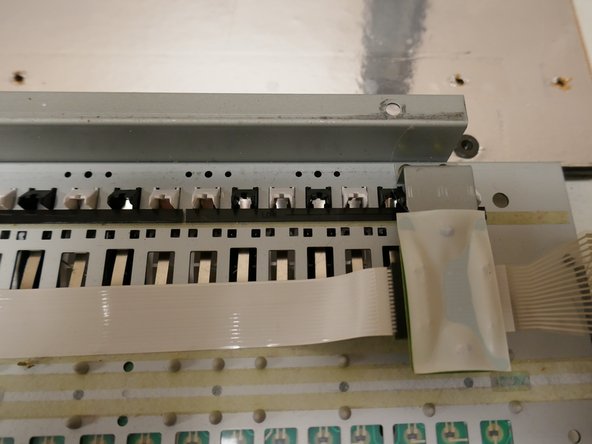
Disconnect the two white ribbon cables to completely free the key panel.
-
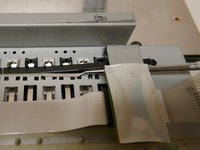
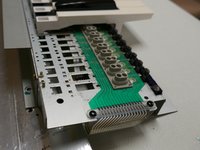
The key panel may now be removed from the chassis.
-
-
-
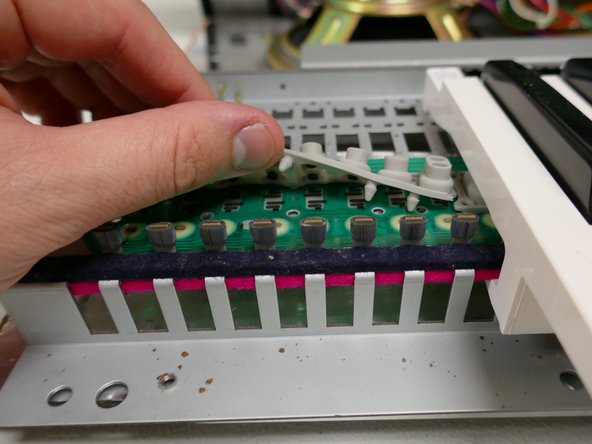
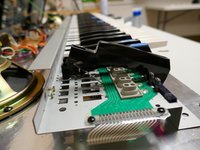
Separate the key panel from the chassis and flip over to see the underside of the keys.
-
Using a spudger, carefully lift the plastic retaining strip(s) for the affected keys.
-
Note: The retention strips are held down with a thin double-stick tape. If damaged it can be replaced later.
-
Note: The length of the key retention strip matches the length of a key-switch membrane.
-
-
-
Turn the key panel back over
-
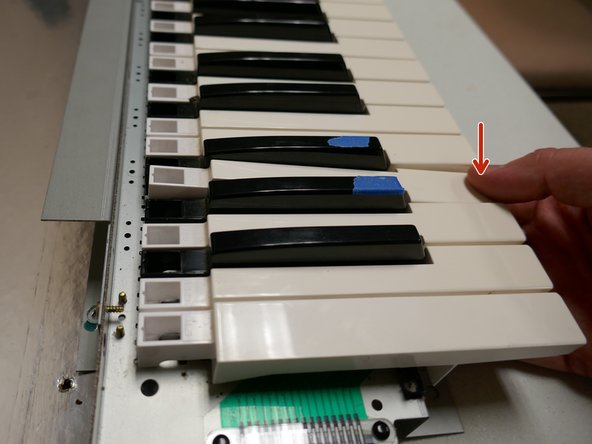
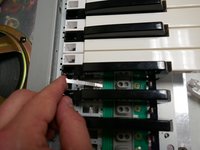
To remove a key, pull forward slightly then push down. The key will rotate forward and come out of its retention slot.
-
Slide the key backwards to free the leaf spring then pull forward to remove the key entirely.
-
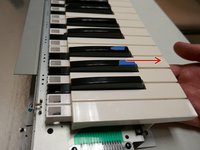
Note: It is easiest to clean/replace the key membranes if all keys on that section are removed first.
-
Note: The white keys must be removed first in order to remove the black keys.
-
-
-
Once all keys have been removed on the affected membrane, flip the key panel over.
-
Using a 2.5mm nut driver or similar tool press the tree-shaped retaining stud through the hole. Pull gently from the other side to loosen the membrane.
-
The membrane contacts may now be cleaned with isopropyl alcohol.
-
-
-
Press the tree-shaped studs back through the board.
-
Note: Use gentle pressure while reinstalling the membrane to avoid tearing it.
-
Note: If additional pressure or guidance is needed press on the center of the stud as shown with a small hex driver or similar implement.
-
-
-
Place the key spring back in the appropriate slot as shown.
-
Hook the corresponding key back over the key-spring for installation.
-
Reinstall only the affected keys for testing in the next step.
-
-
-
Place the key tray back in the chassis
-
Reinstall the two ribbon cables
-
Close the lid, attach the power cable, and power on the keyboard.
-
Test the affected keys.
-
If the keys are not working repeat steps 8-12
-
-
-
Once the affected keys have been repaired reinstall remaining keys as shown in step 11
-
Reinstall key retaining strip(s). Replace double-stick tape if necessary.
-


To reassemble your device, follow instructions 1-6 in reverse order.
To reassemble your device, follow instructions 1-6 in reverse order.