Saltar al contenido principal

Roborock Q5 Main Brush Housing Replacement

Qué necesitas

  1. Roborock Q5 Main Brush Housing Replacement, Side Brush: paso 1, imagen 1 de 1
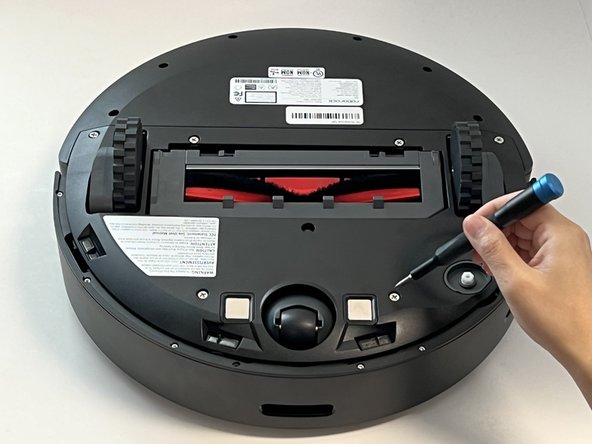
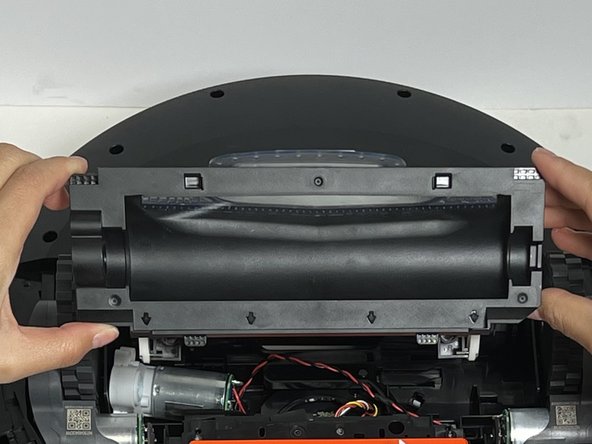
    • Power off your Roborock and place the device on a flat surface with the wheels facing up.

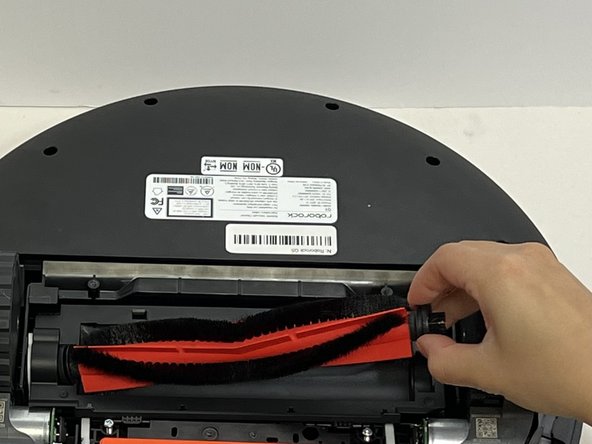
    • Position the robot so the five-pronged side brush is on the bottom right side.

  2. Roborock Q5 Main Brush Housing Replacement: paso 2, imagen 1 de 2 Roborock Q5 Main Brush Housing Replacement: paso 2, imagen 2 de 2
    • Use a Phillips #2 screwdriver to loosen the single side brush screw.

    • The screw is attached to the side brush so they cannot be separated.

  3. Roborock Q5 Main Brush Housing Replacement: paso 3, imagen 1 de 2 Roborock Q5 Main Brush Housing Replacement: paso 3, imagen 2 de 2
    • Lift the side brush up and off.

  4. Roborock Q5 Main Brush Housing Replacement, Battery: paso 4, imagen 1 de 3 Roborock Q5 Main Brush Housing Replacement, Battery: paso 4, imagen 2 de 3 Roborock Q5 Main Brush Housing Replacement, Battery: paso 4, imagen 3 de 3
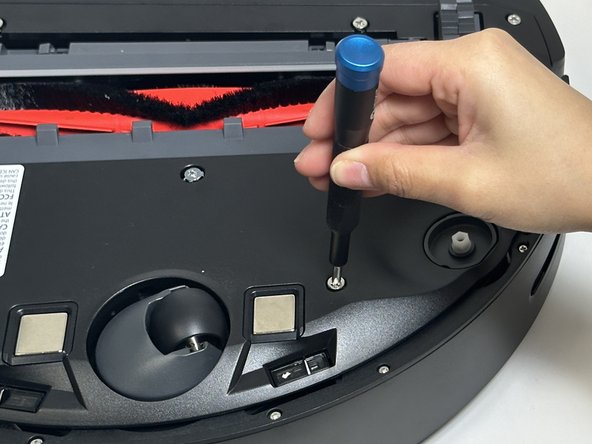
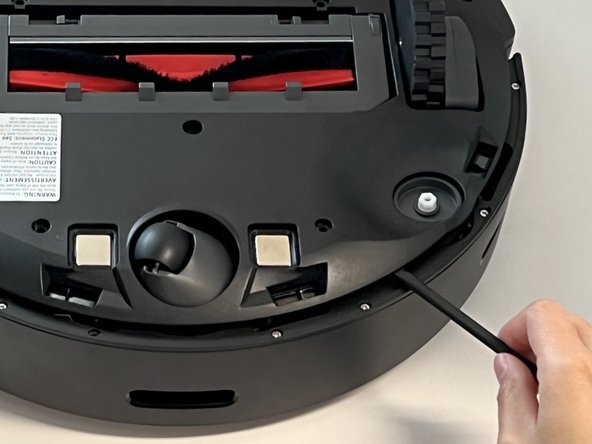
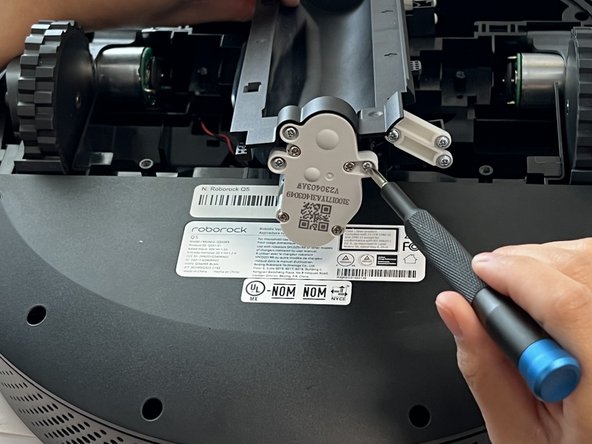
    • Use a Phillips screwdriver to remove the seven 15 mm screws from the bottom panel.

  5. Roborock Q5 Main Brush Housing Replacement: paso 5, imagen 1 de 3 Roborock Q5 Main Brush Housing Replacement: paso 5, imagen 2 de 3 Roborock Q5 Main Brush Housing Replacement: paso 5, imagen 3 de 3
    • Gently lift off the bottom panel cover.

    • If the bottom panel is stuck, use a plastic spudger along the edges to gently lift it out of place, then remove it by hand.

  6. Roborock Q5 Main Brush Housing Replacement: paso 6, imagen 1 de 3 Roborock Q5 Main Brush Housing Replacement: paso 6, imagen 2 de 3 Roborock Q5 Main Brush Housing Replacement: paso 6, imagen 3 de 3
    • Use the two white straps to lift the battery out slightly to reveal the battery connector.

    • The battery is still connected to the robot vacuum. Take care not to strain the battery cable.

  7. Roborock Q5 Main Brush Housing Replacement: paso 7, imagen 1 de 3 Roborock Q5 Main Brush Housing Replacement: paso 7, imagen 2 de 3 Roborock Q5 Main Brush Housing Replacement: paso 7, imagen 3 de 3
    • Using moderate pressure, squeeze and pull on the four-wire connector to disconnect the battery from the robot vacuum.

  8. Roborock Q5 Main Brush Housing Replacement, Main Brush Housing: paso 8, imagen 1 de 3 Roborock Q5 Main Brush Housing Replacement, Main Brush Housing: paso 8, imagen 2 de 3 Roborock Q5 Main Brush Housing Replacement, Main Brush Housing: paso 8, imagen 3 de 3
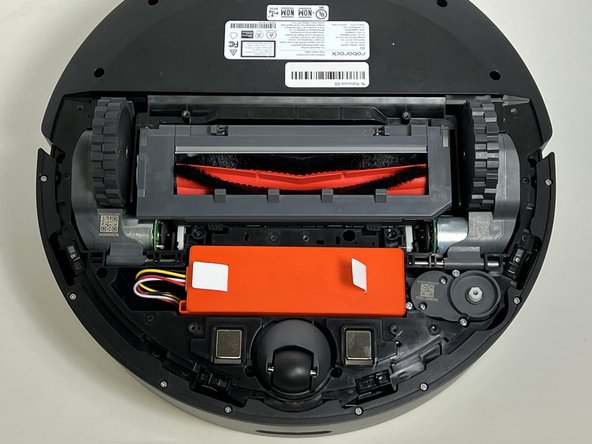
    • Carefully flip the device and place it wheels down.

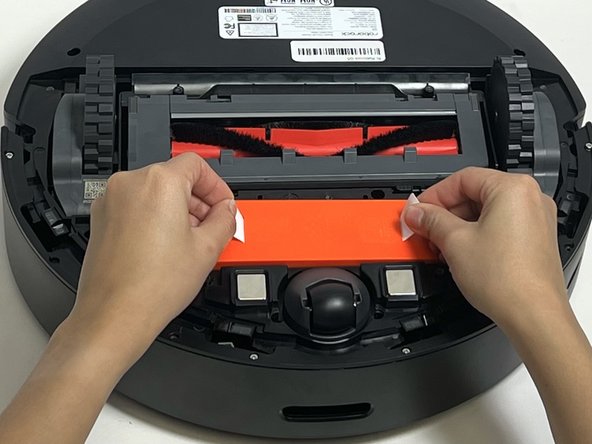
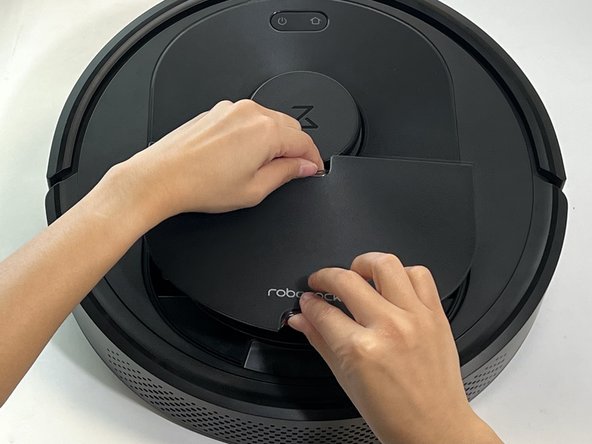
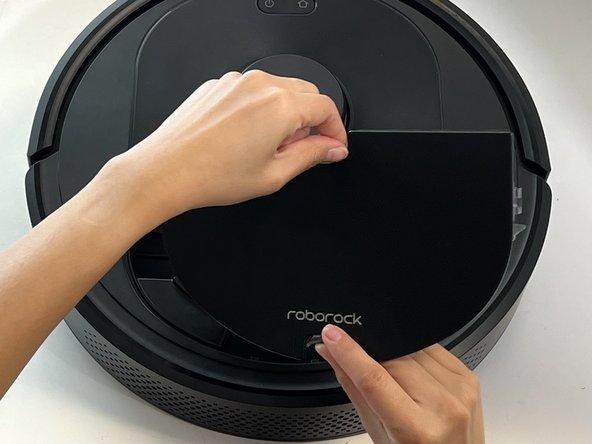
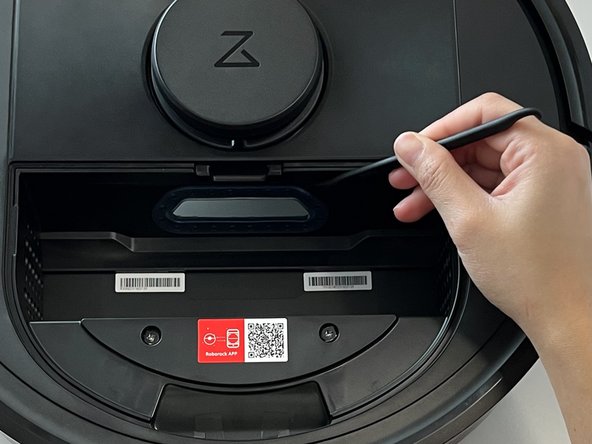
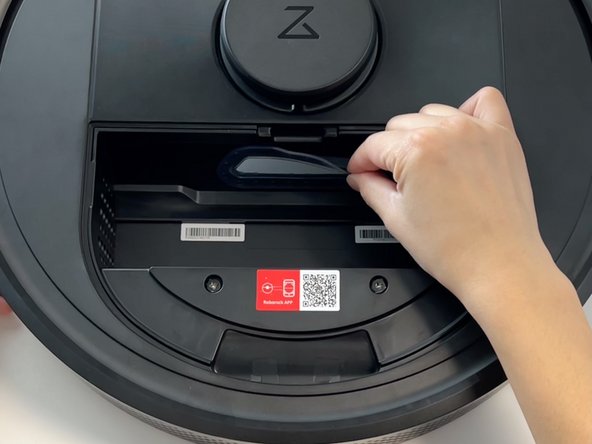
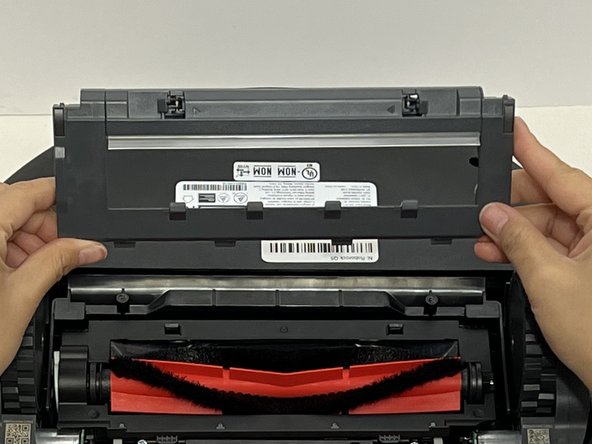
    • Pinch the dustbin tabs and pull up on the dustbin to remove it.

  9. Roborock Q5 Main Brush Housing Replacement: paso 9, imagen 1 de 3 Roborock Q5 Main Brush Housing Replacement: paso 9, imagen 2 de 3 Roborock Q5 Main Brush Housing Replacement: paso 9, imagen 3 de 3
    • Pull the plastic grommet off of the dust port.

    • If needed, use a spudger to help get underneath the lip.

  10. Roborock Q5 Main Brush Housing Replacement: paso 10, imagen 1 de 3 Roborock Q5 Main Brush Housing Replacement: paso 10, imagen 2 de 3 Roborock Q5 Main Brush Housing Replacement: paso 10, imagen 3 de 3
    • Carefully flip the device over and place it with the wheels up.

    • Push both of the gray retaining tabs toward each other and lift the cover on the main brush holder to remove it.

    • Grip and remove the main brush.

  11. Roborock Q5 Main Brush Housing Replacement: paso 11, imagen 1 de 2 Roborock Q5 Main Brush Housing Replacement: paso 11, imagen 2 de 2
    • Use a Phillips screwdriver to remove the two 15 mm screws from the main brush housing.

  12. Roborock Q5 Main Brush Housing Replacement: paso 12, imagen 1 de 2 Roborock Q5 Main Brush Housing Replacement: paso 12, imagen 2 de 2
    • Remove the three 15 mm screws that secure the main brush motor with a Phillips screwdriver.

  13. Roborock Q5 Main Brush Housing Replacement: paso 13, imagen 1 de 2 Roborock Q5 Main Brush Housing Replacement: paso 13, imagen 2 de 2
    • Remove the motor from its housing and lift the main brush housing out of the vacuum.

Conclusión

To reassemble your device, follow these instructions in reverse order.

Una persona más ha completado esta guía.

Jon Panaro

Miembro Desde 01/29/24

351 Reputación

2 Guías creadas

0 comentarios

Agregar Comentario

Ver Estadísticas:

Ultimas 24 horas: 2

Ultimos 7 días: 12

Ultimos 30 días: 24

Todo El Tiempo: 64