Introducción
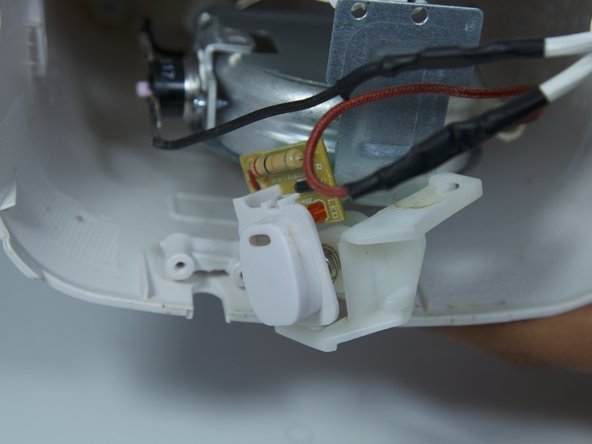
First, make sure that the device is unplugged from the socket. Before replacing the power button you must unscrew the metal base plate. After doing this all you need to do is unscrew the button on the inside of the device and pry it out of the slot on the body of the device. Pry with enough force to detach the button but not so much that it breaks the plastic button.
Qué necesitas
-
-
-
Remove the 8mm Phillips screw that attaches the power button to the inside of the coffee maker.
-


To reassemble your device, follow these instructions in reverse order.
To reassemble your device, follow these instructions in reverse order.
Cancelar: No complete esta guía.
Una persona más ha completado esta guía.
Equipo

Cal Poly, Team 10-6, Livingston Fall 2016 Miembro de Cal Poly, Team 10-6, Livingston Fall 2016
CPSU-LIVINGSTON-F16S10G6
5 Miembros
6 Guías creadas