Introducción
Since it is necessary to replace all related sealing parts at once, this guide will cover replacing both parts located around the air plug at the bottom of the tool. For this, you will need a 3-Gauge Allen wrench.
Qué necesitas
-
-
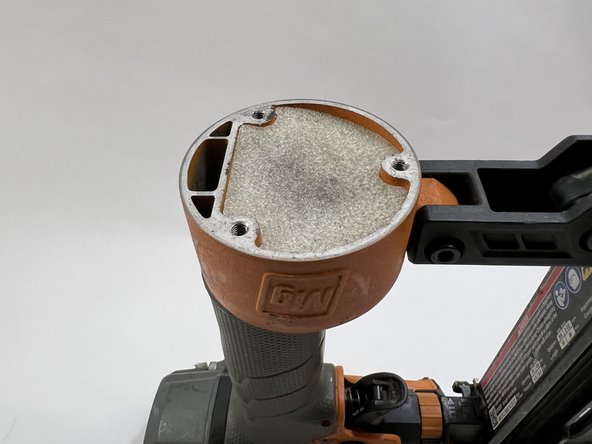
Positioning the nailer so the air plug is facing towards you, use a 3-Gauge Allen wrench to remove the three screws.
-
-


Casi Terminas!
To reassemble your device, follow these instructions in reverse order.
Conclusión
To reassemble your device, follow these instructions in reverse order.
Equipo

Casper College, Team 1-3, Lareau Spring 2024 Miembro de Casper College, Team 1-3, Lareau Spring 2024
CASC-LAREAU-S24S1G3
3 Miembros
2 Guías creadas