Saltar al contenido principal

Ridgid GEN5X R8611506 Outer Case Replacement

Qué necesitas

  1. Ridgid GEN5X R8611506 Outer Case Replacement, Outer Case: paso 1, imagen 1 de 2 Ridgid GEN5X R8611506 Outer Case Replacement, Outer Case: paso 1, imagen 2 de 2
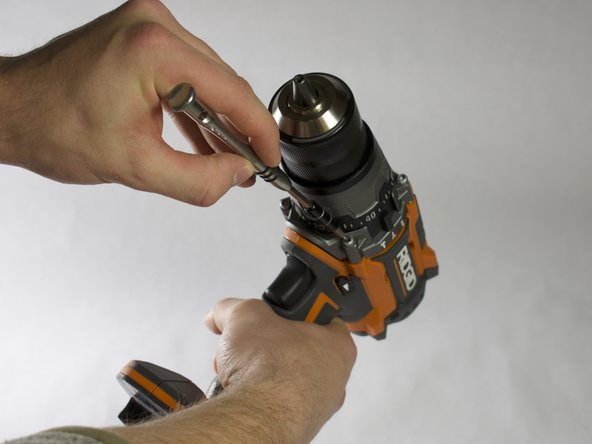
    • Orient the drill to have the side with the screws facing up.

    • Using the Torx T10 screwdriver, remove the eight 4.0mm screws from the face of the drill.

  2. Ridgid GEN5X R8611506 Outer Case Replacement: paso 2, imagen 1 de 3 Ridgid GEN5X R8611506 Outer Case Replacement: paso 2, imagen 2 de 3 Ridgid GEN5X R8611506 Outer Case Replacement: paso 2, imagen 3 de 3
    • Orient the drill to where the back is facing up.

    • Using a Torx T10 screwdriver, remove the four 6.0mm screws that attach the back piece to the drill.

    • Remove the back piece of the drill using the iFixit opening tool.

  3. Ridgid GEN5X R8611506 Outer Case Replacement: paso 3, imagen 1 de 2 Ridgid GEN5X R8611506 Outer Case Replacement: paso 3, imagen 2 de 2
    • Orient the drill to where the chuck is facing up.

    • Using the Torx T15 screwdriver, remove the four 8.0mm screws from the front of the drill.

  4. Ridgid GEN5X R8611506 Outer Case Replacement: paso 4, imagen 1 de 2 Ridgid GEN5X R8611506 Outer Case Replacement: paso 4, imagen 2 de 2
    • Orient the drill so the side with the screw holes is facing up.

    • Use a plastic opening tool to gently pry the face off of the drill.

    • Remove the face completely from the drill.

Conclusión

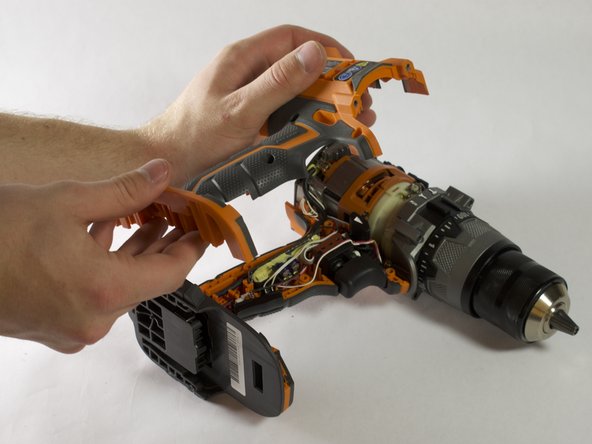
To reassemble your device, follow these instructions in reverse order.

0 comentarios

Agregar Comentario

Ver Estadísticas:

Ultimas 24 horas: 0

Ultimos 7 días: 0

Ultimos 30 días: 6

Todo El Tiempo: 233