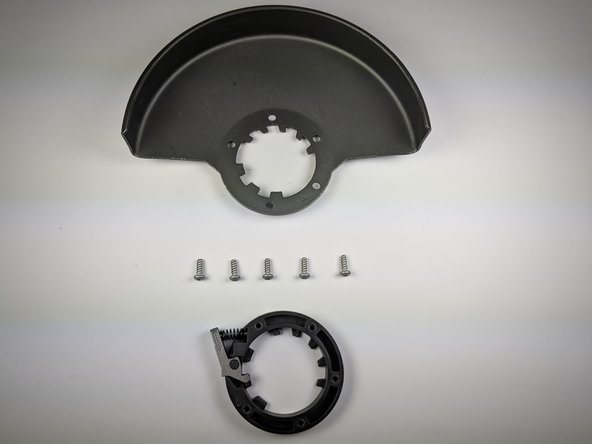
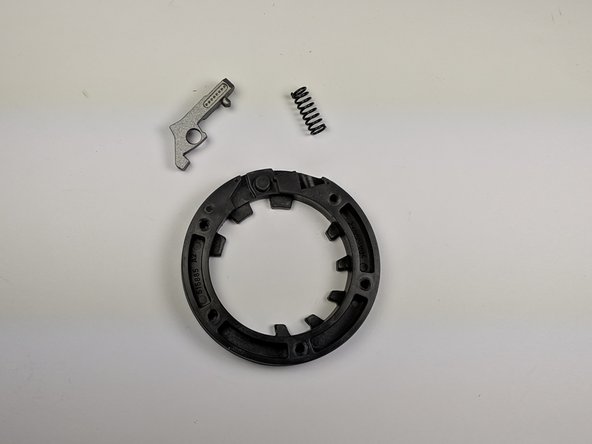
Saltar al contenido principal

Ridgid Angle Grinder R10202 Disk Guard Spring Replacement

Qué necesitas

  1. Ridgid Angle Grinder R10202 Disk Guard Spring Replacement, Disk Guard Spring: paso 1, imagen 1 de 1
    • Unscrew the clamp nut and the backing flange from the output shaft assembly.

    • You can do this by hand or use a spanner wrench which should be provided in the manufacturers box.

  2. Ridgid Angle Grinder R10202 Disk Guard Spring Replacement: paso 2, imagen 1 de 2 Ridgid Angle Grinder R10202 Disk Guard Spring Replacement: paso 2, imagen 2 de 2
    • Push in the guard lever and twist the guard until it aligns with the slots on the output shaft assembly.

    • There are two arrows that should align before you attempt to pull the pieces apart.

  3. Ridgid Angle Grinder R10202 Disk Guard Spring Replacement: paso 3, imagen 1 de 2 Ridgid Angle Grinder R10202 Disk Guard Spring Replacement: paso 3, imagen 2 de 2
    • Unscrew the 5 M5 X 10mm screws using a Torx T20 Bit.

    • Carefully separate the spacer from the guard.

  4. Ridgid Angle Grinder R10202 Disk Guard Spring Replacement: paso 4, imagen 1 de 2 Ridgid Angle Grinder R10202 Disk Guard Spring Replacement: paso 4, imagen 2 de 2
    • Gently push the spring away from the spacer.

    • The spacer, spring, and guard lever should now be all separate.

Conclusión

To reassemble your device, follow these instructions in reverse order.

0 comentarios

Agregar Comentario

Ver Estadísticas:

Ultimas 24 horas: 0

Ultimos 7 días: 0

Ultimos 30 días: 6

Todo El Tiempo: 729