Saltar al contenido principal

Esta versión puede contener ediciones incorrectas. Cambiar a la última instantánea verificada.

Qué necesitas

  1. Este paso está sin traducir. Ayuda a traducirlo

    : paso 1, imagen 1 de 1
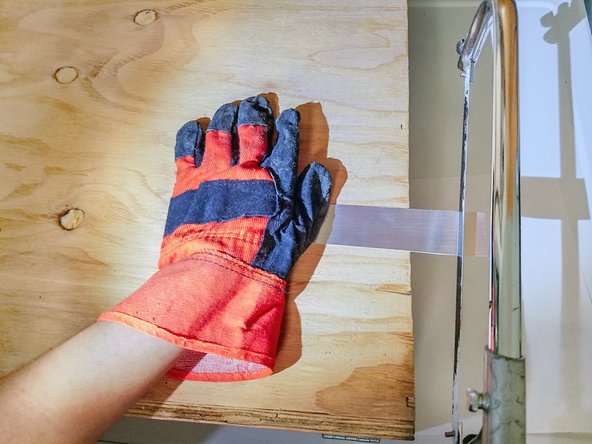
    • Place the ironing board face down on a flat, stable surface.

  2. Este paso está sin traducir. Ayuda a traducirlo

    : paso 2, imagen 1 de 1
    • Unscrew and remove the broken metal plate.

  3. Este paso está sin traducir. Ayuda a traducirlo

    : paso 3, imagen 1 de 1
    • Cut the metal sheet into an appropriate size.

    • Use cut proof gloves for protection

  4. Este paso está sin traducir. Ayuda a traducirlo

    : paso 4, imagen 1 de 1
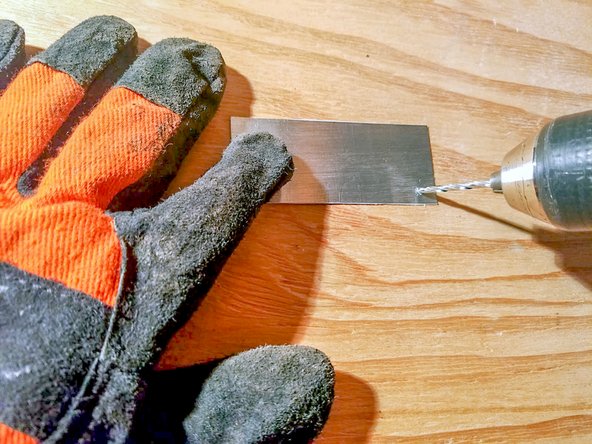
    • Using a 1/8" drill bit, drill four holes on each corner where the screws will be placed.

    • Use cut proof gloves for protection

  5. Este paso está sin traducir. Ayuda a traducirlo

    : paso 5, imagen 1 de 1
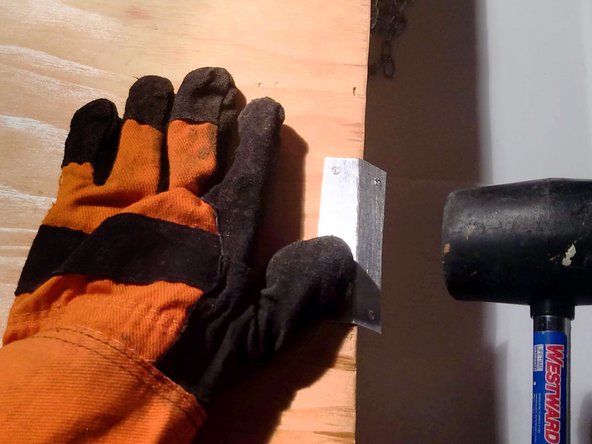
    • On the corner of a flat edge, use a mallet to shape the metal sheet.

    • Keep your hand at a distance from the mallet to avoid hitting your fingers.

  6. Este paso está sin traducir. Ayuda a traducirlo

    : paso 6, imagen 1 de 1
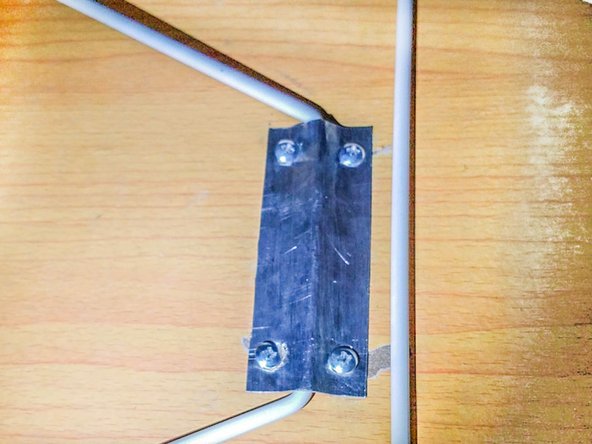
    • Using a screwdriver, screw on the new plate with the #10-32 x 3/8" pan-headed screws.

  7. Este paso está sin traducir. Ayuda a traducirlo

    : paso 7, imagen 1 de 2 : paso 7, imagen 2 de 2
    • Finish repairing the iron board!

Linea de Meta

5 personas más completaron esta guía.

Nina Youn

Miembro Desde 10/26/18

211 Reputación

1 Guía escrita

Equipo

UC Davis, Team S2-G1, Bender Fall 2018 Miembro de UC Davis, Team S2-G1, Bender Fall 2018

UCD-BENDER-F18S2G1

4 Miembros

1 Guía escrita

0 comentarios

Agregar Comentario

Ver Estadísticas:

Ultimas 24 horas: 3

Ultimos 7 días: 14

Ultimos 30 días: 59

Todo El Tiempo: 2,892