Saltar al contenido principal

Replacing Jammed Lead in a Mechanical Pencil

Qué necesitas

  1. Replacing Jammed Lead in a Mechanical Pencil, Lead: paso 1, imagen 1 de 2 Replacing Jammed Lead in a Mechanical Pencil, Lead: paso 1, imagen 2 de 2
    • Twist the cone of the mechanical pencil counterclockwise to remove it.

  2. Replacing Jammed Lead in a Mechanical Pencil: paso 2, imagen 1 de 2 Replacing Jammed Lead in a Mechanical Pencil: paso 2, imagen 2 de 2
    • Twist and pop out the eraser shaft.

    • It should come out with the long tube.

    • Be cautious as the spring could also come out. Make sure to not misplace it, as it is quite tiny.

  3. Replacing Jammed Lead in a Mechanical Pencil: paso 3, imagen 1 de 1
    • Remove any excess lead from the eraser shaft hole that may be causing the jam.

    • Gently tap it against the table if it doesn't come out.

  4. Replacing Jammed Lead in a Mechanical Pencil: paso 4, imagen 1 de 2 Replacing Jammed Lead in a Mechanical Pencil: paso 4, imagen 2 de 2
    • Gently pull out the lead dispenser from the sleeve.

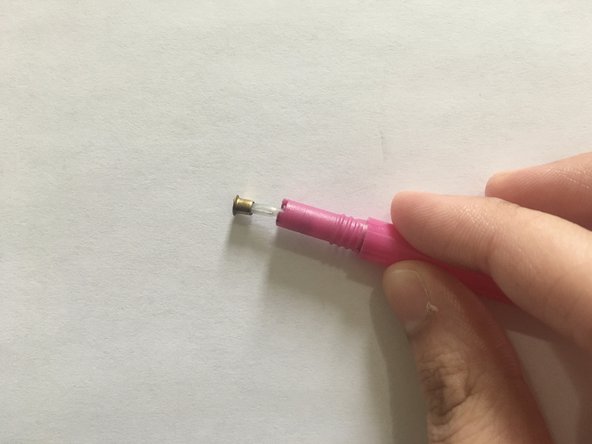
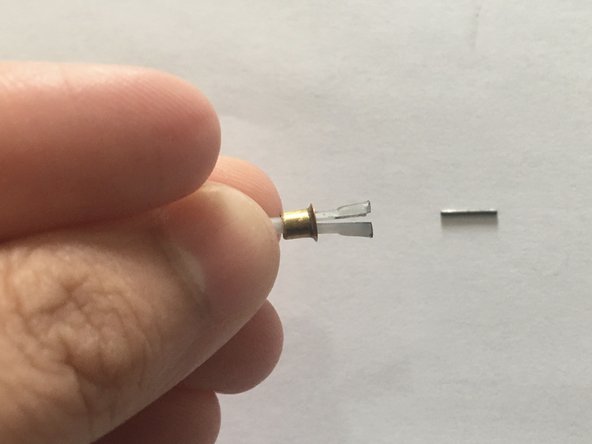
  5. Replacing Jammed Lead in a Mechanical Pencil: paso 5, imagen 1 de 3 Replacing Jammed Lead in a Mechanical Pencil: paso 5, imagen 2 de 3 Replacing Jammed Lead in a Mechanical Pencil: paso 5, imagen 3 de 3
    • Push the gold cover down from the dispenser to release the jammed lead.

  6. Replacing Jammed Lead in a Mechanical Pencil: paso 6, imagen 1 de 1
    • Insert the eraser shaft into the pencil sleeve and hold it down.

  7. Replacing Jammed Lead in a Mechanical Pencil: paso 7, imagen 1 de 2 Replacing Jammed Lead in a Mechanical Pencil: paso 7, imagen 2 de 2
    • Gently insert the lead dispenser into the other side of the pencil sleeve until you hear a "click."

    • Screw the nose cone clockwise to reattach it to the pencil.

  8. Replacing Jammed Lead in a Mechanical Pencil: paso 8, imagen 1 de 3 Replacing Jammed Lead in a Mechanical Pencil: paso 8, imagen 2 de 3 Replacing Jammed Lead in a Mechanical Pencil: paso 8, imagen 3 de 3
    • Take another lead and gently insert it through the cone of the pencil.

Conclusión

To reassemble your device, follow these instructions in reverse order.

Iqra Inam

Miembro Desde 01/10/24

157 Reputación

1 Guía escrita

Equipo

0 comentarios

Agregar Comentario

Ver Estadísticas:

Ultimas 24 horas: 0

Ultimos 7 días: 5

Ultimos 30 días: 20

Todo El Tiempo: 125