Saltar al contenido principal

Removing the Cover From the Printer

Sólo Prerrequisito
Esta guía solo debería usarse como prerrequisito para otras guías. Por tanto, estará incompleta.

Qué necesitas

  1. Removing the Cover From the Printer, Top Cover: paso 1, imagen 1 de 1
    • Remove the back two 14.0 mm Torx #10 screws.

  2. Removing the Cover From the Printer: paso 2, imagen 1 de 1
    • Lay the printer on its back.

    • Grab the paper tray by its right side and pull it to the left and up.

  3. Removing the Cover From the Printer: paso 3, imagen 1 de 1
    • Open the frontal access panel by lifting it from the top.

    • Similar to the paper tray, grab it from the right side and pull it to the left and up.

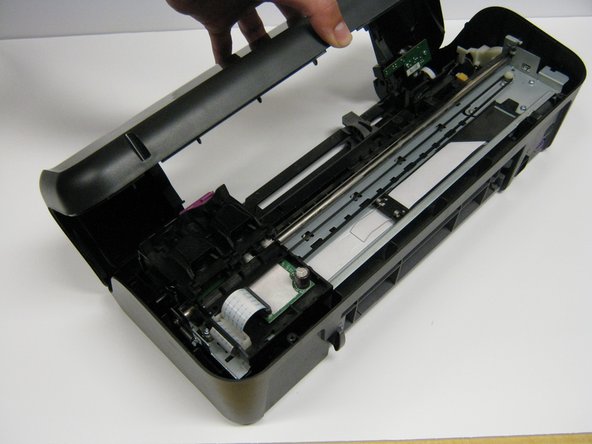
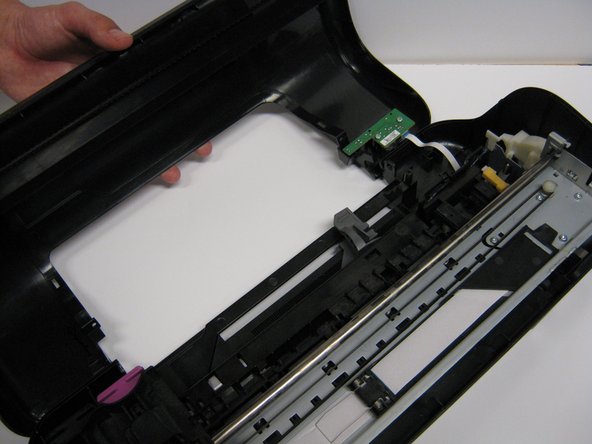
  4. Removing the Cover From the Printer: paso 4, imagen 1 de 3 Removing the Cover From the Printer: paso 4, imagen 2 de 3 Removing the Cover From the Printer: paso 4, imagen 3 de 3
    • Take out the two frontal 14.0 mm Torx #10 screws.

    • Carefully lift the frontal cover.

    • Don't lift it up aggressively. A strip will be attached to it.

Conclusión

To reassemble your device, follow these instructions in reverse order.

Equipo

Cal Poly, Team 1-41, Maness Winter 2014 Miembro de Cal Poly, Team 1-41, Maness Winter 2014

CPSU-MANESS-W14S1G41

4 Miembros

14 Guías creadas

0 comentarios

Agregar Comentario

Ver Estadísticas:

Ultimas 24 horas: 0

Ultimos 7 días: 0

Ultimos 30 días: 0

Todo El Tiempo: 29