Introducción
Cuando el aspirador no succiona la suciedad o la devuelve hacia afuera, comprueba el cepillo de los rodillo en busca de daños. Si varias cerdas faltan o están rotas, o si el propio cepillo está partido o dañado, puede dejar de recoger la suciedad.
Qué necesitas
-
-
Tira de la empuñadura mientras pulsas el botón de desenganche para quitar el cuerpo del aspirador.
-
-
-
-
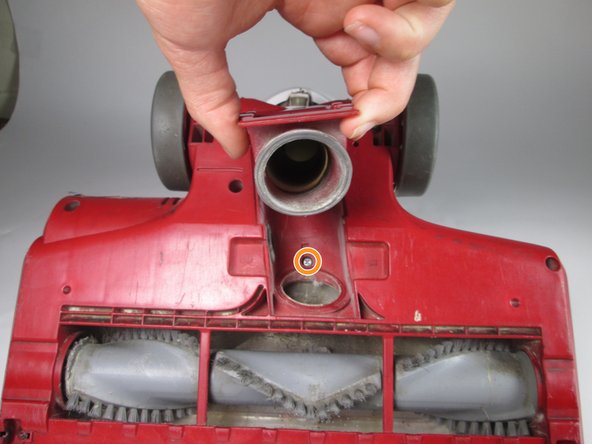
Quita los nueve tornillos de 16 mm usando un destornillador Phillips #2. Pulsa en las pestañas laterales en el medio del panel y tira para descubrir un tornillo debajo de la conexión de la manguera.
-
Quita los dos tornillos de 13.5 mm usando el destornillador Phillips #2.
On my vacuum there are not 9 Phillips head screws. There are 2 Phillips head screws and 7 star head screws. If you have any sense at all when you put your vacuum back together you will throw away these star head screws and replace them with Phillips head screws of like thread and length.
I can’t find the right bit for these screws. What size/type are they??? Mine are not star bits…
On other vacuum models Shark uses Torx security screws. The Torx/Star screwdriver/bit needs to have a hole in the end to accommodate the pin inside the Tork screw head.
-
-
-
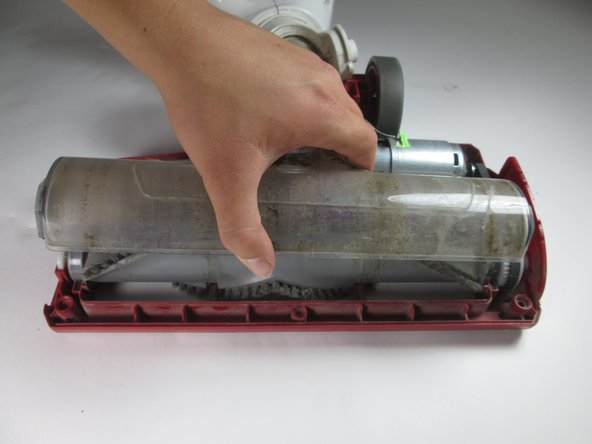
Tira hacia afuera del cepillo de rodillo.
The photos were perfect. Followed the directions perfectly step by step and I was able to reassemble and I had no screws left over! Thanks (59yr old Nana)
I Found one on the bloody trash about an hour ago. Bleeding wankers! Throwing away a great bloody piece like it, is bloody crazy I say. !#off, it's mine now!
-


Para volver a montar tu dispositivo, sigue las instrucciones en sentido contrario.
Para volver a montar tu dispositivo, sigue las instrucciones en sentido contrario.
Cancelar: No complete esta guía.
5 personas más completaron esta guía.
Un agradecimiento especial a estos traductores:
100%

¡ Angel nos está ayudando a reparar el mundo! ¿Quieres contribuir?
Empezar a traducir ›
Equipo

Cal Poly, Team 4-3, Livingston Fall 2016 Miembro de Cal Poly, Team 4-3, Livingston Fall 2016
CPSU-LIVINGSTON-F16S4G3
4 Miembros
19 Guías creadas
6 comentarios
Good day, I have a rotator lift away NV500 my belt indicator light stopped working but I was still getting suction. I replaced the filters and hep filters,as well as changed the belt. I cleaned off the dust and then carefully put the vacuum back to gather. I went to plug it in all worked until I pushed the roller brush indicator on and it still did not work. What else could it be? Any suggestions.
I await your reply
Angela
Same here what would be wrong with it
Great instructions - the 11mm hidden screws plus one more were tricky to find. Thanks so much for the great graphics and very clear disassembly steps; I almost gave up and was going to take it to a dealer for a costly repair fee. Thanks again!
Great directions and guidance - many thanks!
I found no 11mm screws, + type. On my machine all the screw were T10H or T15H security type screws.