Introducción
Esta guía lo llevará a través del desmontaje más básico del teclado inalámbrico Apple (A1314);
Reemplazar el ensamblaje de la placa lógica y las baterías atascadas.
Qué necesitas
-
-
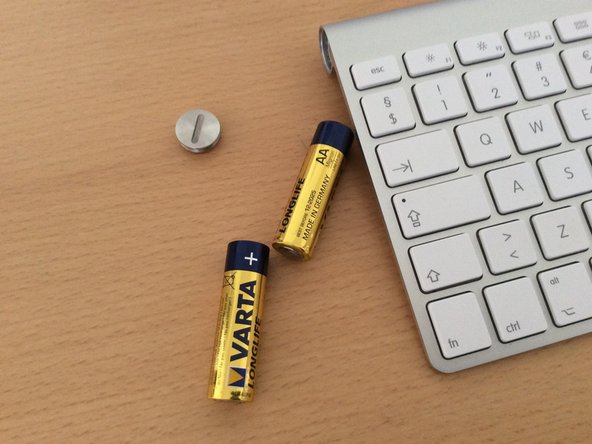
Gírelo abierto, en el sentido contrario a las agujas del reloj.
-
Si todavía es nuevo, debería poder hacer esto fácilmente con su miniatura. Si no, intente usar una moneda o un destornillador grande de cabeza plana.
-
Las baterías deberían deslizarse fácilmente. Si sus baterías están atascadas, puede dejarlas por el momento. Podrás tratar con ellos más tarde.
-
-
-
Ahora voltee el teclado para encontrar la cubierta de plástico de debajo.
-
Aprieta cada extremo de la cubierta de plástico, levantando un lado hacia arriba.
-
Tenga cuidado de no utilizar una fuerza excesiva aquí, o podría dañar la cubierta o la placa lógica debajo de ella.
-
-
-
-
Ahora retire ese pequeño tornillo Phillips, sosteniendo el ensamblaje de la placa lógica en su lugar.
-
-
-
Levante la pequeña palanca de ajuste en el conector de cinta, y afloje con cuidado el cable de cinta frágil.
-
Tenga mucho cuidado con el cable de cinta. Es muy delgado y se daña fácilmente, si usa la fuerza.
-
-
-
Ahora (aún consciente de no dañar el cable de cinta), puede comenzar a empujar todo el conjunto, primero el botón de encendido. Marqué el botón de encendido, así sabrá a qué me refiero.
-
A medida que continúe tirando de él hasta el final, se atascará, y necesitará presionar un poco la parte inferior del plástico blanco para sacarlo por completo.
-
Si las baterías estaban atascadas, entonces es cuando podrás retirarlas. El espacio ahora está despejado, y puedes usar algo así como un destornillador largo, para hurgar en el cilindro y sacar las baterías atascadas. (Recomiendo empujarlos, de la misma manera que los pones, otra vez para evitar dañar el cable plano).
-
Ahí tienes. Ya terminaste
-


Para volver a armar su dispositivo, siga estas instrucciones en orden inverso.
Para volver a armar su dispositivo, siga estas instrucciones en orden inverso.
Cancelar: No complete esta guía.
57 personas más completaron esta guía.
Un agradecimiento especial a estos traductores:
100%


Estos traductores nos están ayudando a reparar el mundo! ¿Quieres contribuir?
Empezar a traducir ›

24 comentarios
My keyboard has the same model number as the unit described here, but the plastic cover is at the end near the power button. Although I could remove the cover and small screw inside, I was unable to remove the ribbon cable.
I tried banging the stuck battery out of the keyboard until I was sure it would be ruined. With only 1cm of progress, I decided to take the battery out by setting a screw and pulling it out like a fish on a hook. Here's what I did:
1. Poke a hole in the bottom of the stuck battery with an ice pick
2. Create a 'fish hook and line' by wrapping a coat hanger around the end of a big gnarly wood screw.
3. Carefully screw into the battery until it is most of the way in.
4. fit the coat hanger through a narrow gap (drill a hole in a board) and pull with all your might to drag the battery out of the keyboard.
5. Clean out the hole to get rid of the rotten battery debris
6. Pop in some new batteries, and Hey-Presto! it works.
I have a great picture of this if there is a way to upload one.
To remove the ribbon cable you have to first release the cable. The gray piece is actually a clip (of sorts) I you look closely you can see a seam in the grey piece. It slides up (in the direction of the cable) and will allow the cable to be removed easily.
I know this is old but maybe someone else has the same question.
Mo Ali -
My plastic cover is in the middle and I can't get at it any suggestions? Thanks
Use a pry tool like the ones used to remove screens. I thin flat screwdriver might work. It’s better to use a plastic pry tool (if you have one) they look like guitar picks and generally won’t scratch the surfaces.. Place it in the seem between the metal and plastic. I just squeezed it together really hard and then I saw a seam. I put a fingernail in the seam to open it up all the way.
Mo Ali -