Saltar al contenido principal

RedOctane X-Plorer Pedal Input Replacement

Qué necesitas

  1. RedOctane X-Plorer Pedal Input Replacement, Rear Case: paso 1, imagen 1 de 2 RedOctane X-Plorer Pedal Input Replacement, Rear Case: paso 1, imagen 2 de 2
    • Remove the strap by pulling it off of the mounts located on the body and neck.

  2. RedOctane X-Plorer Pedal Input Replacement: paso 2, imagen 1 de 3 RedOctane X-Plorer Pedal Input Replacement: paso 2, imagen 2 de 3 RedOctane X-Plorer Pedal Input Replacement: paso 2, imagen 3 de 3
    • Remove the nine 12mm Phillips #1 screws around the perimeter of the case with a screwdriver.

    • Remove the two 15mm Phillips #1 screws connecting the body panel to the neck panel with a screwdriver.

    • These screws can also be Torx on some models.

    • Pull off the rear case.

  3. RedOctane X-Plorer Pedal Input Replacement: paso 3, imagen 1 de 3 RedOctane X-Plorer Pedal Input Replacement: paso 3, imagen 2 de 3 RedOctane X-Plorer Pedal Input Replacement: paso 3, imagen 3 de 3
    • Remove the five 12mm Phillips #1 screws along the neck with a screwdriver.

    • Pull off the top shell of the neck to expose the internal features.

  4. RedOctane X-Plorer Pedal Input Replacement, RJ-14 Connector: paso 4, imagen 1 de 3 RedOctane X-Plorer Pedal Input Replacement, RJ-14 Connector: paso 4, imagen 2 de 3 RedOctane X-Plorer Pedal Input Replacement, RJ-14 Connector: paso 4, imagen 3 de 3
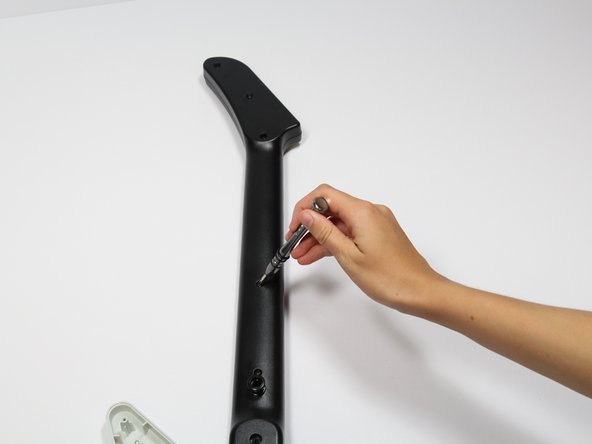
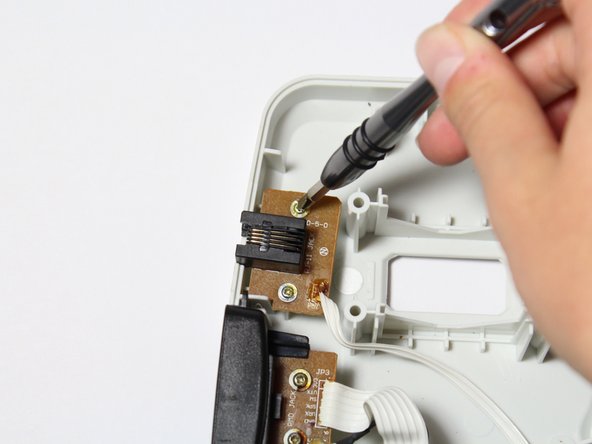
    • Remove the two 10mm Phillips #1 screws from the RJ-14 connector board.

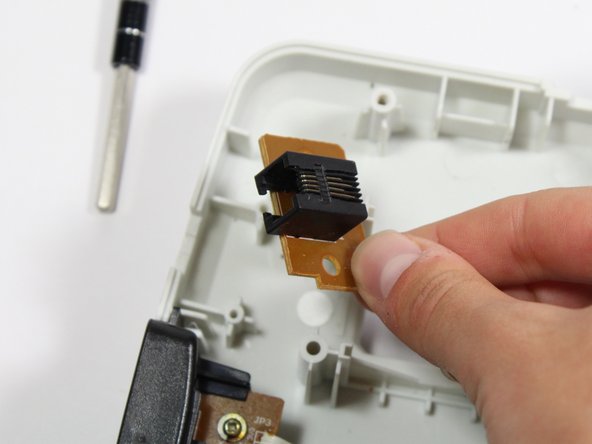
    • Lift the RJ-14 connector to remove it from the case.

Conclusión

To reassemble your device, follow these instructions in reverse order.

Riley

Miembro Desde 04/18/18

649 Reputación

7 Guías creadas

Equipo

Cal Poly, Team S17-G1, Livingston Spring 2018 Miembro de Cal Poly, Team S17-G1, Livingston Spring 2018

CPSU-LIVINGSTON-S18S17G1

3 Miembros

9 Guías creadas

0 comentarios

Agregar Comentario

Ver Estadísticas:

Ultimas 24 horas: 1

Ultimos 7 días: 9

Ultimos 30 días: 19

Todo El Tiempo: 926