Saltar al contenido principal

RedOctane X-Plorer Motherboard Replacement

Qué necesitas

  1. RedOctane X-Plorer Motherboard Replacement, Rear Case: paso 1, imagen 1 de 2 RedOctane X-Plorer Motherboard Replacement, Rear Case: paso 1, imagen 2 de 2
    • Remove the strap by pulling it off of the mounts located on the body and neck.

  2. RedOctane X-Plorer Motherboard Replacement: paso 2, imagen 1 de 3 RedOctane X-Plorer Motherboard Replacement: paso 2, imagen 2 de 3 RedOctane X-Plorer Motherboard Replacement: paso 2, imagen 3 de 3
    • Remove the nine 12mm Phillips #1 screws around the perimeter of the case with a screwdriver.

    • Remove the two 15mm Phillips #1 screws connecting the body panel to the neck panel with a screwdriver.

    • These screws can also be Torx on some models.

    • Pull off the rear case.

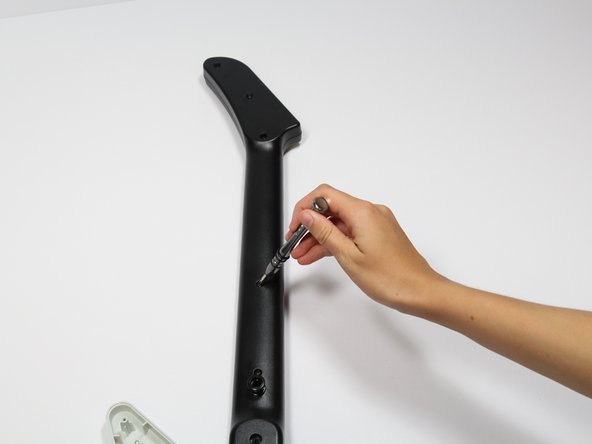
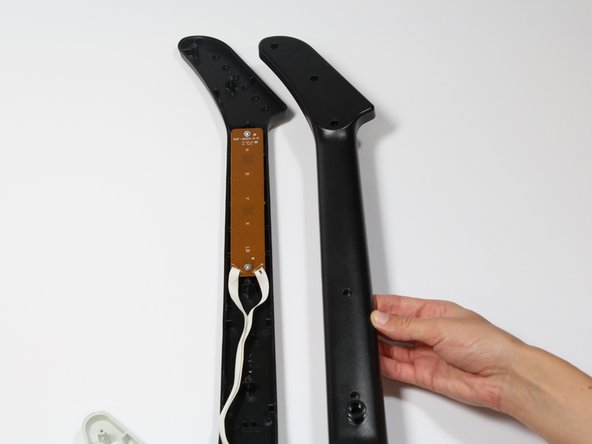
  3. RedOctane X-Plorer Motherboard Replacement: paso 3, imagen 1 de 3 RedOctane X-Plorer Motherboard Replacement: paso 3, imagen 2 de 3 RedOctane X-Plorer Motherboard Replacement: paso 3, imagen 3 de 3
    • Remove the five 12mm Phillips #1 screws along the neck with a screwdriver.

    • Pull off the top shell of the neck to expose the internal features.

  4. RedOctane X-Plorer Motherboard Replacement, Auxiliary Port: paso 4, imagen 1 de 3 RedOctane X-Plorer Motherboard Replacement, Auxiliary Port: paso 4, imagen 2 de 3 RedOctane X-Plorer Motherboard Replacement, Auxiliary Port: paso 4, imagen 3 de 3
    • Remove the two 10mm Phillips #1 screws from the auxiliary port board using a screwdriver.

    • Gently lift up on the auxiliary port to remove it from the case.

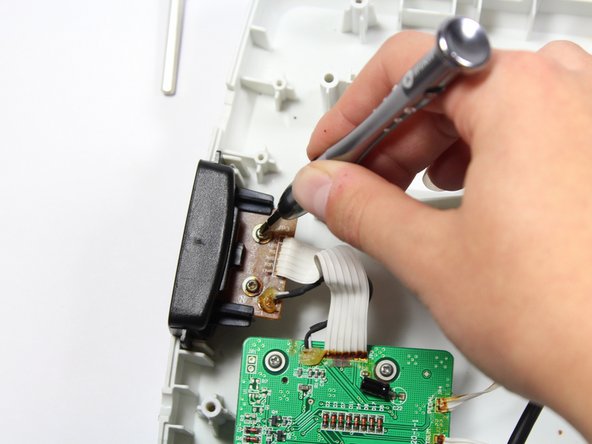
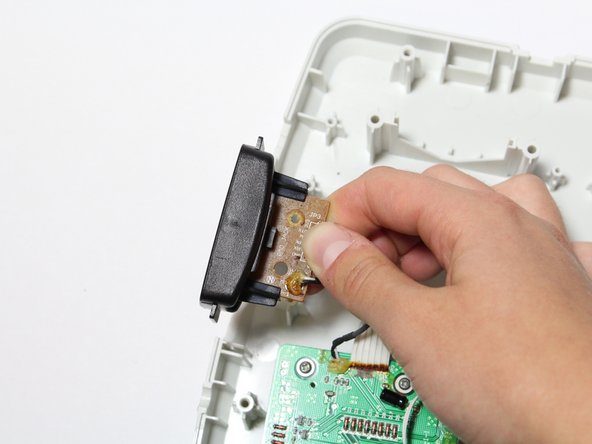
  5. RedOctane X-Plorer Motherboard Replacement, RJ-14 Connector: paso 5, imagen 1 de 3 RedOctane X-Plorer Motherboard Replacement, RJ-14 Connector: paso 5, imagen 2 de 3 RedOctane X-Plorer Motherboard Replacement, RJ-14 Connector: paso 5, imagen 3 de 3
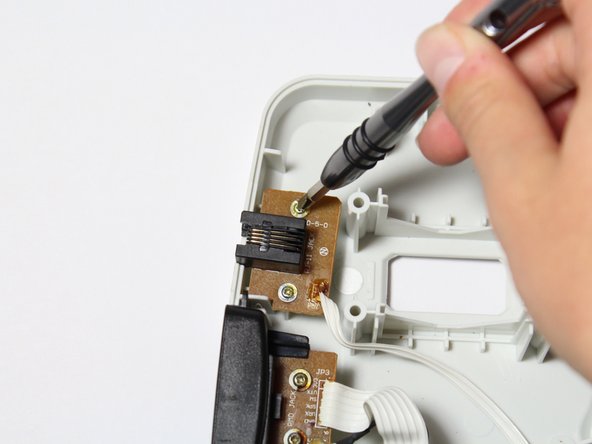
    • Remove the two 10mm Phillips #1 screws from the RJ-14 connector board.

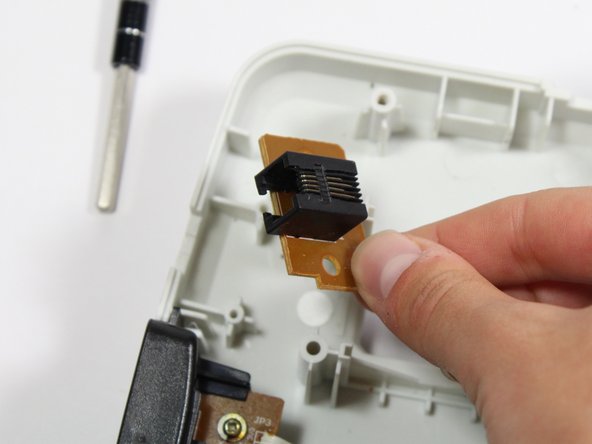
    • Lift the RJ-14 connector to remove it from the case.

  6. RedOctane X-Plorer Motherboard Replacement, Keys: paso 6, imagen 1 de 3 RedOctane X-Plorer Motherboard Replacement, Keys: paso 6, imagen 2 de 3 RedOctane X-Plorer Motherboard Replacement, Keys: paso 6, imagen 3 de 3
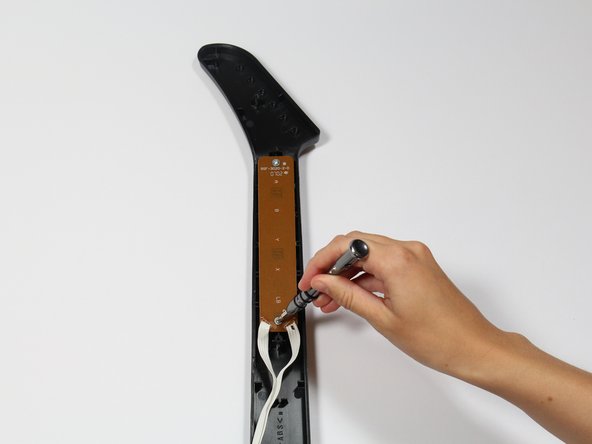
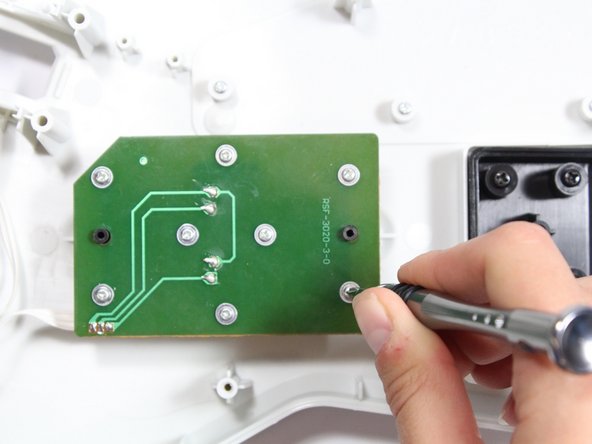
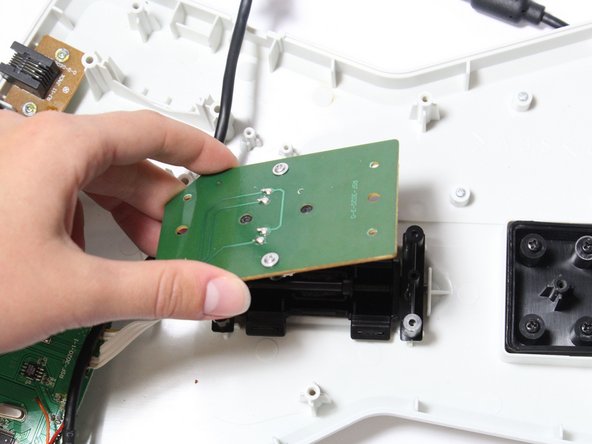
    • Use a screwdriver to remove the 10 mm Phillips #1 screws from the key sensor board.

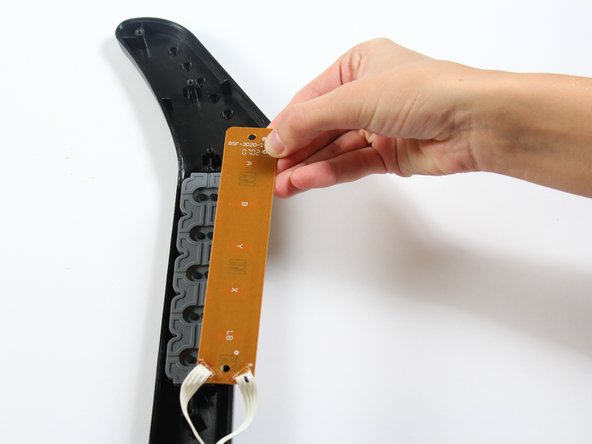
    • Lift up on the key sensor board to remove it from the guitar neck.

    • When using the screwdriver, make sure to avoid puncturing the wires.

  7. RedOctane X-Plorer Motherboard Replacement: paso 7, imagen 1 de 1
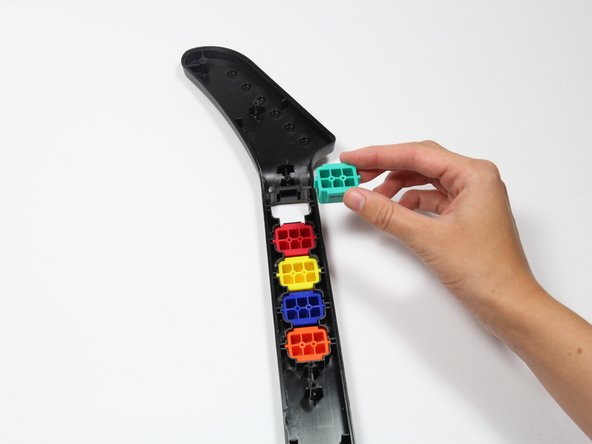
    • Using your fingers, remove the rubber pad to expose the colored keys.

  8. RedOctane X-Plorer Motherboard Replacement: paso 8, imagen 1 de 2 RedOctane X-Plorer Motherboard Replacement: paso 8, imagen 2 de 2
    • Reach one finger under the guitar to push the key out of the casing.

    • Repeat this step for the four remaining keys.

  9. RedOctane X-Plorer Motherboard Replacement, Strum Bar Sensor Board: paso 9, imagen 1 de 3 RedOctane X-Plorer Motherboard Replacement, Strum Bar Sensor Board: paso 9, imagen 2 de 3 RedOctane X-Plorer Motherboard Replacement, Strum Bar Sensor Board: paso 9, imagen 3 de 3
    • Use a screwdriver to remove the four 14mm Phillips #1 screws around the perimeter of the strum bar sensor board.

    • Lift up on the strum bar sensor board to remove it from the case.

  10. RedOctane X-Plorer Motherboard Replacement, Whammy Bar Sensor: paso 10, imagen 1 de 3 RedOctane X-Plorer Motherboard Replacement, Whammy Bar Sensor: paso 10, imagen 2 de 3 RedOctane X-Plorer Motherboard Replacement, Whammy Bar Sensor: paso 10, imagen 3 de 3
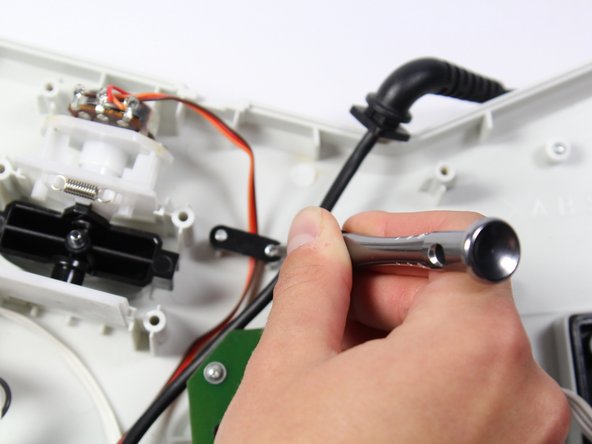
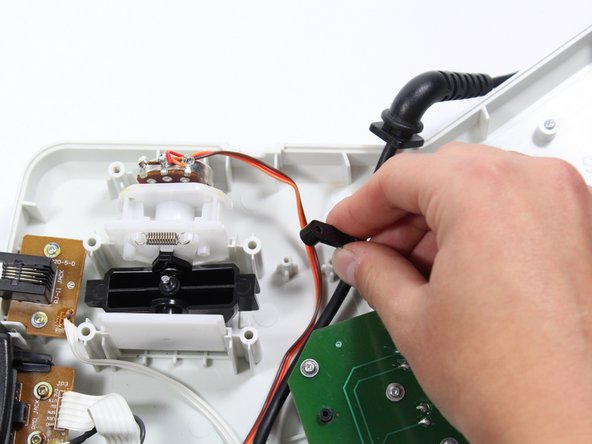
    • Remove the two 7mm Phillips #0 screws.

    • Using your fingers, remove the black wire retainer.

  11. RedOctane X-Plorer Motherboard Replacement: paso 11, imagen 1 de 2 RedOctane X-Plorer Motherboard Replacement: paso 11, imagen 2 de 2
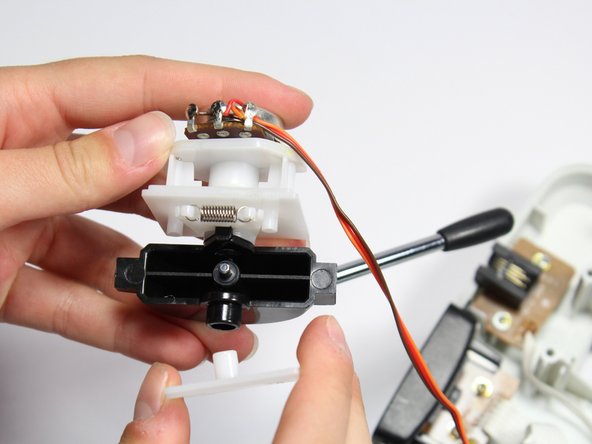
    • Using one hand, remove the whammy bar and its attached components from the case.

  12. RedOctane X-Plorer Motherboard Replacement: paso 12, imagen 1 de 1
    • Using two hands, remove the whammy bar sensor.

  13. RedOctane X-Plorer Motherboard Replacement, Motherboard: paso 13, imagen 1 de 3 RedOctane X-Plorer Motherboard Replacement, Motherboard: paso 13, imagen 2 de 3 RedOctane X-Plorer Motherboard Replacement, Motherboard: paso 13, imagen 3 de 3
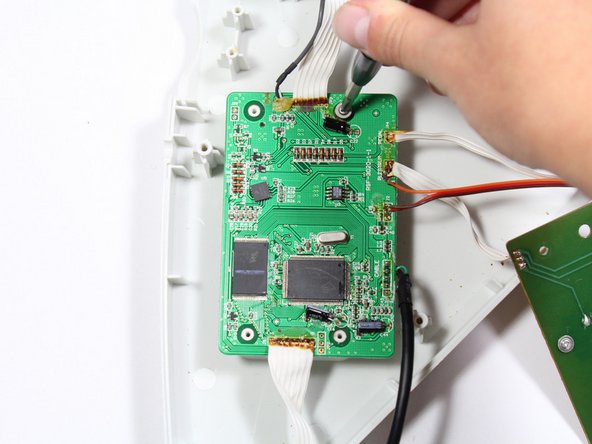
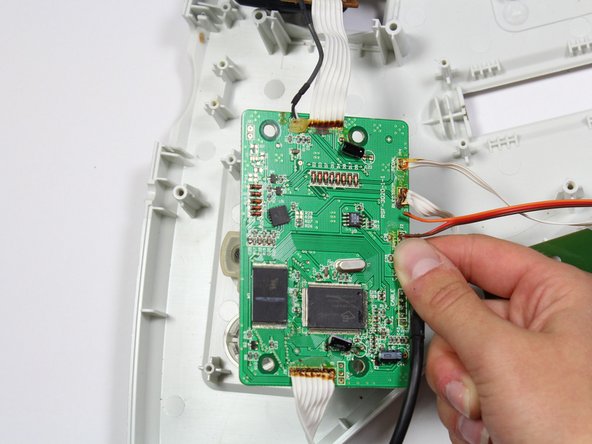
    • Remove the four 10mm Phillips #1 screws around the perimeter of the motherboard with a screwdriver.

    • Lift the motherboard to remove it from the case.

Conclusión

To reassemble your device, follow these instructions in reverse order.

Una persona más ha completado esta guía.

Riley

Miembro Desde 04/18/18

649 Reputación

7 Guías creadas

Equipo

Cal Poly, Team S17-G1, Livingston Spring 2018 Miembro de Cal Poly, Team S17-G1, Livingston Spring 2018

CPSU-LIVINGSTON-S18S17G1

3 Miembros

9 Guías creadas

Un comentario

Where can I but a replacement board?

Matthew - Contestar

Agregar Comentario

Ver Estadísticas:

Ultimas 24 horas: 0

Ultimos 7 días: 11

Ultimos 30 días: 50

Todo El Tiempo: 2,427