Saltar al contenido principal

RYDIS H68 Pro Wheel Replacement

Qué necesitas

  1. RYDIS H68 Pro Wheel  Replacement, Battery: paso 1, imagen 1 de 2 RYDIS H68 Pro Wheel  Replacement, Battery: paso 1, imagen 2 de 2
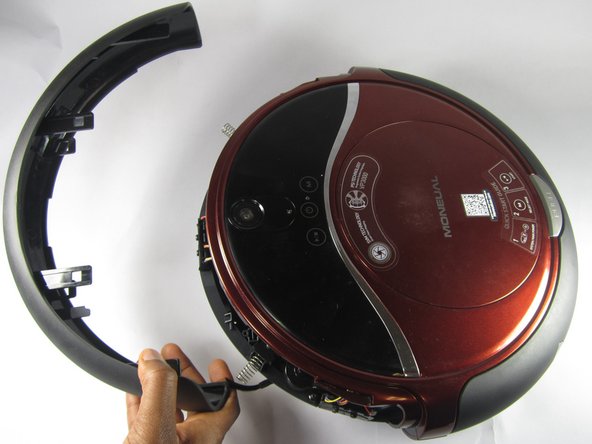
    • Flip the vacuum over so that the wheels are facing you.

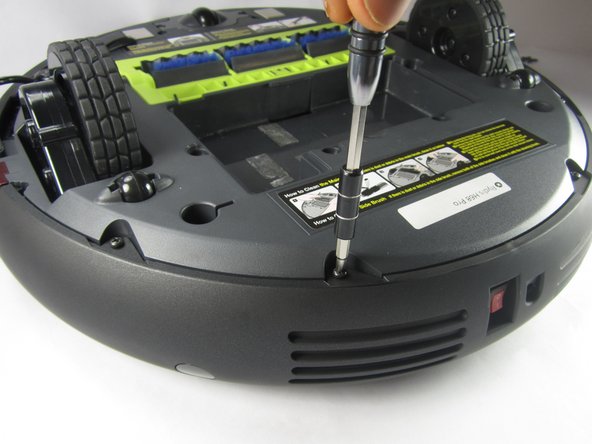
    • Use a Phillips #1 screwdriver to remove the four 10 mm screws that surround the battery cover.

  2. RYDIS H68 Pro Wheel  Replacement: paso 2, imagen 1 de 1
    • Lift the battery cover up to reveal the battery.

    • Remove the battery.

  3. RYDIS H68 Pro Wheel  Replacement, Bumper: paso 3, imagen 1 de 3 RYDIS H68 Pro Wheel  Replacement, Bumper: paso 3, imagen 2 de 3 RYDIS H68 Pro Wheel  Replacement, Bumper: paso 3, imagen 3 de 3
    • Remove the eight 10 mm Phillips #1 screws.

  4. RYDIS H68 Pro Wheel  Replacement: paso 4, imagen 1 de 3 RYDIS H68 Pro Wheel  Replacement: paso 4, imagen 2 de 3 RYDIS H68 Pro Wheel  Replacement: paso 4, imagen 3 de 3
    • Hold the front bumper and pull it off.

    • It requires a lot of force to pull the bumper off.

  5. RYDIS H68 Pro Wheel  Replacement: paso 5, imagen 1 de 3 RYDIS H68 Pro Wheel  Replacement: paso 5, imagen 2 de 3 RYDIS H68 Pro Wheel  Replacement: paso 5, imagen 3 de 3
    • Pry off the back bumper by going around the entire top of the bumper with the metal spudger.

  6. RYDIS H68 Pro Wheel  Replacement, Wheel assembly: paso 6, imagen 1 de 1
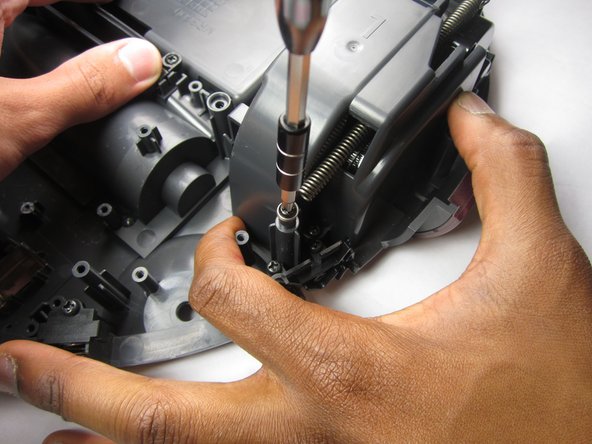
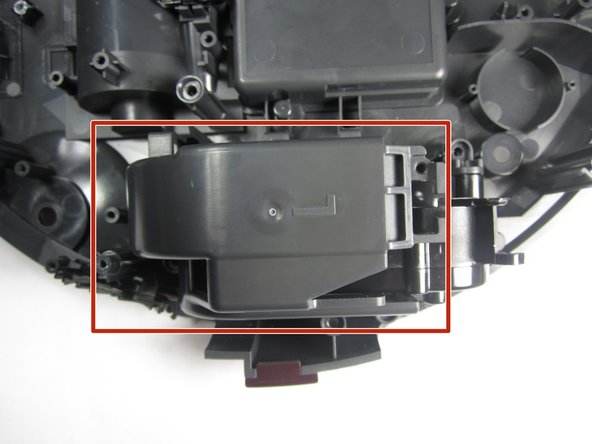
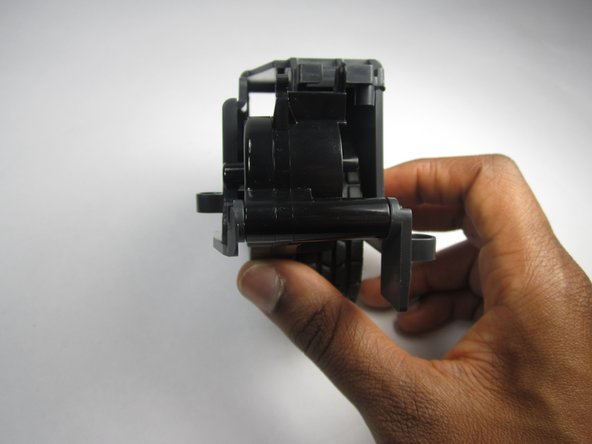
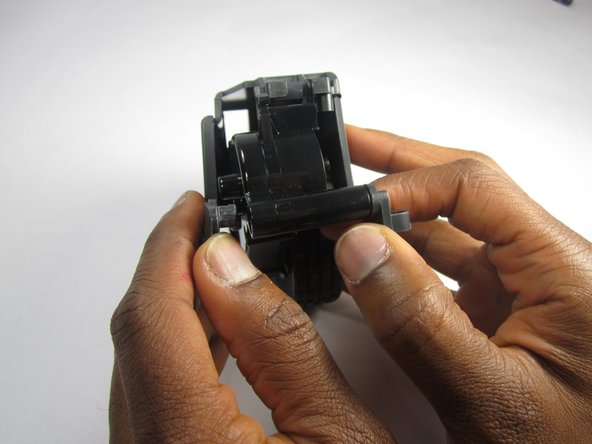
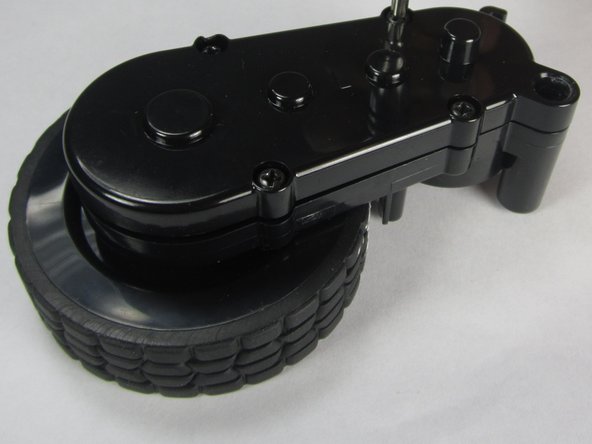
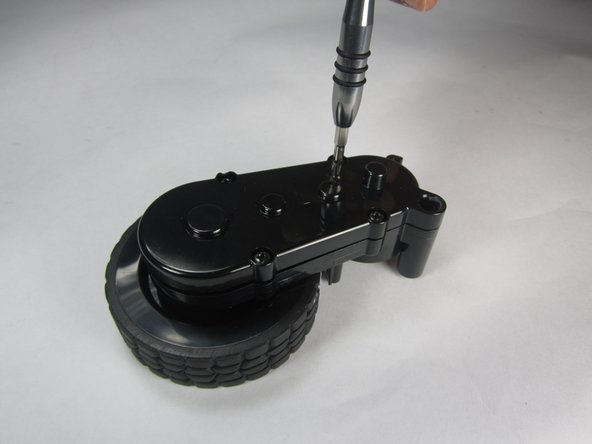
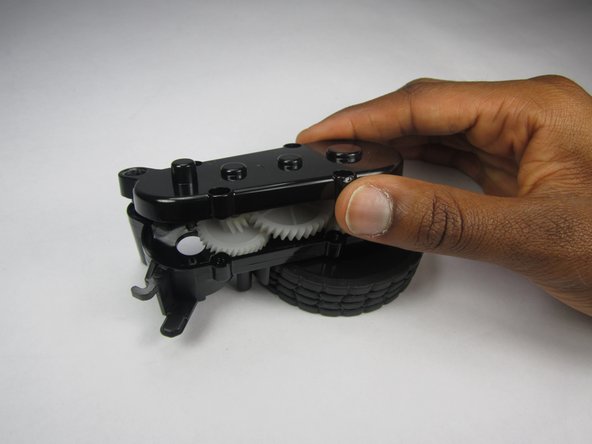
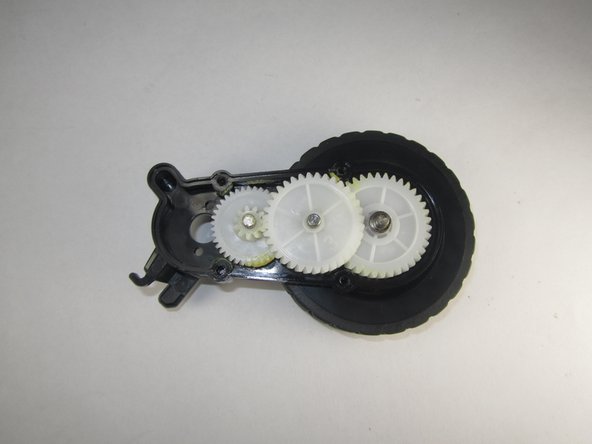
    • Remove three 10mm Philips #1 screws that are securing the wheel assembly.

  7. RYDIS H68 Pro Wheel  Replacement: paso 7, imagen 1 de 2 RYDIS H68 Pro Wheel  Replacement: paso 7, imagen 2 de 2
    • Remove the 10mm Phillips #1 screw securing the spring.

    • Then undo the spring from the plastic hook to completely remove it from the wheel assembly.

  8. RYDIS H68 Pro Wheel  Replacement: paso 8, imagen 1 de 3 RYDIS H68 Pro Wheel  Replacement: paso 8, imagen 2 de 3 RYDIS H68 Pro Wheel  Replacement: paso 8, imagen 3 de 3
    • Lift up on the plastic piece to remove the entire wheel assembly.

  9. RYDIS H68 Pro Wheel  Replacement: paso 9, imagen 1 de 3 RYDIS H68 Pro Wheel  Replacement: paso 9, imagen 2 de 3 RYDIS H68 Pro Wheel  Replacement: paso 9, imagen 3 de 3
    • Remove the plastic frame by pulling outward on the two spots where it is fastened.

  10. RYDIS H68 Pro Wheel  Replacement: paso 10, imagen 1 de 2 RYDIS H68 Pro Wheel  Replacement: paso 10, imagen 2 de 2
    • Remove the four 10mm Phillips #1 screws around the edges of the cover.

  11. RYDIS H68 Pro Wheel  Replacement: paso 11, imagen 1 de 3 RYDIS H68 Pro Wheel  Replacement: paso 11, imagen 2 de 3 RYDIS H68 Pro Wheel  Replacement: paso 11, imagen 3 de 3
    • Lift up on the top cover to remove it.

    • Removing the top cover reveals the gear system consisting of three gears.

Conclusión

To reassemble your device, follow these instructions in reverse order.

Shawn O'Meara

Miembro Desde 02/27/17

101 Reputación

1 Guía escrita

Equipo

USFT-Lacy-S17S005G2 Miembro de USFT-Lacy-S17S005G2

Repair Café

4 Miembros

10 Guías creadas

0 comentarios

Agregar Comentario

Ver Estadísticas:

Ultimas 24 horas: 0

Ultimos 7 días: 0

Ultimos 30 días: 0

Todo El Tiempo: 385