Esta versión puede contener ediciones incorrectas. Cambie a la última instantánea verificada.
Qué necesitas
-
Este paso está sin traducir. Ayuda a traducirlo
-
Remove the two 5mm screws from the bottom of the device using a Phillips #000 screwdriver.
-
-
-
Este paso está sin traducir. Ayuda a traducirlo
-
Place the plastic opening tool between the case and the screen.
-
Slide the tool clockwise around the case until all the clips are removed.
-
-
Este paso está sin traducir. Ayuda a traducirlo
-
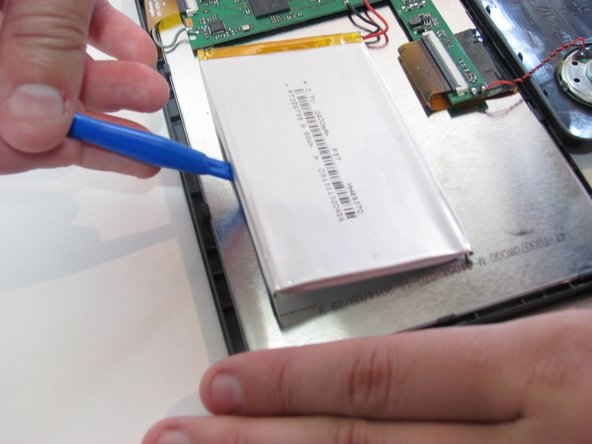
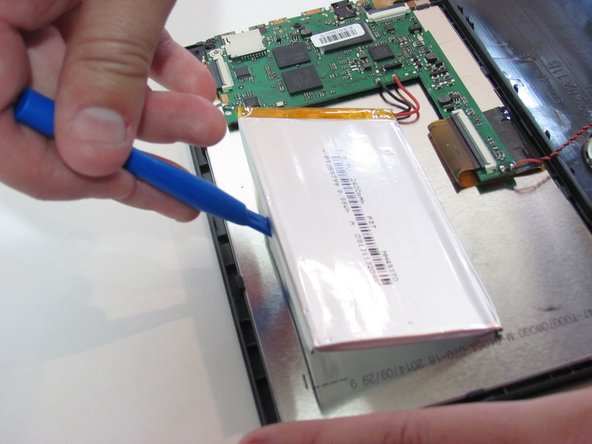
Desolder the two wires that connect the battery to the motherboard.
-
Using the blue plastic opening tool, lift the battery away from the device.
-


Cancelar: No complete esta guía.
2 personas más completaron esta guía.


Un comentario
Umm, which battery do you need for it? Seems that’s a part that is kind of important.