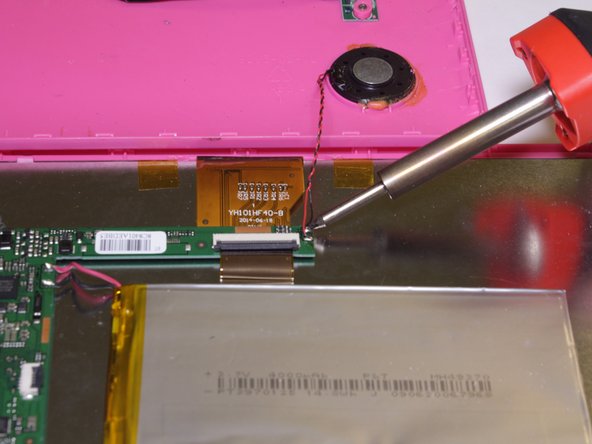
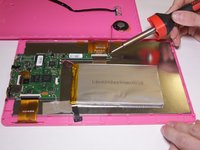
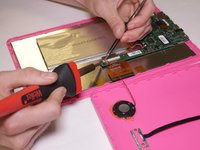
Saltar al contenido principal

RCA RCT6203W46 Rear Speaker Replacement

Qué necesitas

  1. RCA RCT6203W46 Rear Speaker Replacement, Rear Speaker: paso 1, imagen 1 de 2 RCA RCT6203W46 Rear Speaker Replacement, Rear Speaker: paso 1, imagen 2 de 2
    • Remove these four 4 mm Phillips #00 screws.

  2. RCA RCT6203W46 Rear Speaker Replacement: paso 2, imagen 1 de 2 RCA RCT6203W46 Rear Speaker Replacement: paso 2, imagen 2 de 2
    • Run a spudger tool around the edge of the screen to loosen it and begin to pry upward.

    • The screen will be able to be removed once you see it pop up like it has in the photo.

    • There are wires attached to the back cover and screen so be careful not to pull them apart.

  3. RCA RCT6203W46 Rear Speaker Replacement: paso 3, imagen 1 de 3 RCA RCT6203W46 Rear Speaker Replacement: paso 3, imagen 2 de 3 RCA RCT6203W46 Rear Speaker Replacement: paso 3, imagen 3 de 3
    • With a soldering iron, remove the wires from the circuit board.

    • Due to the size of the wires, tweezers may be necessary.

  4. RCA RCT6203W46 Rear Speaker Replacement: paso 4, imagen 1 de 1
    • Use a metal spudger to pry out the speakers from its housing.

Conclusión

To reassemble your device, follow these instructions in reverse order.

3 personas más completaron esta guía.

Equipo

UC Davis, Team 1-2, Oliver Fall 2016 Miembro de UC Davis, Team 1-2, Oliver Fall 2016

UCD-OLIVER-F16S1G2

5 Miembros

4 Guías creadas

0 comentarios

Agregar Comentario

Ver Estadísticas:

Ultimas 24 horas: 0

Ultimos 7 días: 0

Ultimos 30 días: 0

Todo El Tiempo: 351