Introducción
The volume button turns up and down the volume on the RCA Maven Pro 11. If the button becomes damaged and will no longer press down this guide can be utilized to remove and replace it.
Qué necesitas
-
-
-
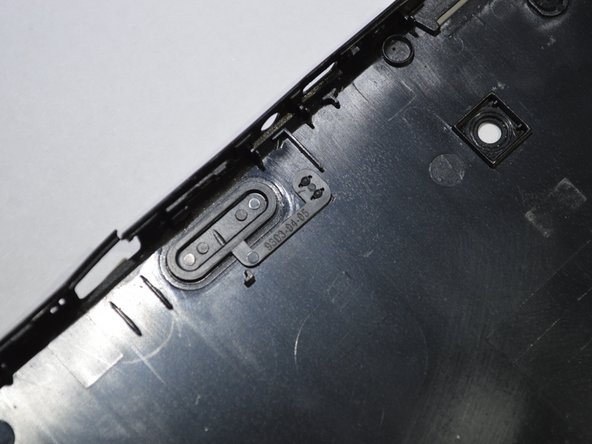
Locate the volume button on the inside of the cover.
-
Slide a wedge between the cover and the volume button and lightly lift it off.
-


To reassemble your device, follow these instructions in reverse order.
To reassemble your device, follow these instructions in reverse order.
Cancelar: No complete esta guía.
Una persona más ha completado esta guía.

Equipo

Purdue University Northwest, Team S4-G2, Hingst Spring 2019 Miembro de Purdue University Northwest, Team S4-G2, Hingst Spring 2019
PNW-HINGST-S19S4G2
4 Miembros
5 Guías creadas