Esta versión puede contener ediciones incorrectas. Cambie a la última instantánea verificada.
Qué necesitas
-
Este paso está sin traducir. Ayuda a traducirlo
-
Remove the six 7.9mm Phillips #0 screws on the back and bottom.
-
Remove the one 3.8mm Phillips #0 screw on the bottom.
-
Remove the two 7.5mm Phillips #0 screws on the back and bottom.
-
-
Este paso está sin traducir. Ayuda a traducirlo
-
Remove 5.8mm Phillips #1 screw from the side button panel.
-
Slide the viewfinder all the way to the right and remove the 7.9mm Phillips #0 screw.
-
-
Este paso está sin traducir. Ayuda a traducirlo
-
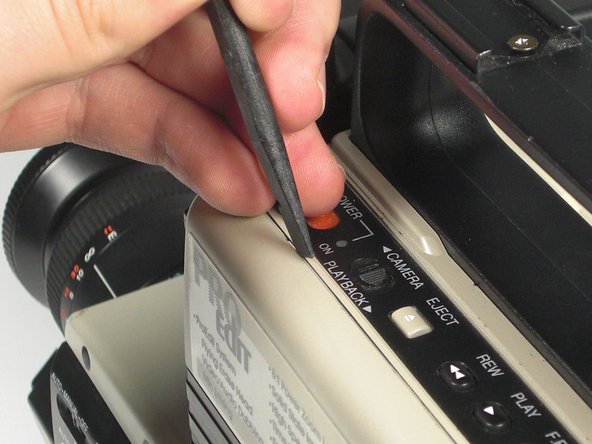
Pry along the seam on the top side near the buttons with a spudger.
-
-
-
Este paso está sin traducir. Ayuda a traducirlo
-
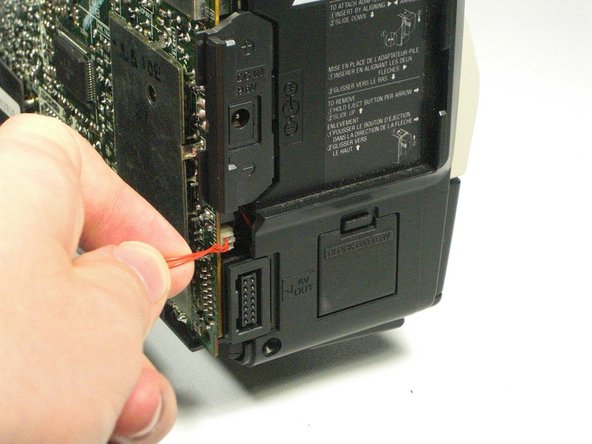
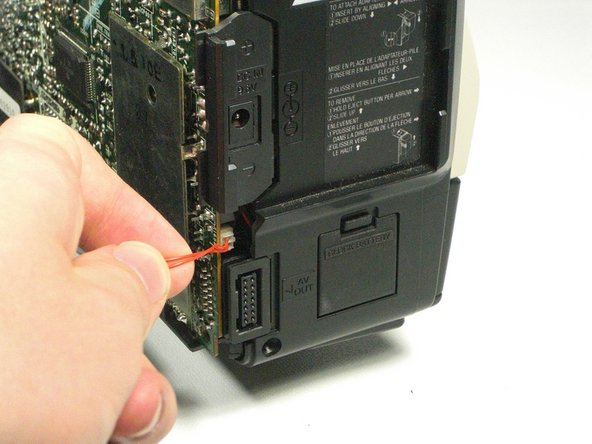
Pull the left panel away from the rest of the camcorder.
-
Unplug the red speaker cable located at the rear of the device.
-
-
Este paso está sin traducir. Ayuda a traducirlo
-
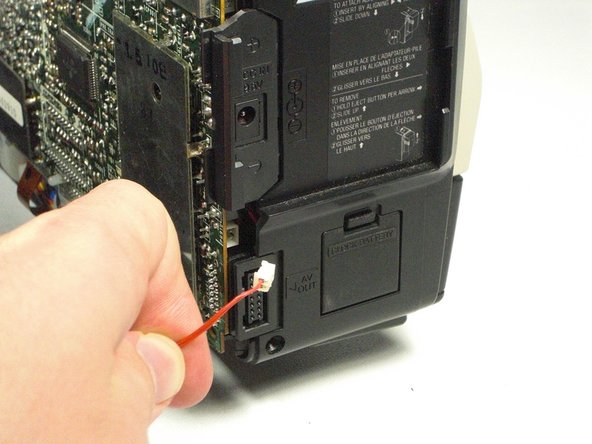
Unplug the red cable connecting the speaker to the motherboard.
-
-
Este paso está sin traducir. Ayuda a traducirlo
-
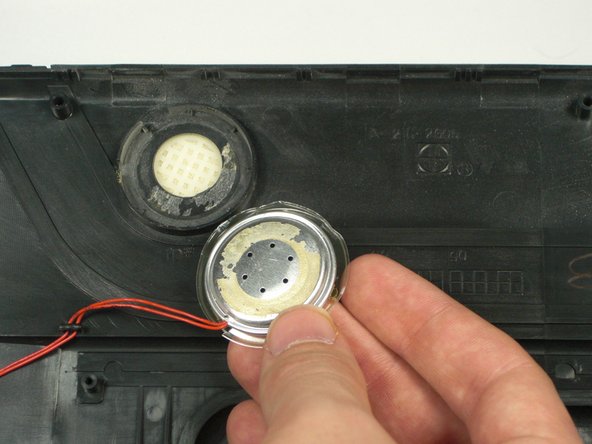
Locate the speaker on the removed panel. Find the groove on the top left side of the speaker.
-
Pry the plastic up with a spudger until the glue breaks and the speaker is detached.
-
-
Este paso está sin traducir. Ayuda a traducirlo
-
Break the plastic pieces holding the cable to the panel.
-
-
Este paso está sin traducir. Ayuda a traducirlo
-
Glue the new speaker to the panel.
-
Plug the cable back into the motherboard.
-


Equipo

Cal Poly, Team 5-20, Amido Winter 2011 Miembro de Cal Poly, Team 5-20, Amido Winter 2011
CPSU-AMIDO-W11S5G20
4 Miembros
7 Guías creadas