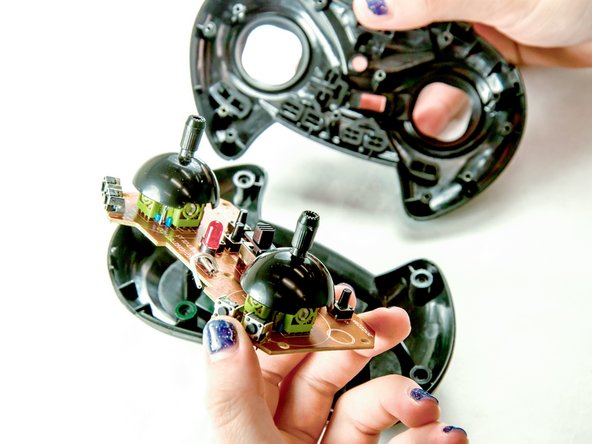
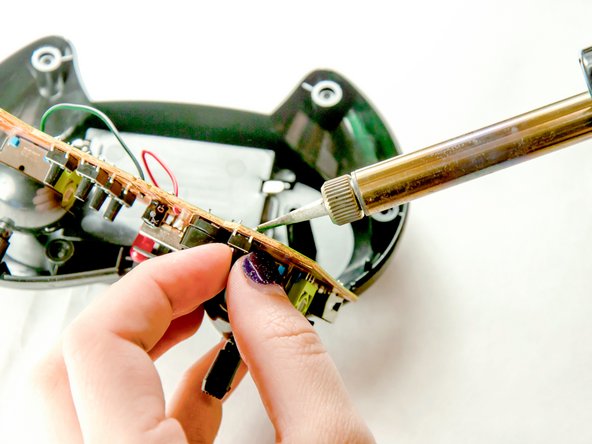
Saltar al contenido principal

Protocol Neo-Drone AP Controller Switch Replacement

Qué necesitas

  1. Protocol Neo-Drone AP Controller Switch Replacement, Controller Switch: paso 1, imagen 1 de 2 Protocol Neo-Drone AP Controller Switch Replacement, Controller Switch: paso 1, imagen 2 de 2
    • Remove the single 6.5mm Phillips #1 screw from the battery cover.

    • Remove the three AAA batteries.

  2. Protocol Neo-Drone AP Controller Switch Replacement: paso 2, imagen 1 de 2 Protocol Neo-Drone AP Controller Switch Replacement: paso 2, imagen 2 de 2
    • Remove seven 6.5mm Phillips #1 screws from the back panel.

    • Pull the back panel up to separate it from the front panel.

  3. Protocol Neo-Drone AP Controller Switch Replacement: paso 3, imagen 1 de 2 Protocol Neo-Drone AP Controller Switch Replacement: paso 3, imagen 2 de 2
    • Remove three 4.5mm Phillips #1 screws from the motherboard.

    • Pull the motherboard out of the case.

  4. Protocol Neo-Drone AP Controller Switch Replacement: paso 4, imagen 1 de 2 Protocol Neo-Drone AP Controller Switch Replacement: paso 4, imagen 2 de 2
    • Here is a link to the iFixit Soldering Guide

    • Use a soldering iron to remove the solder form the motherboard.

Conclusión

To reassemble your device, follow these instructions in reverse order.

Andrew

Miembro Desde 07/05/18

291 Reputación

2 Guías creadas

Equipo

IUPUI, Team S2-G3, Harley Summer 2018 Miembro de IUPUI, Team S2-G3, Harley Summer 2018

IUPUI-HARLEY-SU18S2G3

4 Miembros

2 Guías creadas

0 comentarios

Agregar Comentario

Ver Estadísticas:

Ultimas 24 horas: 0

Ultimos 7 días: 0

Ultimos 30 días: 0

Todo El Tiempo: 219