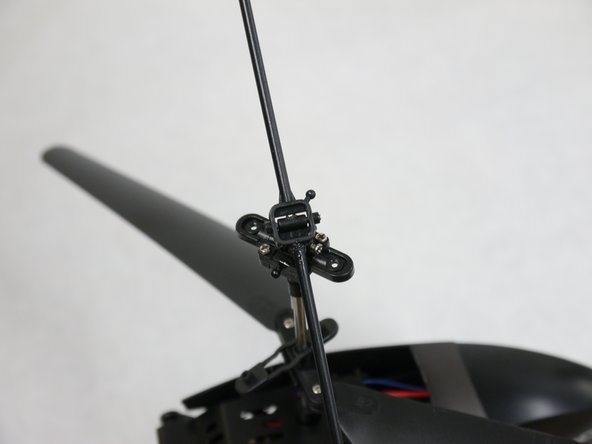
Saltar al contenido principal

Propel Gyro-X Stabilizer Replacement

Qué necesitas

  1. Propel Gyro-X Stabilizer Replacement, Top Propellor Blades: paso 1, imagen 1 de 1
    • Stabilizing links are easy to break. Be gentle when prying them off.

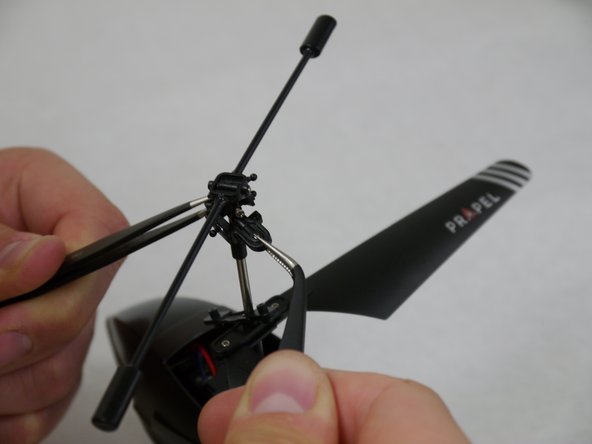
    • Place the tweezers on the sides of the links and pull straight away from the top point of connection.

  2. Propel Gyro-X Stabilizer Replacement: paso 2, imagen 1 de 2 Propel Gyro-X Stabilizer Replacement: paso 2, imagen 2 de 2
    • Remove the two 6.0 mm Phillips #00 screws from the rotors.

  3. Propel Gyro-X Stabilizer Replacement: paso 3, imagen 1 de 2 Propel Gyro-X Stabilizer Replacement: paso 3, imagen 2 de 2
    • Pull the rotors away from the mounting brackets.

  4. Propel Gyro-X Stabilizer Replacement, Stabilizer: paso 4, imagen 1 de 1
    • Remove the two 5mm PHillips #00 screws screws

  5. Propel Gyro-X Stabilizer Replacement: paso 5, imagen 1 de 2 Propel Gyro-X Stabilizer Replacement: paso 5, imagen 2 de 2
    • Using the tweezers twist the rotor attachment bracket apart.

  6. Propel Gyro-X Stabilizer Replacement: paso 6, imagen 1 de 1
    • Remove the two 6mm #00 screws

  7. Propel Gyro-X Stabilizer Replacement: paso 7, imagen 1 de 1
    • Pull up on the stabilizer assembly to remove it completely from the drive shaft.

Conclusión

To reassemble your device, follow these instructions in reverse order.

Una persona más ha completado esta guía.

Sarah Atmadja

Miembro Desde 04/09/15

404 Reputación

3 Guías creadas

Equipo

Cal Poly, Team 17-2, Forte Spring 2015 Miembro de Cal Poly, Team 17-2, Forte Spring 2015

CPSU-FORTE-S15S17G2

4 Miembros

7 Guías creadas

Un comentario

Where can I get these stabilizers

lost ghost - Contestar

Agregar Comentario

Ver Estadísticas:

Ultimas 24 horas: 1

Ultimos 7 días: 4

Ultimos 30 días: 6

Todo El Tiempo: 2,492