Esta versión puede contener ediciones incorrectas. Cambie a la última instantánea verificada.
Qué necesitas
-
Este paso está sin traducir. Ayuda a traducirlo
-
This is the Hot Air Popper. worked pretty good and has lots of 'miles' on it. We used it often, and it did work well. New one would be about $20 at some major department stores.
-
But hey, I am frugal....
-
-
Este paso está sin traducir. Ayuda a traducirlo
-
This is what it looks like for real. Still in good shape.
-
-
-
Este paso está sin traducir. Ayuda a traducirlo
-
This is looking toward the top. There are three Phillips screws that need to be removed.
-
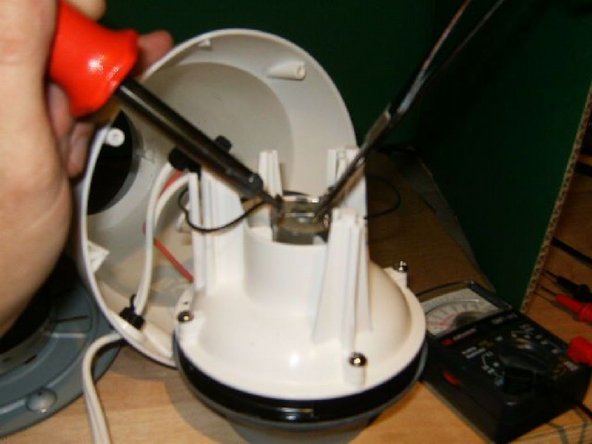
Once removed, the black cover that holds the popping chamber can be removed. the popping chamber and the black cover are removed as one piece.
-
-
Este paso está sin traducir. Ayuda a traducirlo
-
The bottom cover is fastened with four screws. Remove those.
-
Once the bottom cover is removed, the blower motor is clearly visible.
-
Where the power cable attaches to the motor, are four diodes. These diodes only allow half-cycle of a full cycle of positive and negative power cycle to reach the motor.
-
The motor only gets current in one direction,allowing it to spin in one direction. After all, we are dealing with AC current here.
-
-
Este paso está sin traducir. Ayuda a traducirlo
-
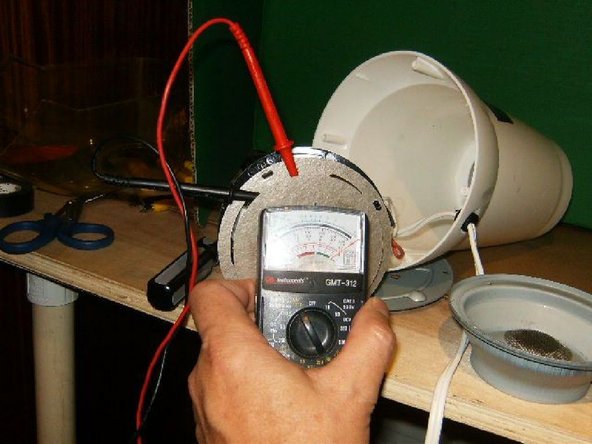
With the bottom cover off, the hot air assembly will easily slide out. Power connections and temperature control are clearly visible.
-
Use a multimeter to check the switch for continuity.
-
Check the heating element for continuity.
-
-
Este paso está sin traducir. Ayuda a traducirlo
-
The problem that was visible on close inspections with a magnifying glass, was a charred diode.
-
removed the diode (it was attached by point-to-point soldering to the other ones) by de-soldering.
-
Replace the faulty diode. Description on the diode was V81 N4001.
-


Cancelar: No complete esta guía.
6 personas más completaron esta guía.

Equipo
