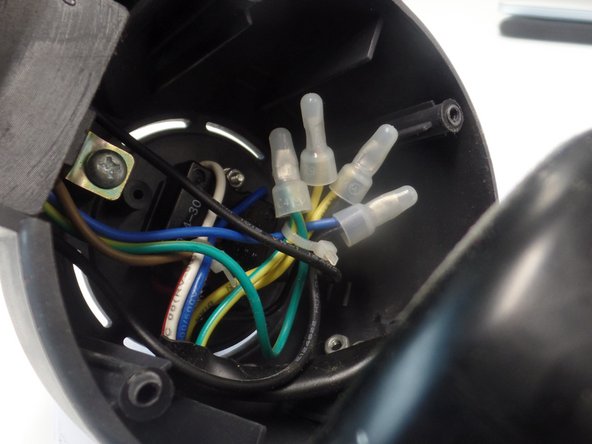
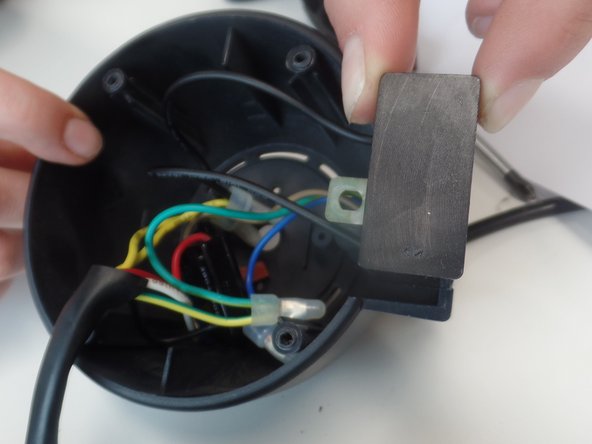
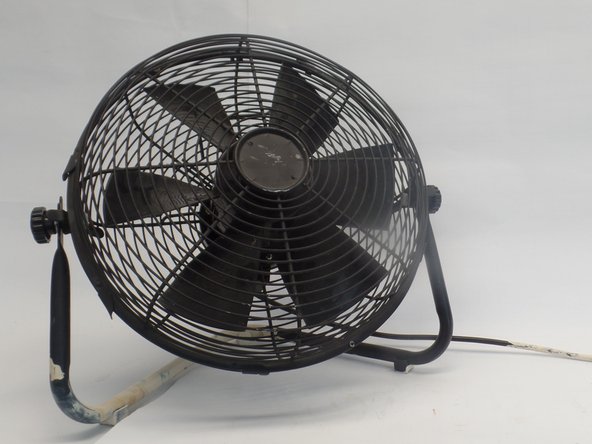
Saltar al contenido principal

Prem Air Circulator Fan 18" Voltage Capacitor Replacement

Qué necesitas

  1. Prem Air Circulator Fan 18" Voltage Capacitor Replacement, Voltage Capacitor: paso 1, imagen 1 de 3 Prem Air Circulator Fan 18" Voltage Capacitor Replacement, Voltage Capacitor: paso 1, imagen 2 de 3 Prem Air Circulator Fan 18" Voltage Capacitor Replacement, Voltage Capacitor: paso 1, imagen 3 de 3
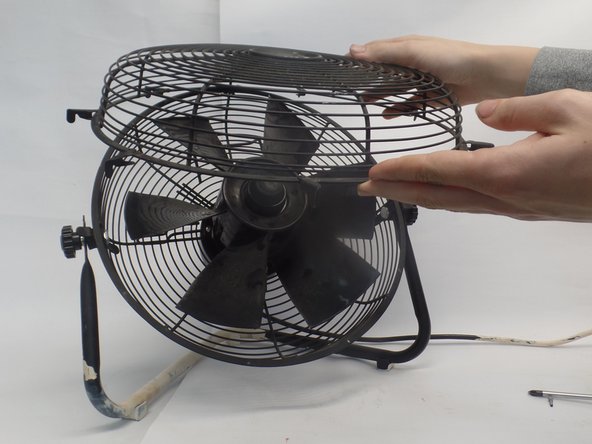
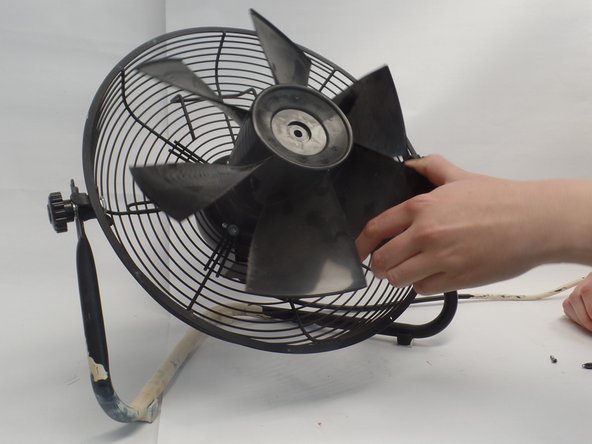
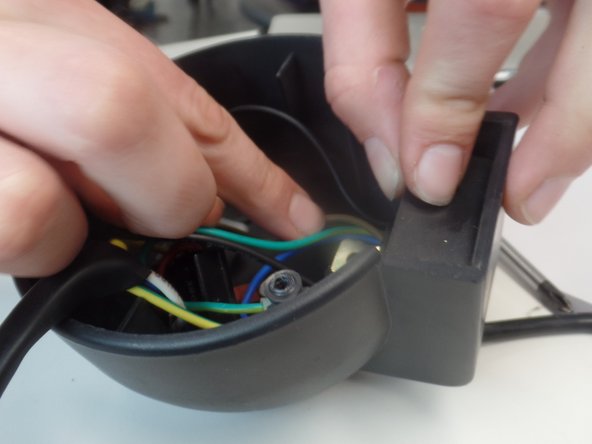
    • Open up the cap of the ventilator by turning the clips on the side outwards.

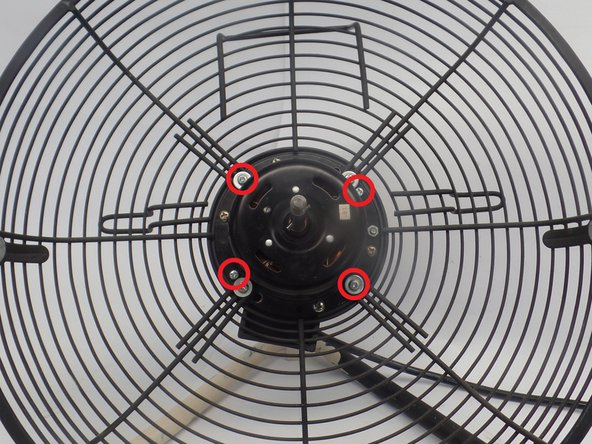
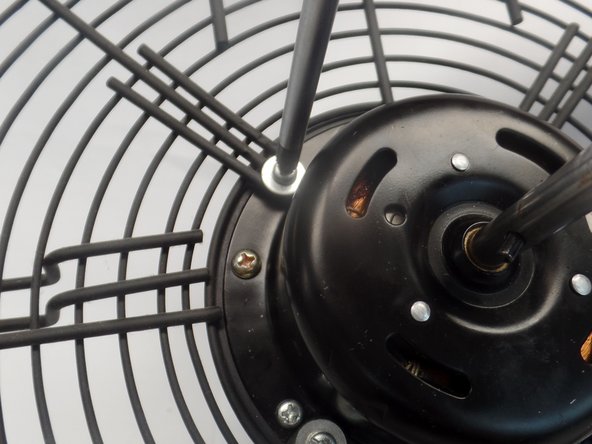
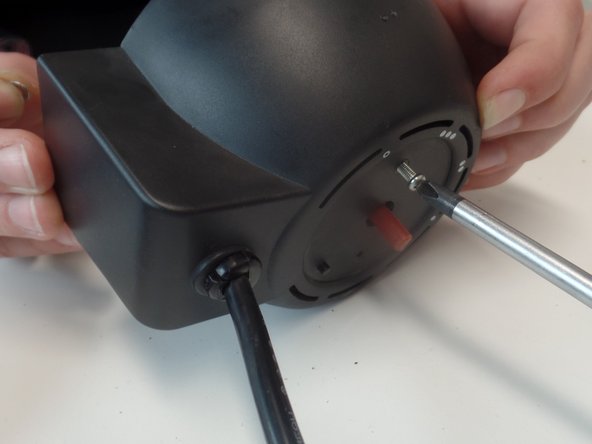
    • Remove the screw on the bottom.

  2. Prem Air Circulator Fan 18" Voltage Capacitor Replacement: paso 2, imagen 1 de 3 Prem Air Circulator Fan 18" Voltage Capacitor Replacement: paso 2, imagen 2 de 3 Prem Air Circulator Fan 18" Voltage Capacitor Replacement: paso 2, imagen 3 de 3
    • Remove the propellor by turning loose the knob and pulling out the propellor.

  3. Prem Air Circulator Fan 18" Voltage Capacitor Replacement: paso 3, imagen 1 de 3 Prem Air Circulator Fan 18" Voltage Capacitor Replacement: paso 3, imagen 2 de 3 Prem Air Circulator Fan 18" Voltage Capacitor Replacement: paso 3, imagen 3 de 3
    • Identify the screws to remove.

    • Pull back the plastic back.

  4. Prem Air Circulator Fan 18" Voltage Capacitor Replacement: paso 4, imagen 1 de 1
    • Remove the screw on the back of the body to disasemble the Voltage Capacitor from the body.

  5. Prem Air Circulator Fan 18" Voltage Capacitor Replacement: paso 5, imagen 1 de 2 Prem Air Circulator Fan 18" Voltage Capacitor Replacement: paso 5, imagen 2 de 2
    • Disconnecting the wires.

    • Cut the tie-wraps keeping the wires together.

    • Remove the white caps from the wires between the black and yellow wires.

  6. Prem Air Circulator Fan 18" Voltage Capacitor Replacement: paso 6, imagen 1 de 2 Prem Air Circulator Fan 18" Voltage Capacitor Replacement: paso 6, imagen 2 de 2
    • Remove the regulator.

  7. Prem Air Circulator Fan 18" Voltage Capacitor Replacement: paso 7, imagen 1 de 2 Prem Air Circulator Fan 18" Voltage Capacitor Replacement: paso 7, imagen 2 de 2
    • Connect the new Voltage Capacitor wires with the wires where the old capacitor came from.

    • Make sure the wire tips are integrated.

    • Put back the protection caps and push them tight. (you could also use new ones).

  8. Prem Air Circulator Fan 18" Voltage Capacitor Replacement: paso 8, imagen 1 de 1
    • Assamble the regulator.

    • Place the new Voltage Capacitor at the right place and screw back the screw to hold it there.

  9. Prem Air Circulator Fan 18" Voltage Capacitor Replacement: paso 9, imagen 1 de 1
    • Reverse the disassembly steps 1 to 3 to put the product back together.

Conclusión

To reassemble your device, follow these instructions in reverse order.

Un comentario

What Price and where I found it on Istanbul

Asa Teer - Contestar

Agregar Comentario

Ver Estadísticas:

Ultimas 24 horas: 0

Ultimos 7 días: 11

Ultimos 30 días: 37

Todo El Tiempo: 490