Introducción
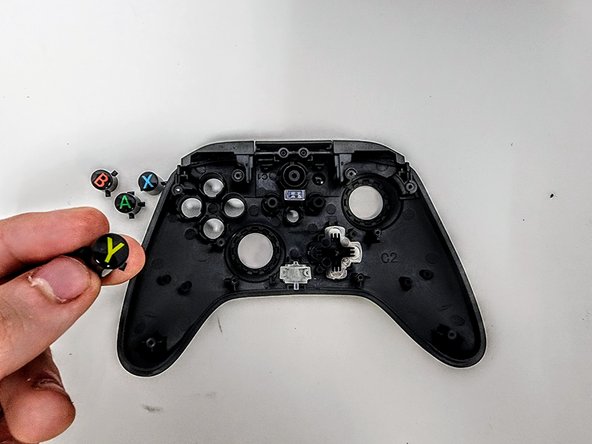
Are your PowerA Enhanced wired Controller (Xbox) ABXY Buttons not properly functioning? This guide will show you step by step how to take out each of the buttons to replace and or clean them.
Qué necesitas
-
-
Lay the controller face down.
-
Use a Phillips screwdriver to remove the eight 9.2 mm screws that secure the rear case.
-
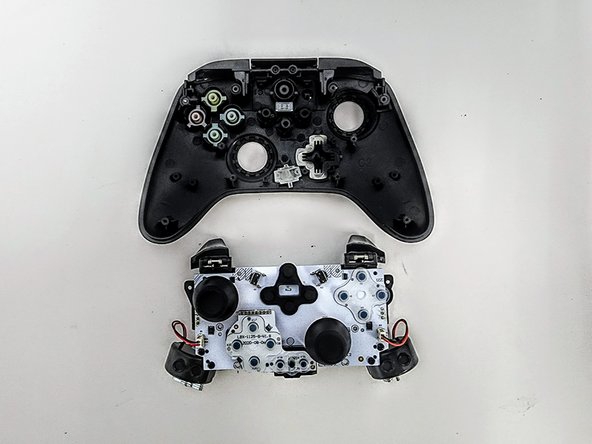
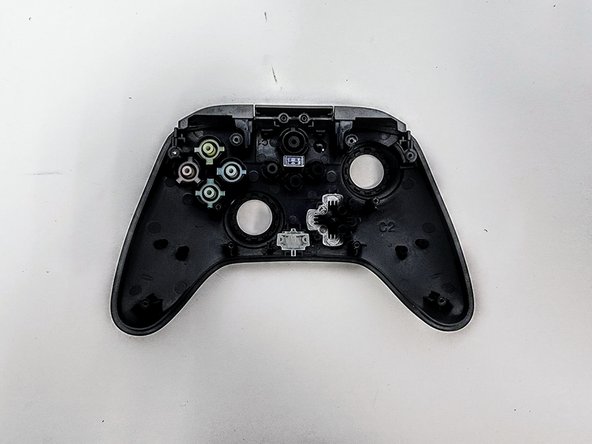
Lift the rear case up and off of the chassis.
-
-
-
-
Remove the two 3.3 mm Phillips screws that secure the motherboard to the front case.
-
Lift the motherboard up and out of the chassis.
-


To reassemble your device, follow these instructions in reverse order.
To reassemble your device, follow these instructions in reverse order.

Equipo

Austin Community College, Team 9-3, Watkins Spring 2024 Miembro de Austin Community College, Team 9-3, Watkins Spring 2024
AUSTINCC-WATKINS-S24S9G3
4 Miembros
5 Guías creadas