Esta versión puede contener ediciones incorrectas. Cambie a la última instantánea verificada.
Qué necesitas
-
Este paso está sin traducir. Ayuda a traducirlo
-
Unscrew the four Phillips #0 5 mm screws on the base of the camera.
-
Remove the two pieces of the base.
-
-
Este paso está sin traducir. Ayuda a traducirlo
-
Remove the four Phillips #0 5mm screws on the top of the inside base piece.
-
Remove the Phillips #0 5mm two screws on the bottom of the inside base piece nearer the strap.
-
-
-
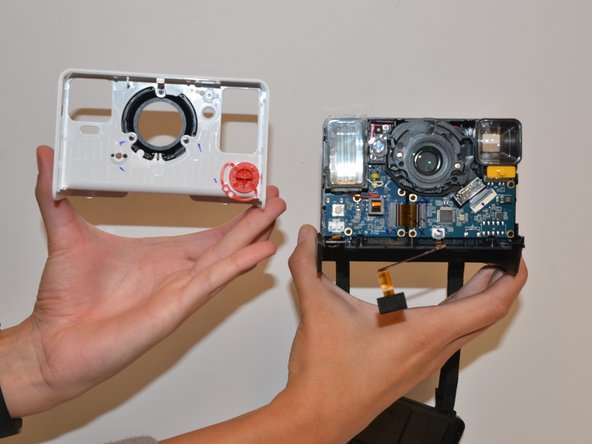
Este paso está sin traducir. Ayuda a traducirlo
-
With force separate the white front piece from the back of the camera. You will use your hands and pull it apart.
-
-
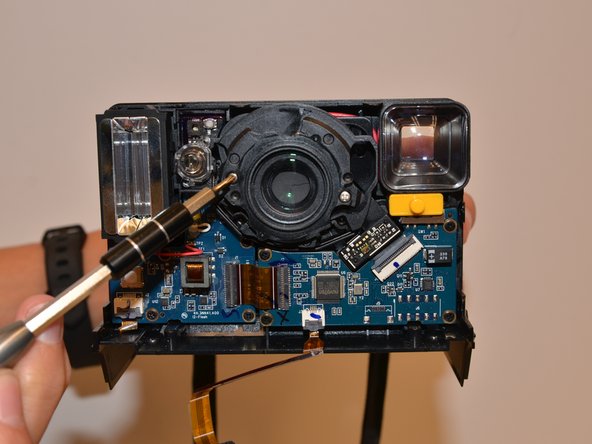
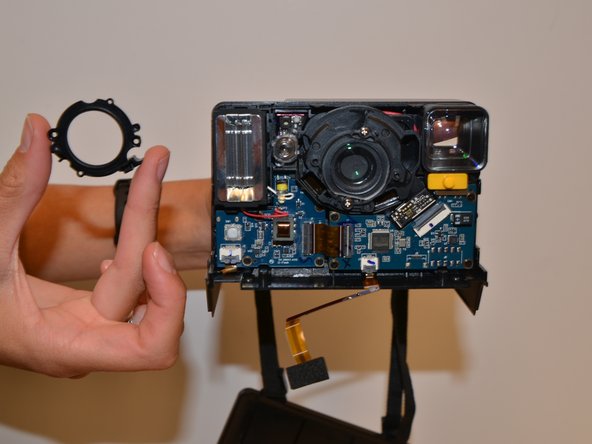
Este paso está sin traducir. Ayuda a traducirlo
-
Remove the two Phillips #0 3mm screws on the black ring holding the lens in place and remove the ring.
-


Cancelar: No complete esta guía.
2 personas más completaron esta guía.
Equipo

University of Alabama, Team S1-G1, Bedsole Fall 2018 Miembro de University of Alabama, Team S1-G1, Bedsole Fall 2018
UA-BEDSOLE-F18S1G1
4 Miembros
5 Guías creadas